
DIY Wood Riser with Floral Design

 Hello everyone! I hope you're doing well. Today, I'm excited to share a beautiful wood riser you can use to decorate your home. We'll be creating it using only a few materials, and for this project specifically, I'll be using the unfinished rectangle natural wood box from Walmart. I'll provide a detailed list of all required materials and step-by-step instructions.

Home decor wood riser

Video tutorial
DIY Wood Riser with Floral Design

Materials-Mod Podge, beads, decorative napkin

Materials

  • Unfinished rectangle natural wood box -6" x 8" x .75"
  • 3" peg people (these are used for the legs on the wooden riser)
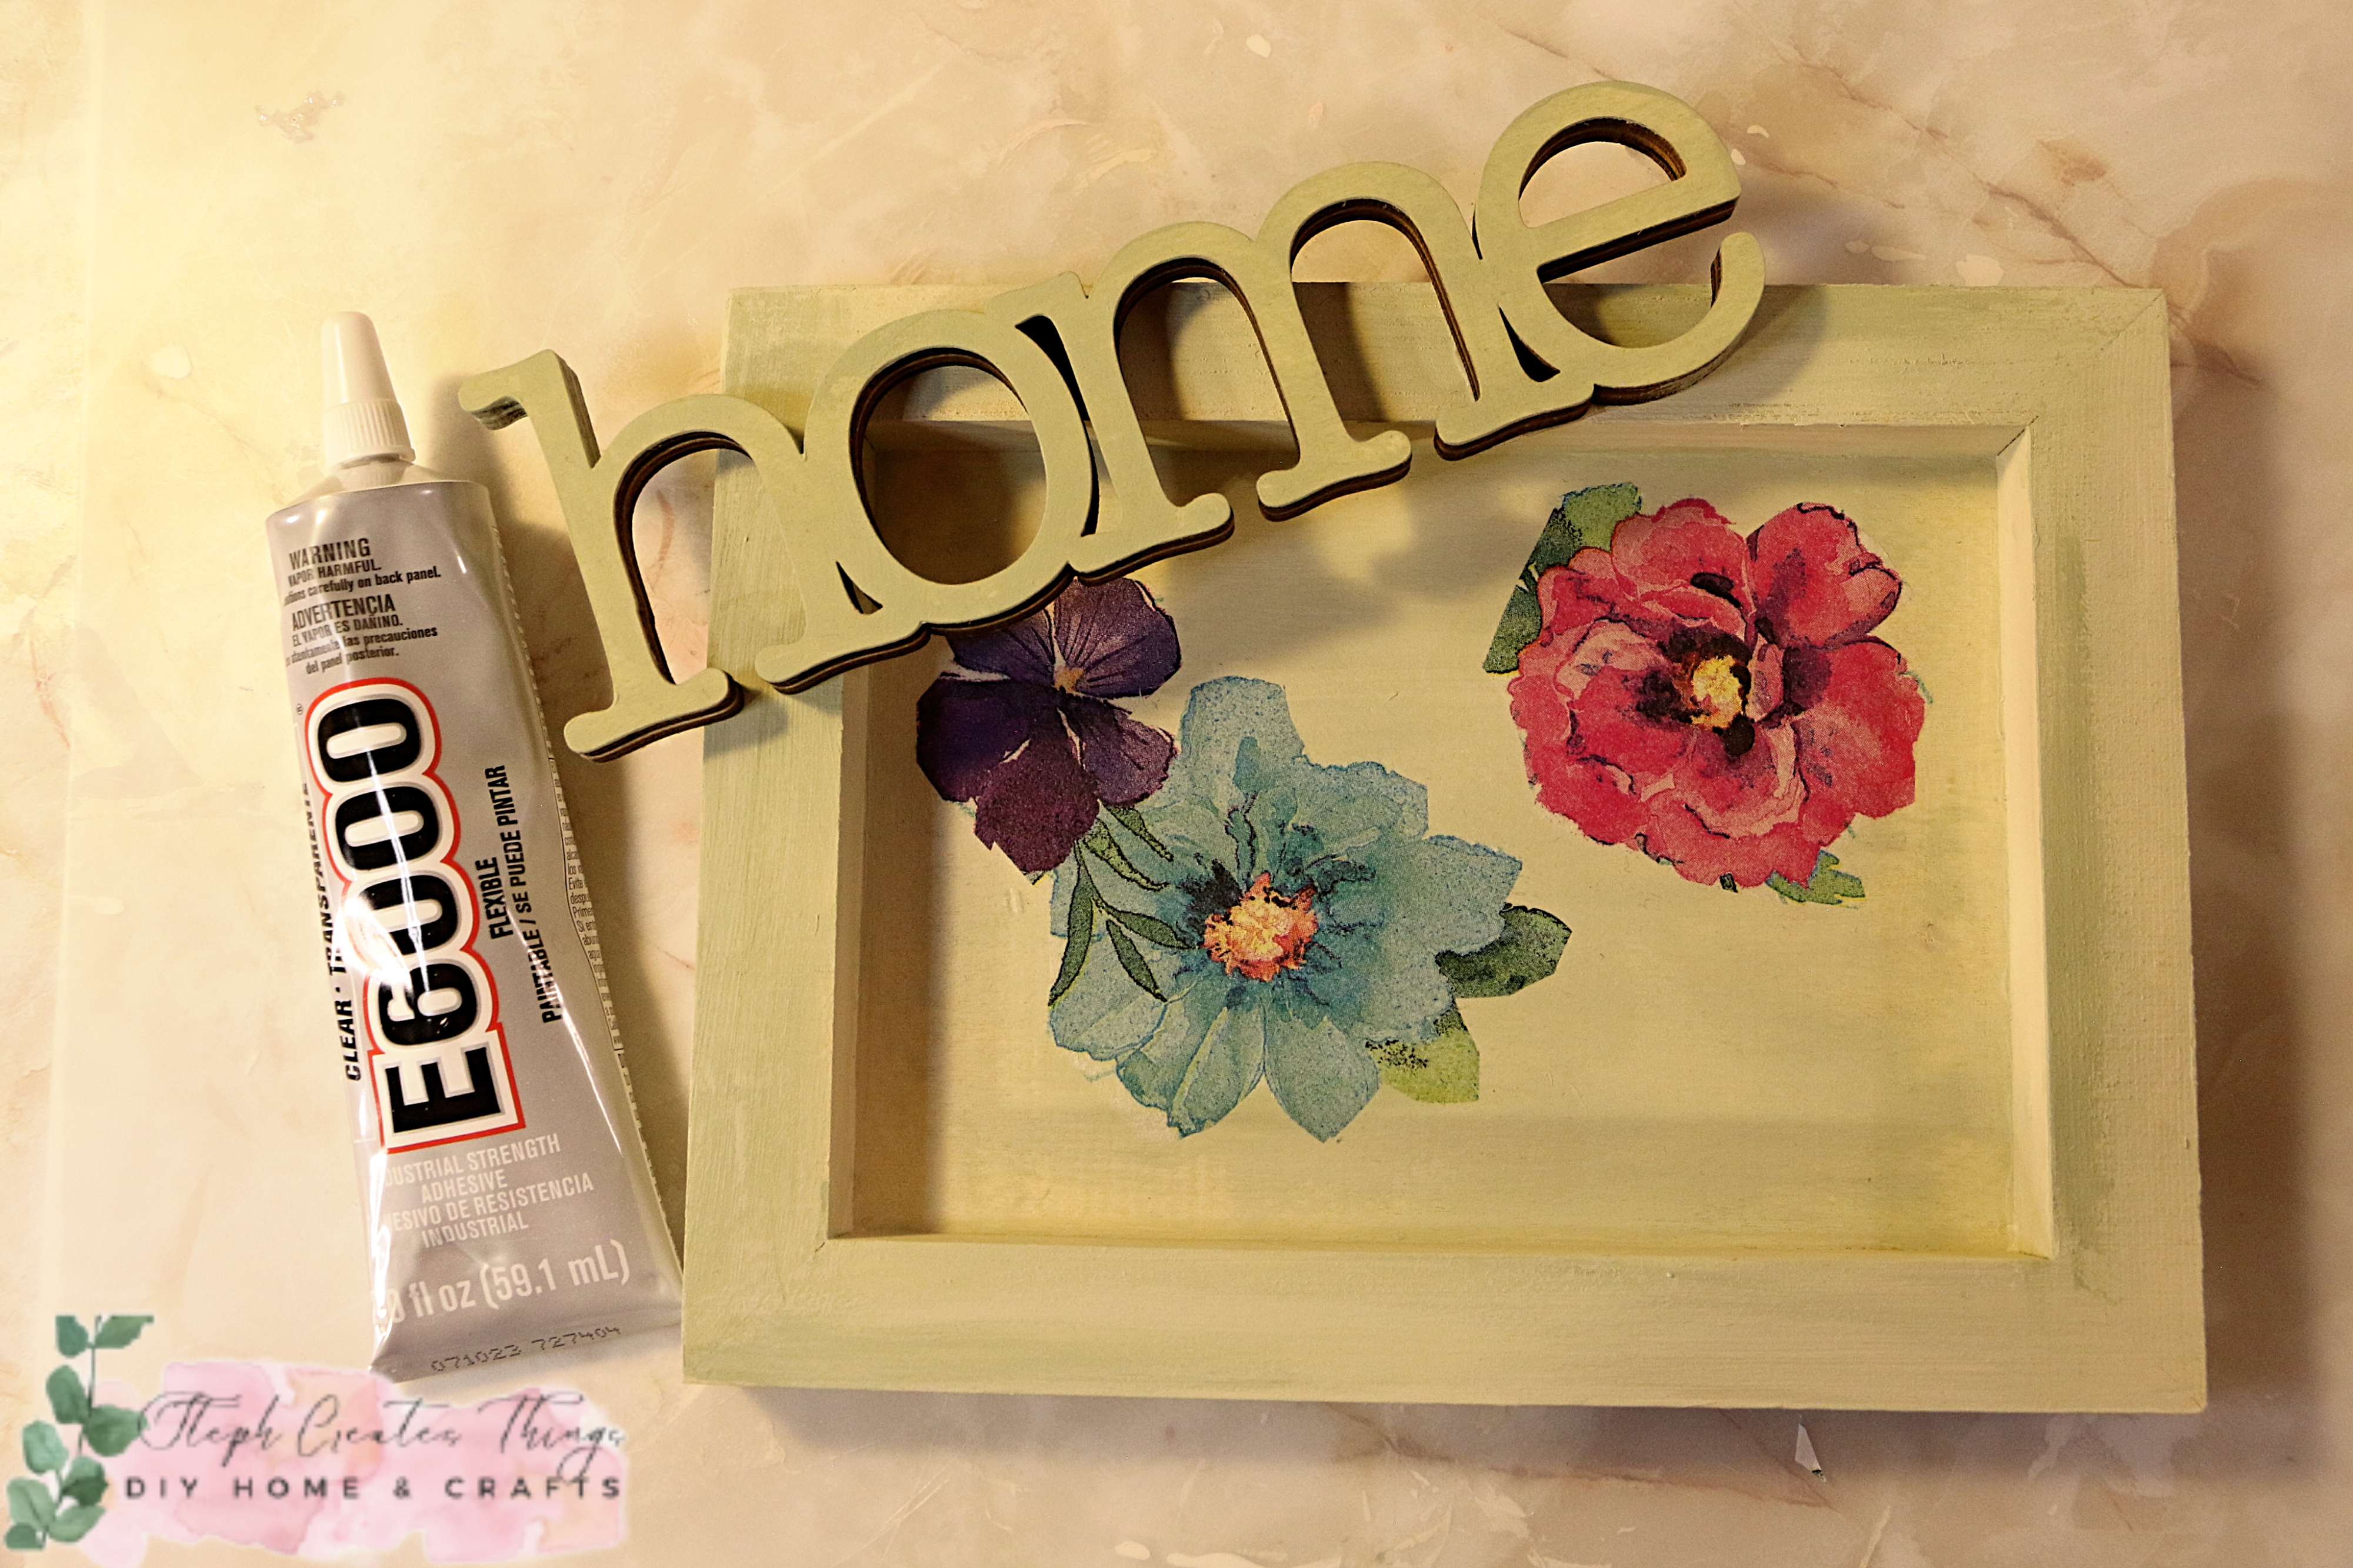
  • Adhesive (I'm using Hot glue) You can also use E6000
  • Decorative floral napkin
  • Mod Podge
  • 7" One unpainted wood home word sign
  • Scissors
  • Paintbrush

Acrylic paint and wooden frame

Applying paint to wood frame and home sign
Begin by applying paint to the wooden box and the home word sign. Mix two paint colors together and use them for the wooden box and home sign.

Scissors, decorative napkin and Mod Podge

Adding the decorative napkin and Mod Podge
Next, use scissors to cut out decorative pieces from your napkins that you will want to use in your design. I recommend using a floral design napkin if you want to achieve the same look. Cut out each flower and remove the second layer of the napkin.

Hand holding cut out flowers

Afterward, take each of your cut-out designs and apply Mod Podge to the inner surface of your wooden box. Add your decorative cut-out napkin design over the Mod Podge. Continue with the rest of the decorations. After adding your napkin pieces, apply a layer of Mod Podge over the top surface of each one.

Hand holding peg to wooden  frame

Adding the peg legs to the wood frame
You're now ready to attach the peg legs to the bottom of your wooden box. If your wooden pegs were previously painted white, you can add paint to each peg or leave them as is. Apply a small amount of adhesive to the bottom of each peg and attach them to each corner of the wooden box.

wooden frame and pegs

Wood riser with floral design

Attaching the home word sign 
Finally, add your home sign to the wood riser. I recommend adding the home sign at the back of the riser on top.

home sign and wood riser with floral design

Wood riser with floral design

wood riser with floral design

You might also enjoy

Pin Share Save
Pinterest pin showing wood riser


Comments

  1. How cute! I love the mod podge flowers!

    ReplyDelete
    Replies
    1. Amy, thank you. Happy to hear you enjoyed it. 😊

      Delete
  2. So darling. It looks like a mini version of a glass coffee table with a drawer underneath. The flowers are just lovely. Thanks for sharing this post with all of us at the Will Blog for Comments #36!

    ReplyDelete
    Replies
    1. Jennifer, thank you! 😊 It was a fun little project. And yes, I can see it looking like a mini version of a glass coffee table. ☕️ Have a lovely week.

      Delete
  3. I didn't realise that you have two blog sites Stephanie!
    Love this crafty idea too! 😀
    Blessings, Jennifer

    ReplyDelete
    Replies
    1. Jennifer, thank you. 😊
      Yes, this blog got started after my Crazy Little Lovebirds blog. It was to focus just on my crafts.

      Delete
  4. Love this Steph!
    Thanks bunches for sharing this tutorial with Sweet Tea & Friends this month sweet friend.

    ReplyDelete
  5. I continue to love how you see things. This is so cute! Featuring when my link party opens.

    ReplyDelete
    Replies
    1. Carol, you are so kind. Thank you. I'm happy you enjoyed this craft. ☺️

      Delete

Post a Comment

I love hearing from you! Your comments and creative ideas truly brighten my day. I do my best to respond to everyone, so if you have a question or just want to say hello, please leave a note below. To keep our community a positive and inspiring space, spam or off-topic comments will be removed. Happy crafting!

Popular posts from this blog

Upcycled glass jar design with paper floral embellishments

 Hello everyone! How are you all doing? I hope you are doing well. If you're anything like me, I have a few glass jars that I have washed and set aside, waiting for the perfect opportunity to use them in a craft. Today I am going to share a simple upcycled project with you. We're decorating a glass jar and adding paint, Mod Podge, and floral embellishments. Video tutorial Materials One glass jar- I am reusing a pickle jar Floral embellishments- I am using the paper craft flowers Mod podge Acrylic paint- I am using Waverly no prep Matte finish Scissors Paintbrushes Optional-Twine Applying paint to the glass jar Begin by taking your paintbrush and applying a thin layer of your paint to your jar. Add a lighter paint application if you want to add a battery-operated candle to your jar. This way you will still be able to see light through your jar. Adding Mod Podge and paper flowers to a glass jar Next,  after applying your paint, take your flowers and begin to add them using your ...

DIY Mini Wood Lantern

  Hello everyone. I'm so excited to share this mini wood lantern craft with you all. I recently bought a box of wood tumbling blocks from Dollar Tree, and I wasn't sure what I was going to create with them. I decided since I also had some wood craft popsicle sticks on hand that I would use those with the blocks, and create a mini wood lantern. This project took around 30 minutes, but I promise you, you will just love how it all comes together with just a few materials. If you're ready, I'd love it if you created it with me!  Video tutorial Materials One pack of wood tumbling blocks  I purchased mine at my local Dollar Tree Ten wood craft popsicle sticks Paint  I'm using black paint, I also had some antique white paint on hand, but I went with black paint Hot glue Twine Faux floral, and greenery One medium-sized bead One battery-operated candle Floral snips Scissors Building the top and bottom sections of the lantern Start by taking five of your tumbling blocks. Usin...

Decoupaged Glass Jar Candle Holders with Faux Leaves and Gold Wire

  Learn how to create beautiful decoupaged glass jar candle holders using leaves and gold wire. This DIY project is a perfect way to upcycle old glass jars and create unique candle holders for your home decor.  I hope you're all doing well. The weather has cooled down, and we're enjoying the change. I'd like to share a quick upcycling decoupage project with you all today.  I had some extra glass yogurt jars and bought two taper candle holders from Target's dollar section. I wasn't sure what to do with them at first. In today's project, I will show you how to decorate small glass jars using faux fall leaves and gold wire. Video tutorial Materials Needed: - Two taper candle holders - A paintbrush - Mod Podge - Faux fall leaves or a decorative napkin - Hot glue - Two battery-operated tealight candles - Gold wire Applying Mod Podge and faux leaves to glass jars To start with, grab a paintbrush and use it to apply Mod Podge on your glass jar. Apply a small amount of ...

A Sweet Little Clay Trinket Dish Makeover

I’ve been loving small, simple DIYs lately — the kind you can finish in an afternoon with a cup of tea nearby. Today’s project is this sweet little clay trinket dish I painted with soft florals and a glossy finish. It’s the perfect size for rings, earrings, or any tiny treasures you want to keep close. Want to See the Process? I filmed the whole thing! You can watch the full painting process here: Materials I Used small clay trinket dish acrylic paint (green base + floral colors) fine detail brush gold paint Mod Podge (glossy) This dish started out completely plain. I love pieces like this because they’re basically a blank canvas, no pressure, just play. I chose a soft green base coat to give the florals something cozy and calm to sit on. Once the base was dry, I started building the design: stems and leaves first tiny pops of color for the flowers a thin black outline to make everything stand out a touch of gold for warmth The gold might be my favorite part. It adds just enough shine ...

Easy Steps to Create a Cozy Autumn Tablescape at Home

Hello everyone! I’m excited that you decided to visit the blog today. I wanted to share how to create a cozy autumn tablescape at home. My goal was to design something warm and inviting, as our table is a space where we share conversations, drink coffee, tackle homework, and simply enjoy each other’s company.  I typically don’t go all out when decorating my dining table, but I wanted to show you how I styled it using decor pieces I already had. I would love for you to join me in this decorating adventure! Video tutorial Create a Cozy Autumn Tablescape at Home Items I'm adding to my table:  -White tablecloth runner - Battery-operated leaf lights  - Reusing glass jars  - Mini pumpkins and other fall decorations  - Small "Hello Fall" sign  - Faux flowers I began by spreading my white tablecloth down the center of the table. Around Halloween, I purchased this tablecloth a few years ago at my local Walmart. After laying it out, I realized that I could achieve th...

Search This Blog

All content Copyright

Copyright 2021-2026 I ask that you do not take or use my photos or words without permission. If you have any questions, please feel free and contact me. Also, for more information on this blog, check out the disclosure policy tab above. Thank you