
Hello everyone! I hope you're doing well. Today, I'm excited to share a beautiful wood riser you can use to decorate your home. We'll be creating it using only a few materials, and for this project specifically, I'll be using the unfinished rectangle natural wood box from Walmart. I'll provide a detailed list of all required materials and step-by-step instructions.

Video tutorial
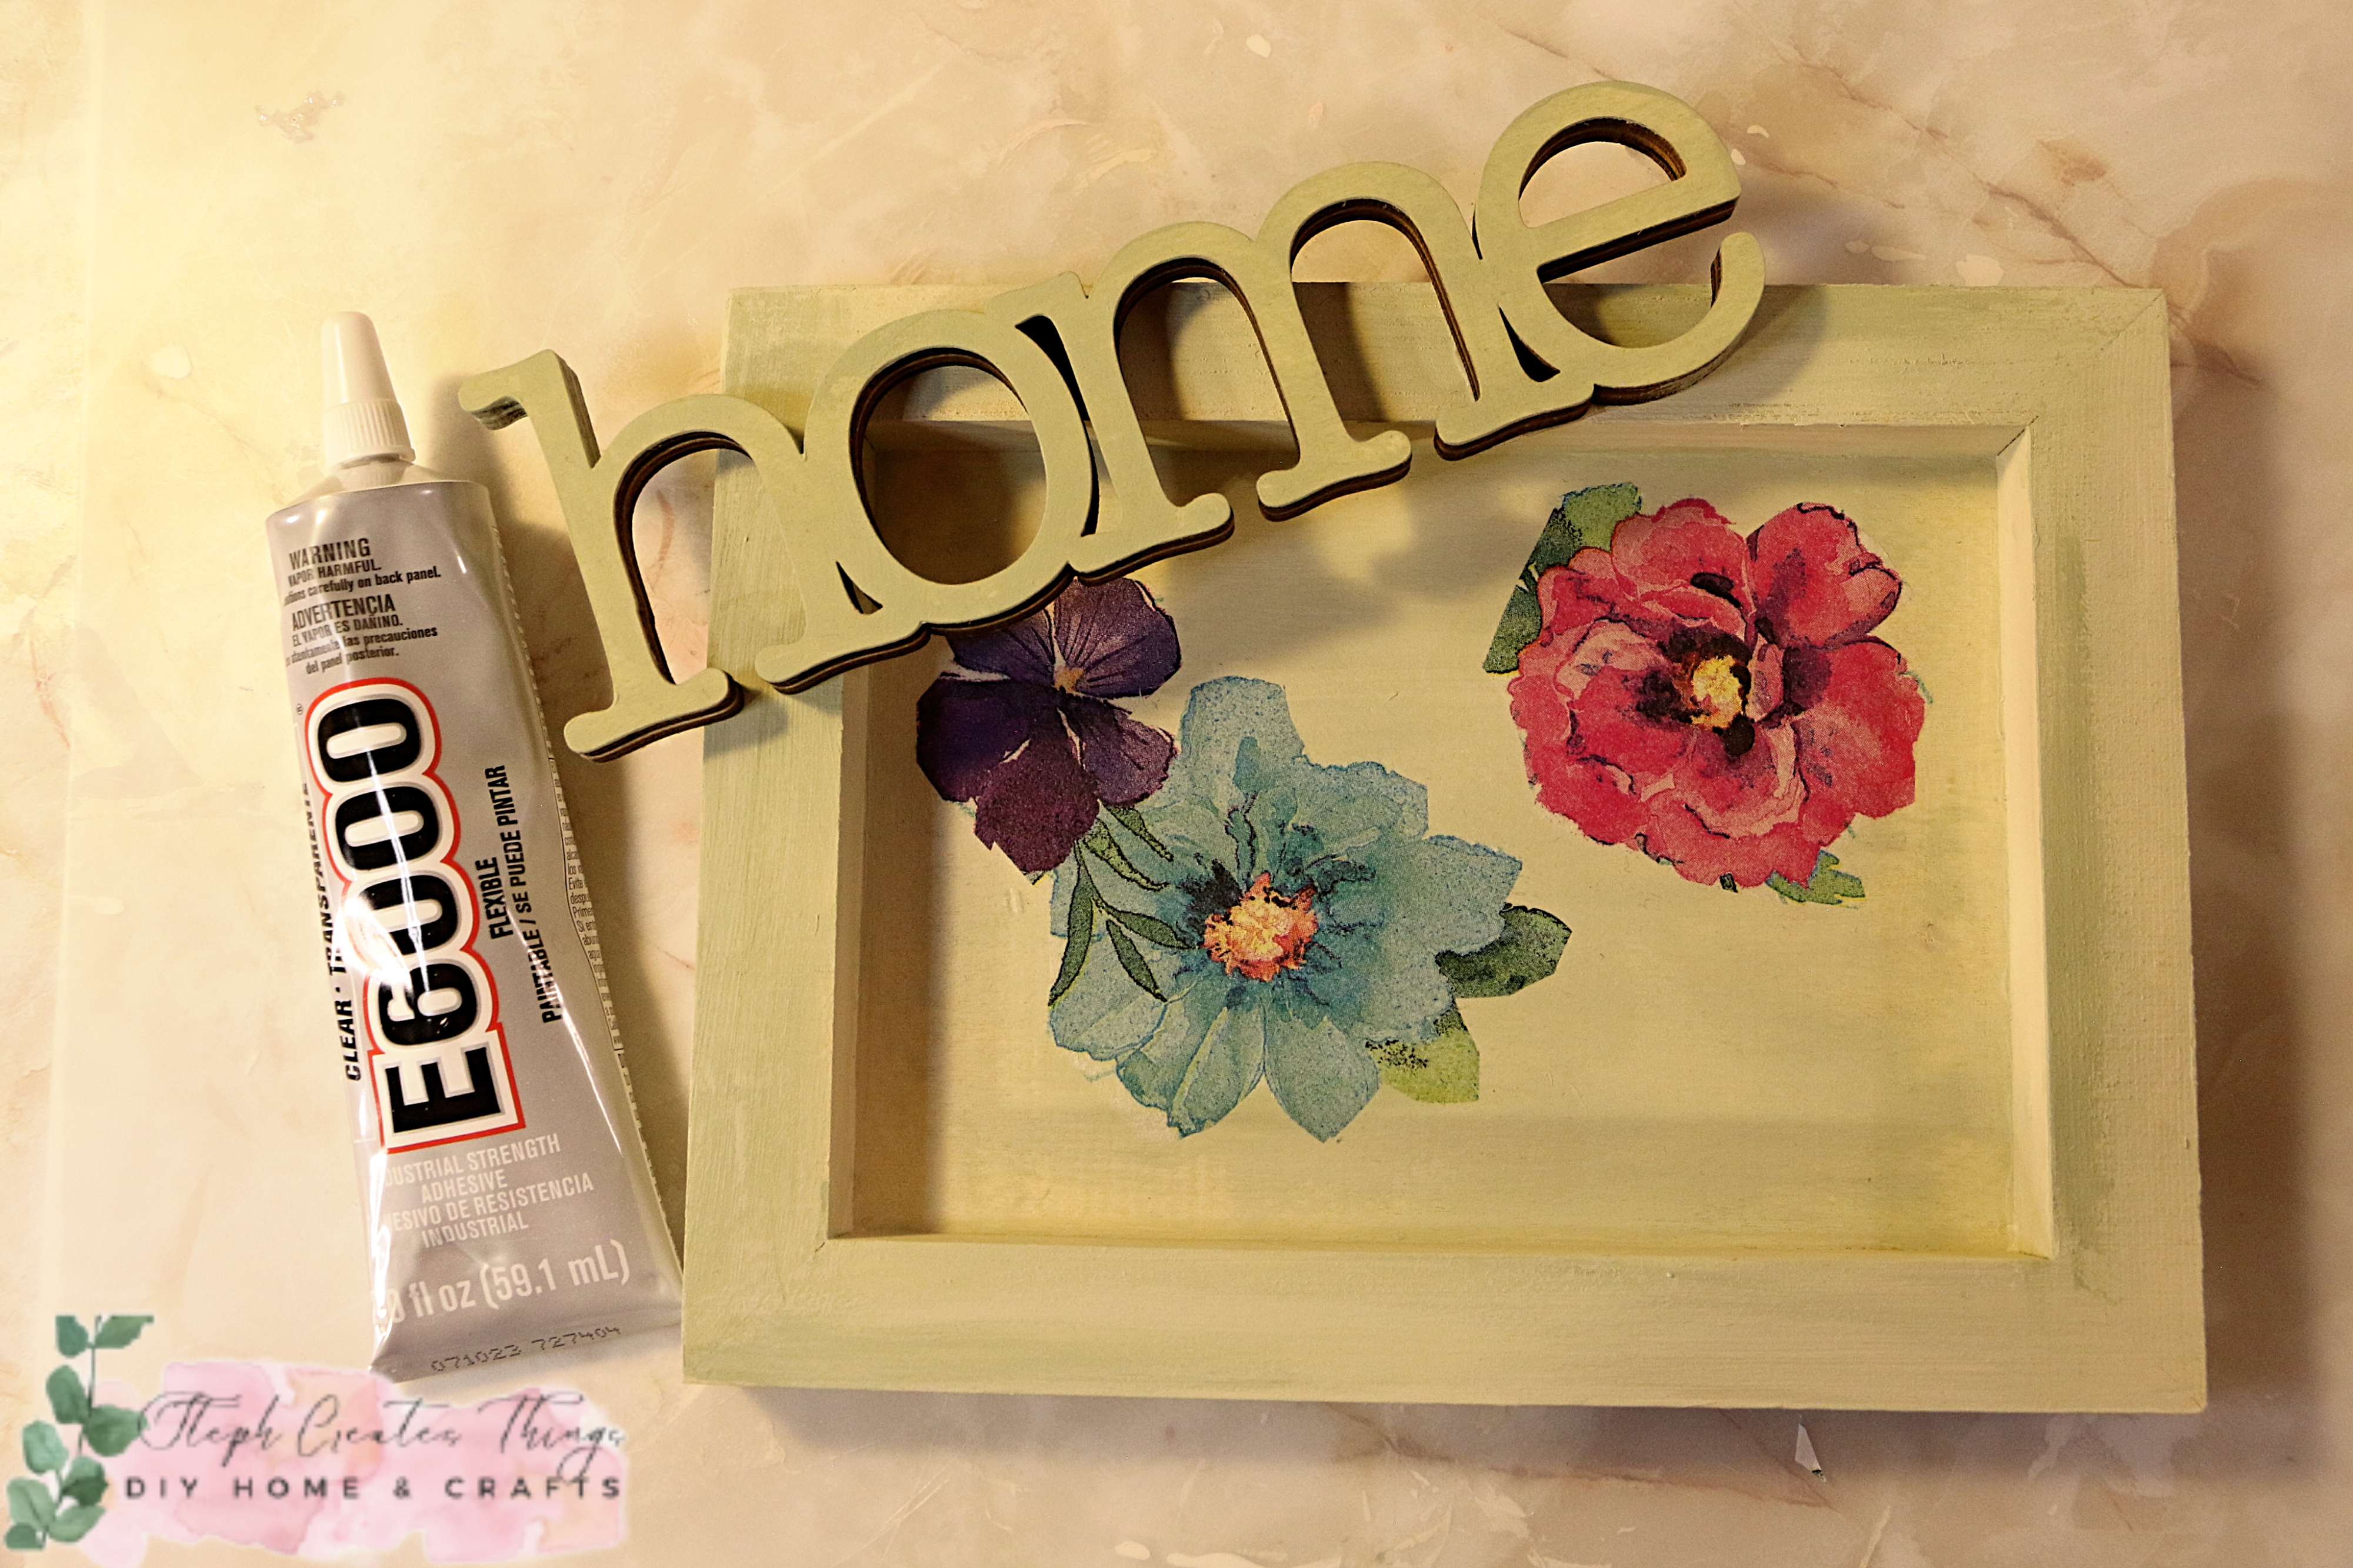
DIY Wood Riser with Floral Design

Materials
- Unfinished rectangle natural wood box -6" x 8" x .75"
- 3" peg people (these are used for the legs on the wooden riser)
- Adhesive (I'm using Hot glue) You can also use E6000
- Decorative floral napkin
- Mod Podge
- 7" One unpainted wood home word sign
- Scissors
- Paintbrush

Applying paint to wood frame and home sign
Begin by applying paint to the wooden box and the home word sign. Mix two paint colors together and use them for the wooden box and home sign.

Adding the decorative napkin and Mod Podge
Next, use scissors to cut out decorative pieces from your napkins that you will want to use in your design. I recommend using a floral design napkin if you want to achieve the same look. Cut out each flower and remove the second layer of the napkin.

Afterward, take each of your cut-out designs and apply Mod Podge to the inner surface of your wooden box. Add your decorative cut-out napkin design over the Mod Podge. Continue with the rest of the decorations. After adding your napkin pieces, apply a layer of Mod Podge over the top surface of each one.

Adding the peg legs to the wood frame
You're now ready to attach the peg legs to the bottom of your wooden box. If your wooden pegs were previously painted white, you can add paint to each peg or leave them as is. Apply a small amount of adhesive to the bottom of each peg and attach them to each corner of the wooden box.

Attaching the home word sign
Finally, add your home sign to the wood riser. I recommend adding the home sign at the back of the riser on top.

.png)

You might also enjoy
Pin Share Save


How cute! I love the mod podge flowers!
ReplyDeleteAmy, thank you. Happy to hear you enjoyed it. 😊
DeleteSo darling. It looks like a mini version of a glass coffee table with a drawer underneath. The flowers are just lovely. Thanks for sharing this post with all of us at the Will Blog for Comments #36!
ReplyDeleteJennifer, thank you! 😊 It was a fun little project. And yes, I can see it looking like a mini version of a glass coffee table. ☕️ Have a lovely week.
DeleteI didn't realise that you have two blog sites Stephanie!
ReplyDeleteLove this crafty idea too! 😀
Blessings, Jennifer
Jennifer, thank you. 😊
DeleteYes, this blog got started after my Crazy Little Lovebirds blog. It was to focus just on my crafts.
Love this Steph!
ReplyDeleteThanks bunches for sharing this tutorial with Sweet Tea & Friends this month sweet friend.
I continue to love how you see things. This is so cute! Featuring when my link party opens.
ReplyDeleteCarol, you are so kind. Thank you. I'm happy you enjoyed this craft. ☺️
Delete