Easy Easter Tray Decor Ideas for Springtime

Hello everyone! I'm excited that Spring is just around the corner. I've started my spring cleaning and decorating. Today, I want to share three easy Easter tray decor ideas perfect for showcasing during the Spring season. I'll show you three ways I decorated my ceramic tray, and here's a little secret: the ceramic tray I used can be found in the bath section at Target—yes, you heard that right! My designs will be simple and easy to follow, and I'll also include two bonus decorating ideas that I found useful. Join me as we prepare for some Springtime decorating!

***Note and disclaimer: All decorations used in my post/video were for staging purposes. Decorate your tray as you wish, but always remain safe when lighting a candle near other objects and remain close by. My candle was watched at all times and was for staging and photographic purposes. Thank you!***


Video tutorial


**Materials Needed:**

- One ceramic tray (purchased from the bath section at my local Target)
- Two gold Easter bunnies (found in the Dollar section at Target)
- One candle
- Eucalyptus leaves
- Assorted flowers
- Medium to large-sized wooden beads
- Artificial flowers
- Foam eggs
- One decorative mini bowl
- One mini pot

**Extras:**
- One Easter gift box
- Assorted flowers
- One ceramic bowl
- One bunny decoration

Let's get started on our Springtime decorating!

Tray Design One: Decorating my tray


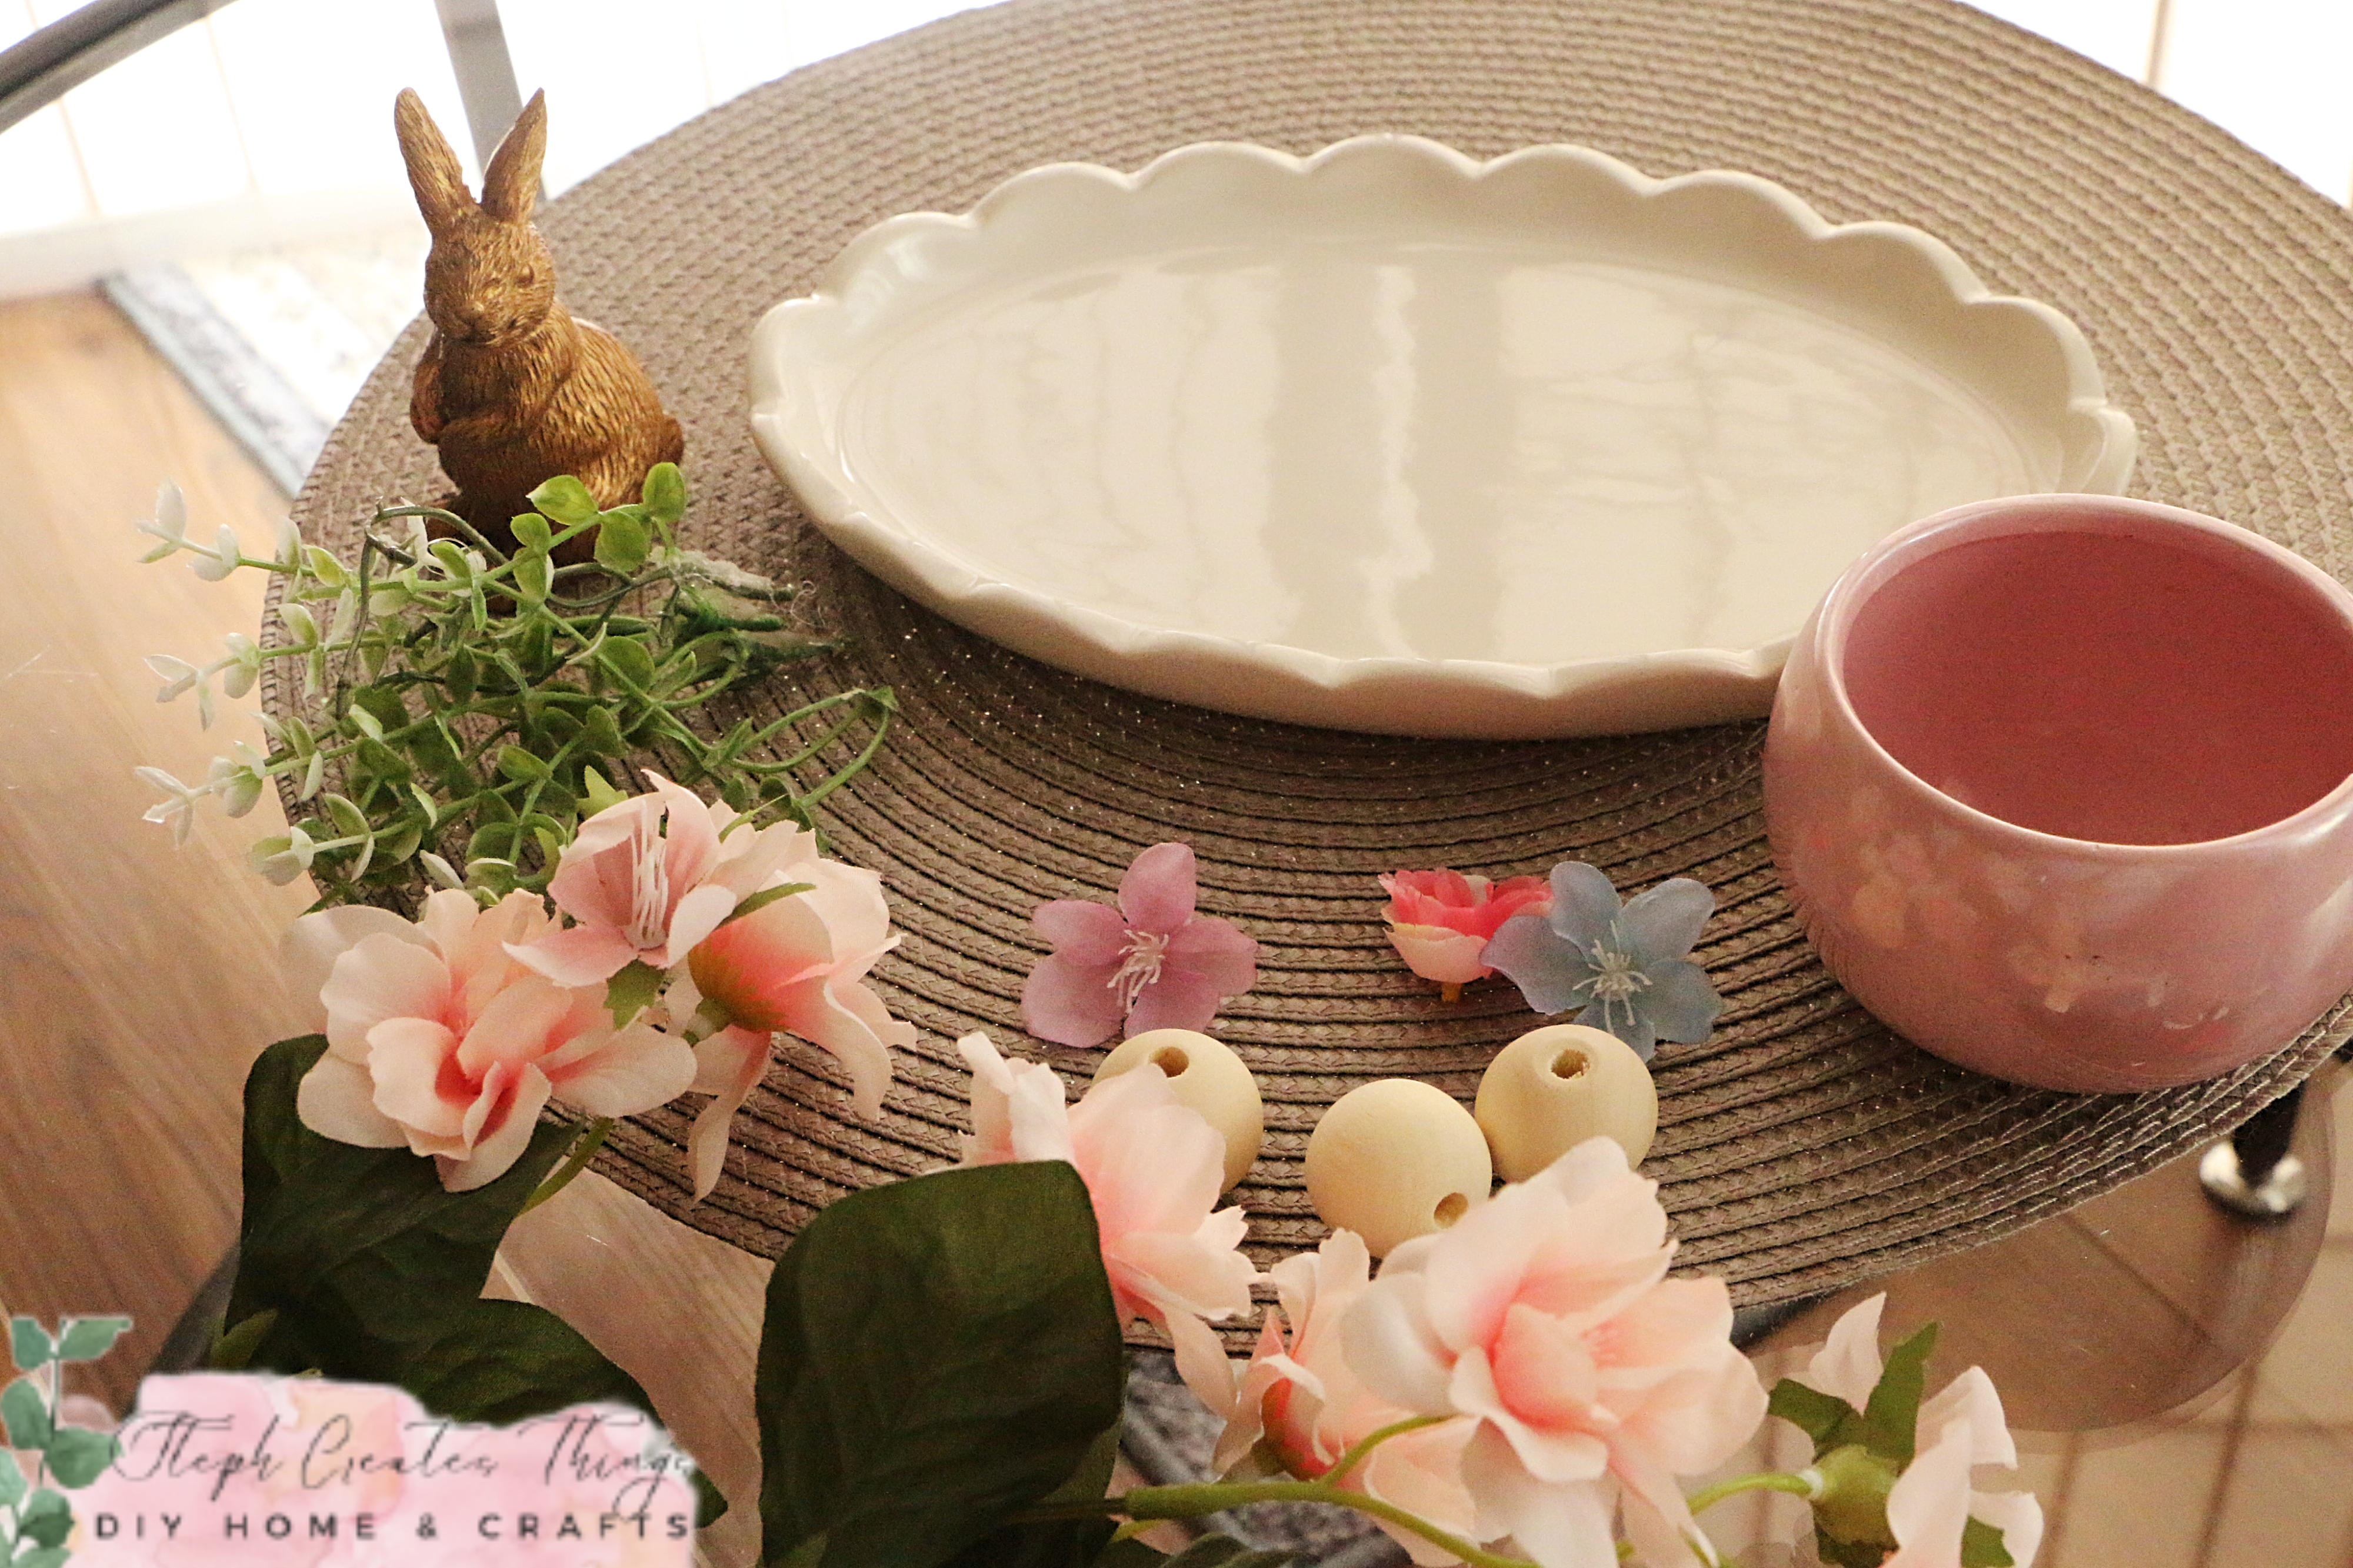
I began by setting my ceramic piece on a woven centerpiece. Then, I arranged my eucalyptus leaf vine around the tray. Afterward, I placed a candle in the center of the tray. Next, I positioned two gold bunnies on either side of the candle. To complete the design, I added my pink artificial flowers. Lastly, I lit the candle.


Tray Design Two


I decided to use my mini blossom ceramic bowl as the centerpiece of the tray. Then, I placed my two gold bunnies on either side of the mini bowl on the ceramic tray. Next, I arranged my purple artificial flowers on one side of the tray in front of the bunny. I completed the design by scattering a few loose florals on the tray.


Tray Design Three


For my last tray design, I decided to use my mini round pink pot. I added the pot to the tray and then placed my pink artificial flowers inside. Next, I positioned one of my gold bunnies next to the pink pot. After that, I arranged some faux greenery in front of the bunny. Finally, I took a medium-sized wooden bead and added a loose flower into the hole of the bead. I completed my design by adding a total of three beads with loose flowers.


Bonus Decor Ideas
I wanted to include two bonus decor ideas for quick Spring displays. For my first design, I am reusing a ceramic bowl. I had some faux foliage with purple flowers on the tip that I added to the bowl. I then added a bunny decoration in the middle of the display.


For my final design idea, I wanted to share a simple way to display faux flowers. This charming Easter Springtime gift box is ideal for showcasing flowers. While I was at my local Dollar Tree store, I came across this delightful box. I was searching for something to use for displaying my faux flowers, and this fits the bill perfectly! If you're looking for an easy way to showcase your spring flowers, this is a great option!

Pin Share Save


Comments

  1. So adorable. I love how you showed different options for the ceramic tray.

    ReplyDelete
    Replies
    1. Amy, thank you. I'm glad you enjoyed it. 😊

      Delete
  2. So adorable I love how cute them little rabbits are!

    ReplyDelete
    Replies
    1. Jen, thank you! Those rabbits are at Target. 😊

      Delete
  3. Beautiful! I love the eucalyptus leaves. And those "mini flower pots" are darling!! Thanks for sharing this post with us at the Will Blog for Comments #58 linkup. Looking forward to seeing what you share at #59. :) Have a great weekend!

    ReplyDelete
  4. Congratulations! This post was one of the most popular at the Will Blog for Comments #58 linkup! It will be in the spotlight for 2 weeks, starting today. You're welcome to save the "This Blog Post Was a Featured Favorite" post from there to share with your readers here. Thanks for being a great part of our linkup!

    ReplyDelete
    Replies
    1. Jennifer, thank you so much. I'm so thrilled to be featured at your party. Always a great place to connect.

      Delete

Post a Comment

I love hearing from you! Your comments and creative ideas truly brighten my day. I do my best to respond to everyone, so if you have a question or just want to say hello, please leave a note below. To keep our community a positive and inspiring space, spam or off-topic comments will be removed. Happy crafting!

Popular posts from this blog

How I Styled 6 Fall Trays Using Simple Reused Decor

  This fall, I wanted to challenge myself to decorate with just a few simple items—things most of us already have tucked away in our craft bins. With one round tray, a Dollar Tree lantern, a battery‑operated LED candle, a handful of faux florals, and a mix of Dollar Tree pumpkins, I created six different autumn looks. Each one feels cozy, seasonal, and unique, all without buying a bunch of new décor. My goal was to show how versatile your everyday pieces can be. By swapping out colors, textures, and small accents, you can build fresh designs that fit your style and your space. Watch the video tutorial Decorating Each Tray My First Tray: Classic Lantern & Autumn Florals For my first tray, I began by placing a round tray on a woven placemat to create a cozy base. Next, I placed the black lantern in the center and added a small LED candle inside. I figured this would provide a soft autumn glow that I love. I took yellow faux florals and arranged them around the lantern to brighten...

Easy Steps to Create a Cozy Autumn Tablescape at Home

Hello everyone! I’m excited that you decided to visit the blog today. I wanted to share how to create a cozy autumn tablescape at home. My goal was to design something warm and inviting, as our table is a space where we share conversations, drink coffee, tackle homework, and simply enjoy each other’s company.  I typically don’t go all out when decorating my dining table, but I wanted to show you how I styled it using decor pieces I already had. I would love for you to join me in this decorating adventure! Watch the video tutorial Create a Cozy Autumn Tablescape at Home Items I'm adding to my table:  -White tablecloth runner - Battery-operated leaf lights  - Reusing glass jars  - Mini pumpkins and other fall decorations  - Small "Hello Fall" sign  - Faux flowers I began by spreading my white tablecloth down the center of the table. Around Halloween, I purchased this tablecloth a few years ago at my local Walmart. After laying it out, I realized that I could ...

DIY Ghost Frame (Easy Dollar Tree Halloween Craft)

  Hi everyone! Halloween crafts don’t have to be spooky or complicated, and this little ghost frame is the perfect example. I put it together with a Dollar Tree frame, a few wooden ghosts, some gem buttons, and craft paper I already had in my stash. It’s quick, budget‑friendly, and adds the cutest touch of Halloween charm to any shelf or vignette. I love projects like this because they’re simple and relaxing, and you can customize them however you want. Different colors, different ghosts, different backgrounds — it all works. If you’re looking for a fast Halloween craft that still feels handmade and sweet, this one is definitely worth trying. Watch this video tutorial Materials I used for this project Dollar Tree frame Wooden ghost cutouts Craft paper (any color or pattern you like) Gem buttons or small embellishments Glue (hot glue or craft glue) Scissors Optional: stickers, paint, or extra accents Take the frame apart I started by removing the back of the frame, taking out both ...

Three Easy Candle Jar Ideas for Cozy Porch Décor

I've always thought there was something so comforting about soft candlelight, especially when it’s paired with a few simple faux florals and greenery. Today, I’m sharing a sweet little project in which I decorated a glass jar in three different ways. Each jar has its own personality, glow, and gentle charm. These pieces are perfect for porch décor, but they work beautifully anywhere you want to add a touch of warmth. I love projects like this—simple materials, quiet moments, and a finished piece that feels peaceful and handmade. Watch the Video Tutorial Materials I Used Clear glass jar Battery‑operated candle Faux string of pearls Faux succulents Faux vine Bright pink faux flowers (tops removed from stems) Yellow faux flowers Faux foliage Optional: woven mat or tray for display Jar 1: Succulents & String of Pearls For the first jar, I wanted something earthy and calming. I placed a faux string of pearls inside the jar and let it settle naturally. Around it, I tucked in a few fa...

How to Make Easy Beaded Wine Glass Charms

 I love creating small, simple crafts that add a personal touch to gatherings, and these wine glass charms were such a fun project. They’re easy to make, customizable, and perfect for parties, holidays, or even a cozy night in with friends. Each charm slips right onto the stem of a wine glass, making it easy for everyone to keep track of their drink. These charms come together quickly using beads, wire rings, and small metal pendants. You can mix and match colors and charms to fit any theme, and each one turns out a little different — which is part of the fun. Watch the video tutorial Materials Here’s what I used to make my wine glass charms: Wire rings Beads Small metal charms Jewelry pliers If your wire rings need trimming, use wire cutters—mine didn’t, so I didn’t need them for this project.  Choose your beads and charms Pick out the colors and shapes you want to use. I chose soft pinks, purples, and clear beads, along with heart, spiral, and flower charms. Each charm desig...

Search This Blog

All content Copyright

Copyright 2021-2026 I ask that you do not take or use my photos or words without permission. If you have any questions, please feel free and contact me. Also, for more information on this blog, check out the disclosure policy tab above. Thank you