Summer Craft: DIY Paper Plate Watermelon Flower Hanger

Hey everyone! I'm excited to show you a fun and easy craft. Today, we will be making a summer watermelon floral hanging design using a paper plate. This DIY project is easy to create and fun to welcome the summer season. You'll make this watermelon floral hanging design to display your artificial flowers creatively. It's also a great way to use any extra paper plates you may have lying around and aren't sure what to do with. You may have extras from a birthday party or a BBQ. If you're ready, let's get started creating your floral hanging design!

Paper Plate watermelon flower hanging design

Video tutorial
Summer Craft: DIY Paper Plate Watermelon Flower Hanger

Close up on paper plate watermelon flower hanger

Materials,-paint, faux flowers, paintbrush, and paper plate

Materials:
- Paintbrush
- Artificial flowers
- Paper plate (any size you prefer)
- String or craft twine
- Scissors
- Hot glue
Optional-Hole Puncher

Paper plate and scissors

Start by cutting the paper plate in half.

Paper plate cut in half

Paper plate, paintbrush, and paint

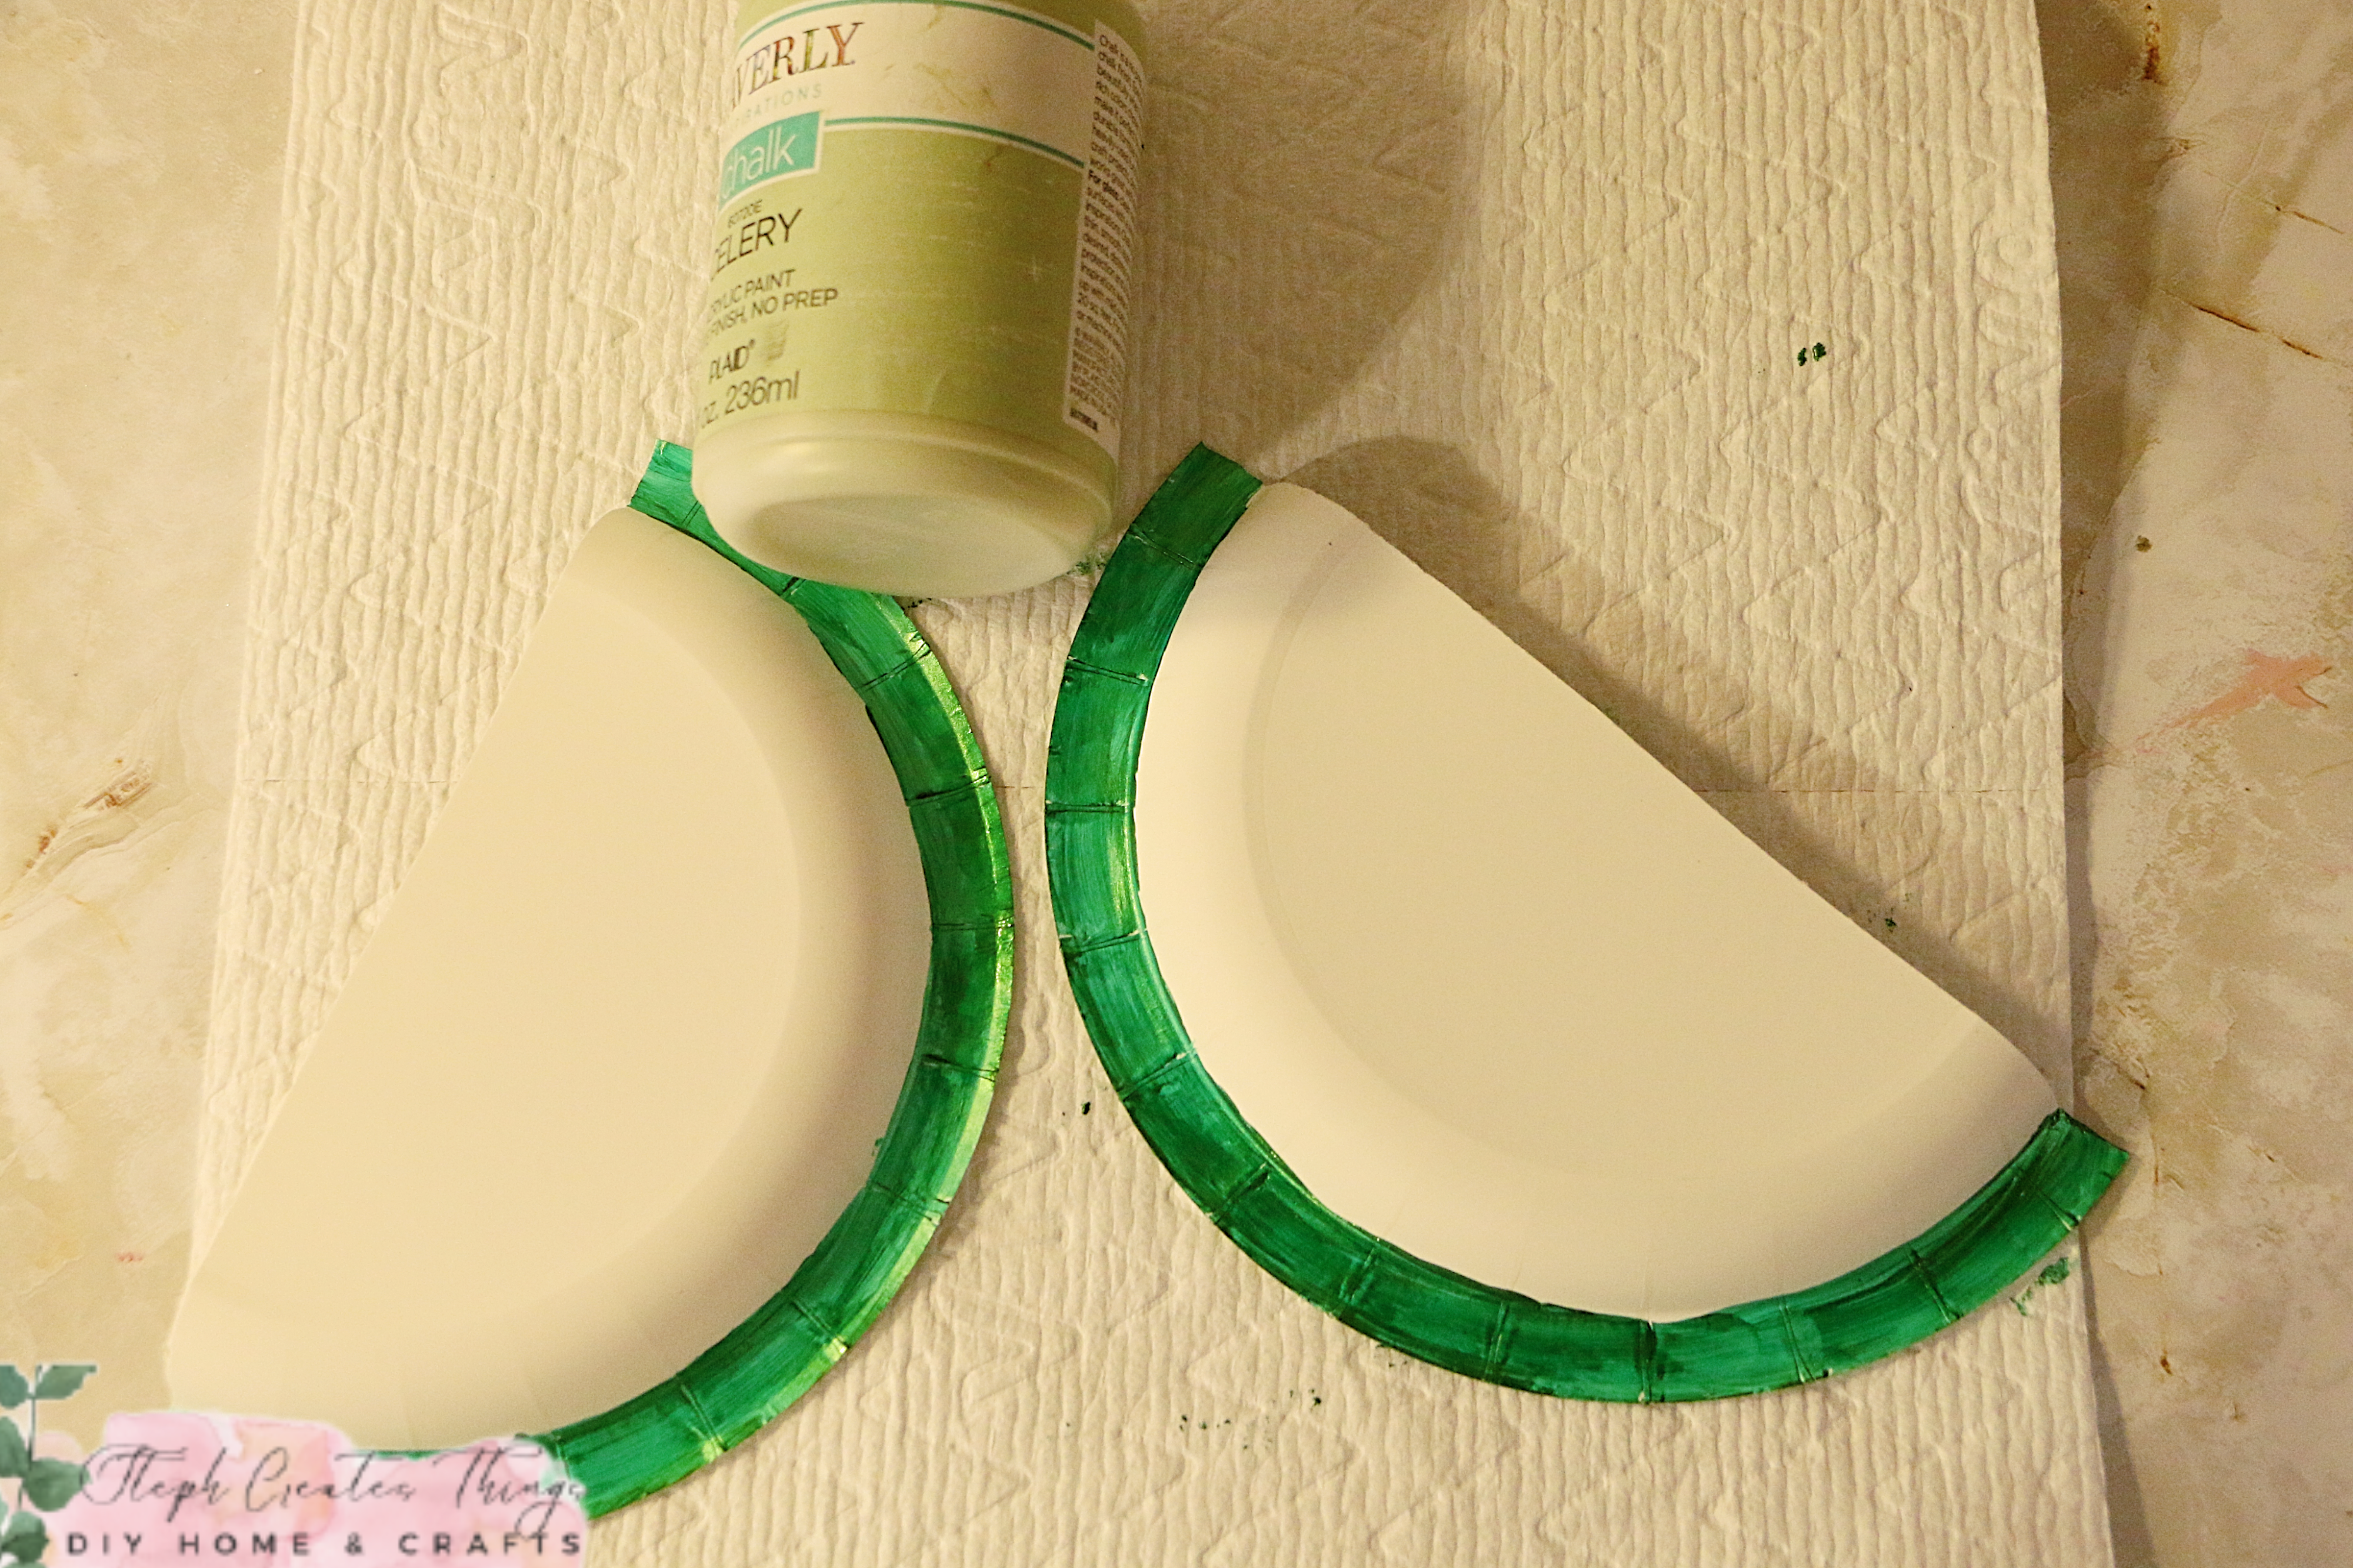
painted paper plate and light green paint
Use a darker green paint to cover the bottom area of the plate. Let it dry between each coat of paint.

Painted paper plate sections and black paint
Continue applying paint to each area of the plate. Then, add the lighter green and red paint. For the lighter green, mix the darker green with the lighter green to create the color.
Use a smaller paintbrush to create seeds on each section.

Hand holding painted plate painted green and red.

Collage showing plates sections glued together
 Apply hot glue to the inner section of one side of the plate and press the other half over it to create an opening in the middle.
Painted paper plate near string and scissors
Attach the string or twine using hot glue. If you have a hole puncher, you can punch two holes at both ends of the hanger to insert and tie off the string. Press the string in place using hot glue.

Painted paper plate near faux flowers

Add artificial flowers to the center of your design. If you find it difficult to insert the flowers, you can use a foam block cut to size to fit between the plate sections.  When adding the flowers, distribute the weight evenly to keep the design level when hanging.

Hanging watermelon flower hanger

I hope you enjoyed this DIY project. It's a fun way to display your flowers. Thank you for visiting and creating with me.
I look forward to seeing you soon.

You might also enjoy

Pin Share Save

Pinterest pin


Comments

  1. This is super cute Steph, so clever and creative!
    Jenna

    ReplyDelete
    Replies
    1. Jenna, thank you so much! You are so kind. ♡

      Delete
  2. Replies
    1. Joanne, thank you. I appreciate your feedback 😊 ❤️

      Delete
  3. You are so creative! I love this and so right for summer.

    ReplyDelete
    Replies
    1. Thank you. You are very kind. I appreciate that. ♡

      Delete
  4. Replies
    1. Amy, thank you so much. I appreciate your feedback. 😊

      Delete
  5. This is really cute! What a lovely idea.

    ReplyDelete
  6. I love that it's watermelon slices. That is as summery as you can get. Cute! #MMBC

    ReplyDelete
    Replies
    1. Carol, thank you so much! Happy you enjoyed it. :)

      Delete
  7. That is so cute and perfect for summer. What a fantastic idea for something so simple as a paper plate.

    ReplyDelete
    Replies
    1. Kim, thank you! Yes, it was a very simple creation. I hope to inspire more people to create using every day items. :)

      Delete
  8. We love watermelons in our house, I think this would make a lovely little decoration and easy enough for my youngest to make. As everyone else has said, it's very cute (And I have some spare paper plates!) #mmbc

    ReplyDelete
    Replies
    1. Thank you! Yes, this would also make a great craft for children. Thank you for visiting!

      Delete
  9. Adorable! thanks for sharing on craft schooling sunday!

    ReplyDelete
  10. Cute Idea, I'm going to do this with my Grandgirl when she comes for the weekend, thanks for the idea!

    ReplyDelete
    Replies
    1. Sandi, oh, that sounds wonderful. I hope you two enjoy this craft together.

      Delete
  11. So clever! That paper plate is the perfect shape for this adorable project. It looks SO summery!

    ReplyDelete
  12. Love, love, love the watermelon theme! So summery and cute. You're so clever, Stephanie--you come up with so many amazing things. Thank you for sharing this lovely post with us at the Will Blog for Comments #42 linkup. We hope to see you next time with more posts to share, old or new.

    ReplyDelete
    Replies
    1. Aw, you are always so kind, Jennifer. You made me smile. I'm so happy you enjoyed this summer DIY project. Thank you for taking the time to visit.

      Delete
  13. Steph , such a cute project. You are always so creative. Thanks for sharing at Love Your Creativity.

    ReplyDelete
  14. Hi, Stephanie. I'm dropping in again with congratulations--this blog post is the Host's Choice from the Will Blog for Comments #42 linkup! It will be featured in the spotlight for visitors to see for the next 2 weeks, starting today. You're welcome to save the "This Blog Post Was a Featured Favorite" image from there to share here with your readers. We hope to see you at linkup #43 as well, sharing more posts (old or new). It opens Monday morning! Have a great weekend. :)

    ReplyDelete
    Replies
    1. Jennifer, thank you so much for letting me know about the featured favorite pick. I'm excited! I'll be sure to swing by your blog and get the image to post. Thank you. Have a wonderful weekend.

      Delete
  15. What a sweet idea, it looks great. Thank you for stopping by to share with us at Handmade Monday :-)

    ReplyDelete
  16. Always such fun and creative projects, Steph! Thanks for sharing at Creatively Crafty, have a great week! Creatively, Beth

    ReplyDelete
    Replies
    1. Beth, thank you very much. Im glad you enjoyed this craft. 😊

      Delete
  17. Love summer watermelons, featuring you at Wednesdays in the Studio!

    ReplyDelete
  18. So cute!! Thanks for joining in on Home Matters Linky Party! I will be featuring your post this week! #HomeMattersParty xx

    ReplyDelete

Post a Comment

I love hearing from you! Your comments and creative ideas truly brighten my day. I do my best to respond to everyone, so if you have a question or just want to say hello, please leave a note below. To keep our community a positive and inspiring space, spam or off-topic comments will be removed. Happy crafting!

Popular posts from this blog

How to Make a Charming Tea Bag Holder Using a Garden Pot and Wood Circle

  Are you a tea lover looking for a creative DIY project? Learn to create a unique tea bag holder using a garden pot, wood circle, wooden bead, and paper floral decorations. Get inspired and add a personal touch to your tea time. Today, we will make a tea bag holder using a garden ceramic pot and a wooden circle. This holder is both functional and cute. Below, I will provide a list of materials and step-by-step instructions. Video tutorial How to Make a Charming Tea Bag Holder Using a Garden Pot and Wood Circle Materials  Garden pot- I'm using a white 4inch planter pot (The one I am using is a ceramic pot)  One wood circle- I picked up a pack of 6  3'' wood circles at my local Walmart store for $1.80 Mod Podge Decorative napkin Paintbrush One medium or large wooden bead Paper flowers and leaves Adhesive Scissors White acrylic paint Letter stamps Stamp ink Preparing your decorative napkin and Mod Podge Let's begin by taking a decorative napkin and removing the second ...

How I Refreshed an Old Garden Statue with Paint (Easy Patio DIY)

This charming toad perched on his toadstool has been a beloved part of our patio for years, enduring the passage of time while gradually succumbing to the effects of sun and weather. With each season, he has faded a little more, losing some of his vibrant colors and details. Rather than allowing him to blend into the background and become just another forgotten decoration, I decided it was time to breathe new life into him.  I shared the whole process in a quick YouTube Shorts video called “Watch Me Refresh This Old Garden Statue.” It’s a simple before‑and‑after, but such a satisfying one.  Materials I Used Garden statue (mine is a toad on a toadstool) Sandpaper Acrylic paints Small detail brushes Mod Podge (for sealing and protection) Sanding and Painting I began by gently sanding the statue to smooth out the chipped and faded paint. It only takes a few minutes, but it makes such a difference. Once the surface felt ready, I brought out my acrylic paints and started...

Floral Painted Jewelry Dish using Plant Saucer

Learn how to make a beautiful floral-painted jewelry dish using a plant saucer with easy step-by-step instructions in this guide. Today, I'm excited to share a DIY tutorial with you. We'll be making a jewelry dish using plastic plant saucers. I had bought two plant saucers from Lowe's but had yet to use them. So, this would be a great way to make use of them. I made two jewelry dishes for my daughters. Video tutorial Floral Painted Jewelry Dish using Plant Saucer These are the materials I am using:  Plastic plant saucers that measure 4.17 x 4.17 x 1.01 inches  Acrylic paint in various colors Paintbrushes Mod Podge Painting flowers onto the plant saucer First, make sure your plant saucer is clean and dry. Then, use a small paintbrush to paint a few assorted flowers on it. Paint as many flowers as you like. Adding a painted background Once the paint has dried, paint the background of your plastic saucer with your choice of paint. I painted one dish a light blue, and the other...

DIY Budget-Friendly Succulent Plant Hanger Design

 Hi everyone! I hope that you are doing well. Today I am sharing an easy DIY craft that is budget-friendly, and easy to create. A material list will be provided, along with step-by-step instructions on creating your very own. Be sure to check out the video tutorial below. Video tutorial Materials One 4x4 framed art Acrylic paint Faux succulents Hot glue and any other heavy-duty adhesive Twine Scissors  Floral cutters Paintbrush You can find most of these materials at your local Dollar Tree This project costs under five dollars If your frame comes with beads as shown in the picture above, take your scissors and remove the beads. You will actually reuse the beads later on in this craft. Take the inner section of your out and set it aside. Next, take your acrylic paint and paintbrush, and begin to apply your paint to your frame. I applied three coats of my paint to my frame. Next, use your paintbrush you apply paint over the inner section of the frame we removed earlier. I applie...

Upcycle Your Candle Lids: Easy Steps for Fall Shelf Decor

Hello everyone! Happy Autumn! I'm excited that fall has arrived. Today I'm going to share an easy upcycled craft idea with you. We'll be creating Autumn shelf sitter decor using two candle lids. I wasn't sure what to do with my candle lids, but I decided to make fall shelf sitter decor after giving it some thought. If you're ready, let's begin building your very own. Video Tutorial Materials - Two candle lids (wooden or metal) - Acrylic paint - Paintbrush - Mod Podge (optional) - Craft moss - Mini wooden mushrooms - Scissors - Assorted fall decor (e.g. flowers, fall vase filler glitter leaves, smaller faux succulent flowers in deep purple color) - Hot glue Begin by applying acrylic paint to both the wooden lid and wooden mushrooms. I decided to paint the tops of the wooden mushrooms orange and brown. First, if your napkin is 2-ply, remove the second layer. Then, use scissors to cut out the designs you want to add to the project. Afterward, use a smaller paintbru...

Search This Blog

All content Copyright

Copyright 2021-2025 I ask that you do not take or use my photos or words without permission. If you have any questions, please feel free and contact me. Also, for more information on this blog, check out the disclosure policy tab above. Thank you