
Fourth of July Wooden Hanging Sign

 Hi everyone. I hope that you are all doing well. This week we encountered floods and tornado warnings in our area. We are all fine, but it worried a lot of us. The sun decided to finally make an appearance. Perfect timing to create another quick and easy Fourth of July craft. 

 I am sharing a quick Fourth of July wooden sign craft. I still have a few festive decorations lying around my craft room. 

I am also reusing my wooden sign from an older project. So if you have an older wooden sign that you would love to give a quick transformation to, this craft is perfect for you!

Wooden plaque painted red, white and blue, with tulle, and foam stars


Video tutorial


Craft materials such as wooden sign, tulle, paintbrushes, foam stars, twine and paint

Materials


One wooden sign- I am reusing my wooden sign from an older project
 The sign size is 11 x 8
Foam scatter stars- I purchased a bag at my local Dollar Tree store
Tulle or ribbon
Paintbrushes
Acrylic paint- Red, white and blue
Adhesive- I am using both E6000 and hot glue
Scissors

Applying paint to a wooden sign

Wooden sign with with paintbrush and acrylic paint on a table


Begin by adding your acrylic paints to your wooden board.
 I decided to reuse a wooden board from an older project.
 I sanded off the previous design before applying acrylic paint to my board. 
I used my blow dryer to help with the drying process.

Attaching foam stars to wooden sign

Painted wooden sign with foam stars and adhesive on a table


Next,  add your foam stars; take adhesive to attach your star decorations to your board. 
I added three stars on each section of my wooden sign. 
I ended up using a total of nine stars.

Adding tulle to wooden sign

Painted wooden sign with foam stars attached with tulle and scissors nearby on a table

Tulle in blue, red, and white scissors nearby


After, take your tulle or ribbon and cut sections to create a bow. 
 I cut three sections. Next, I folded each section and pinched off the middle of each one. I used twine and wrapped it around the middle of the tulle. Tie it off and cut any of the remaining twine.
 Feel free and create your bow how you would like. You can also use ribbon if you choose.

Completed Fourth of July wooden sign

Lastly, take your bow and add it to your wooden sign. I used both E6000 and hot glue when attaching my bow.  I do this because where I hang it gets very hot and I wanted to make sure there was zero chance of my embellishments falling off. 
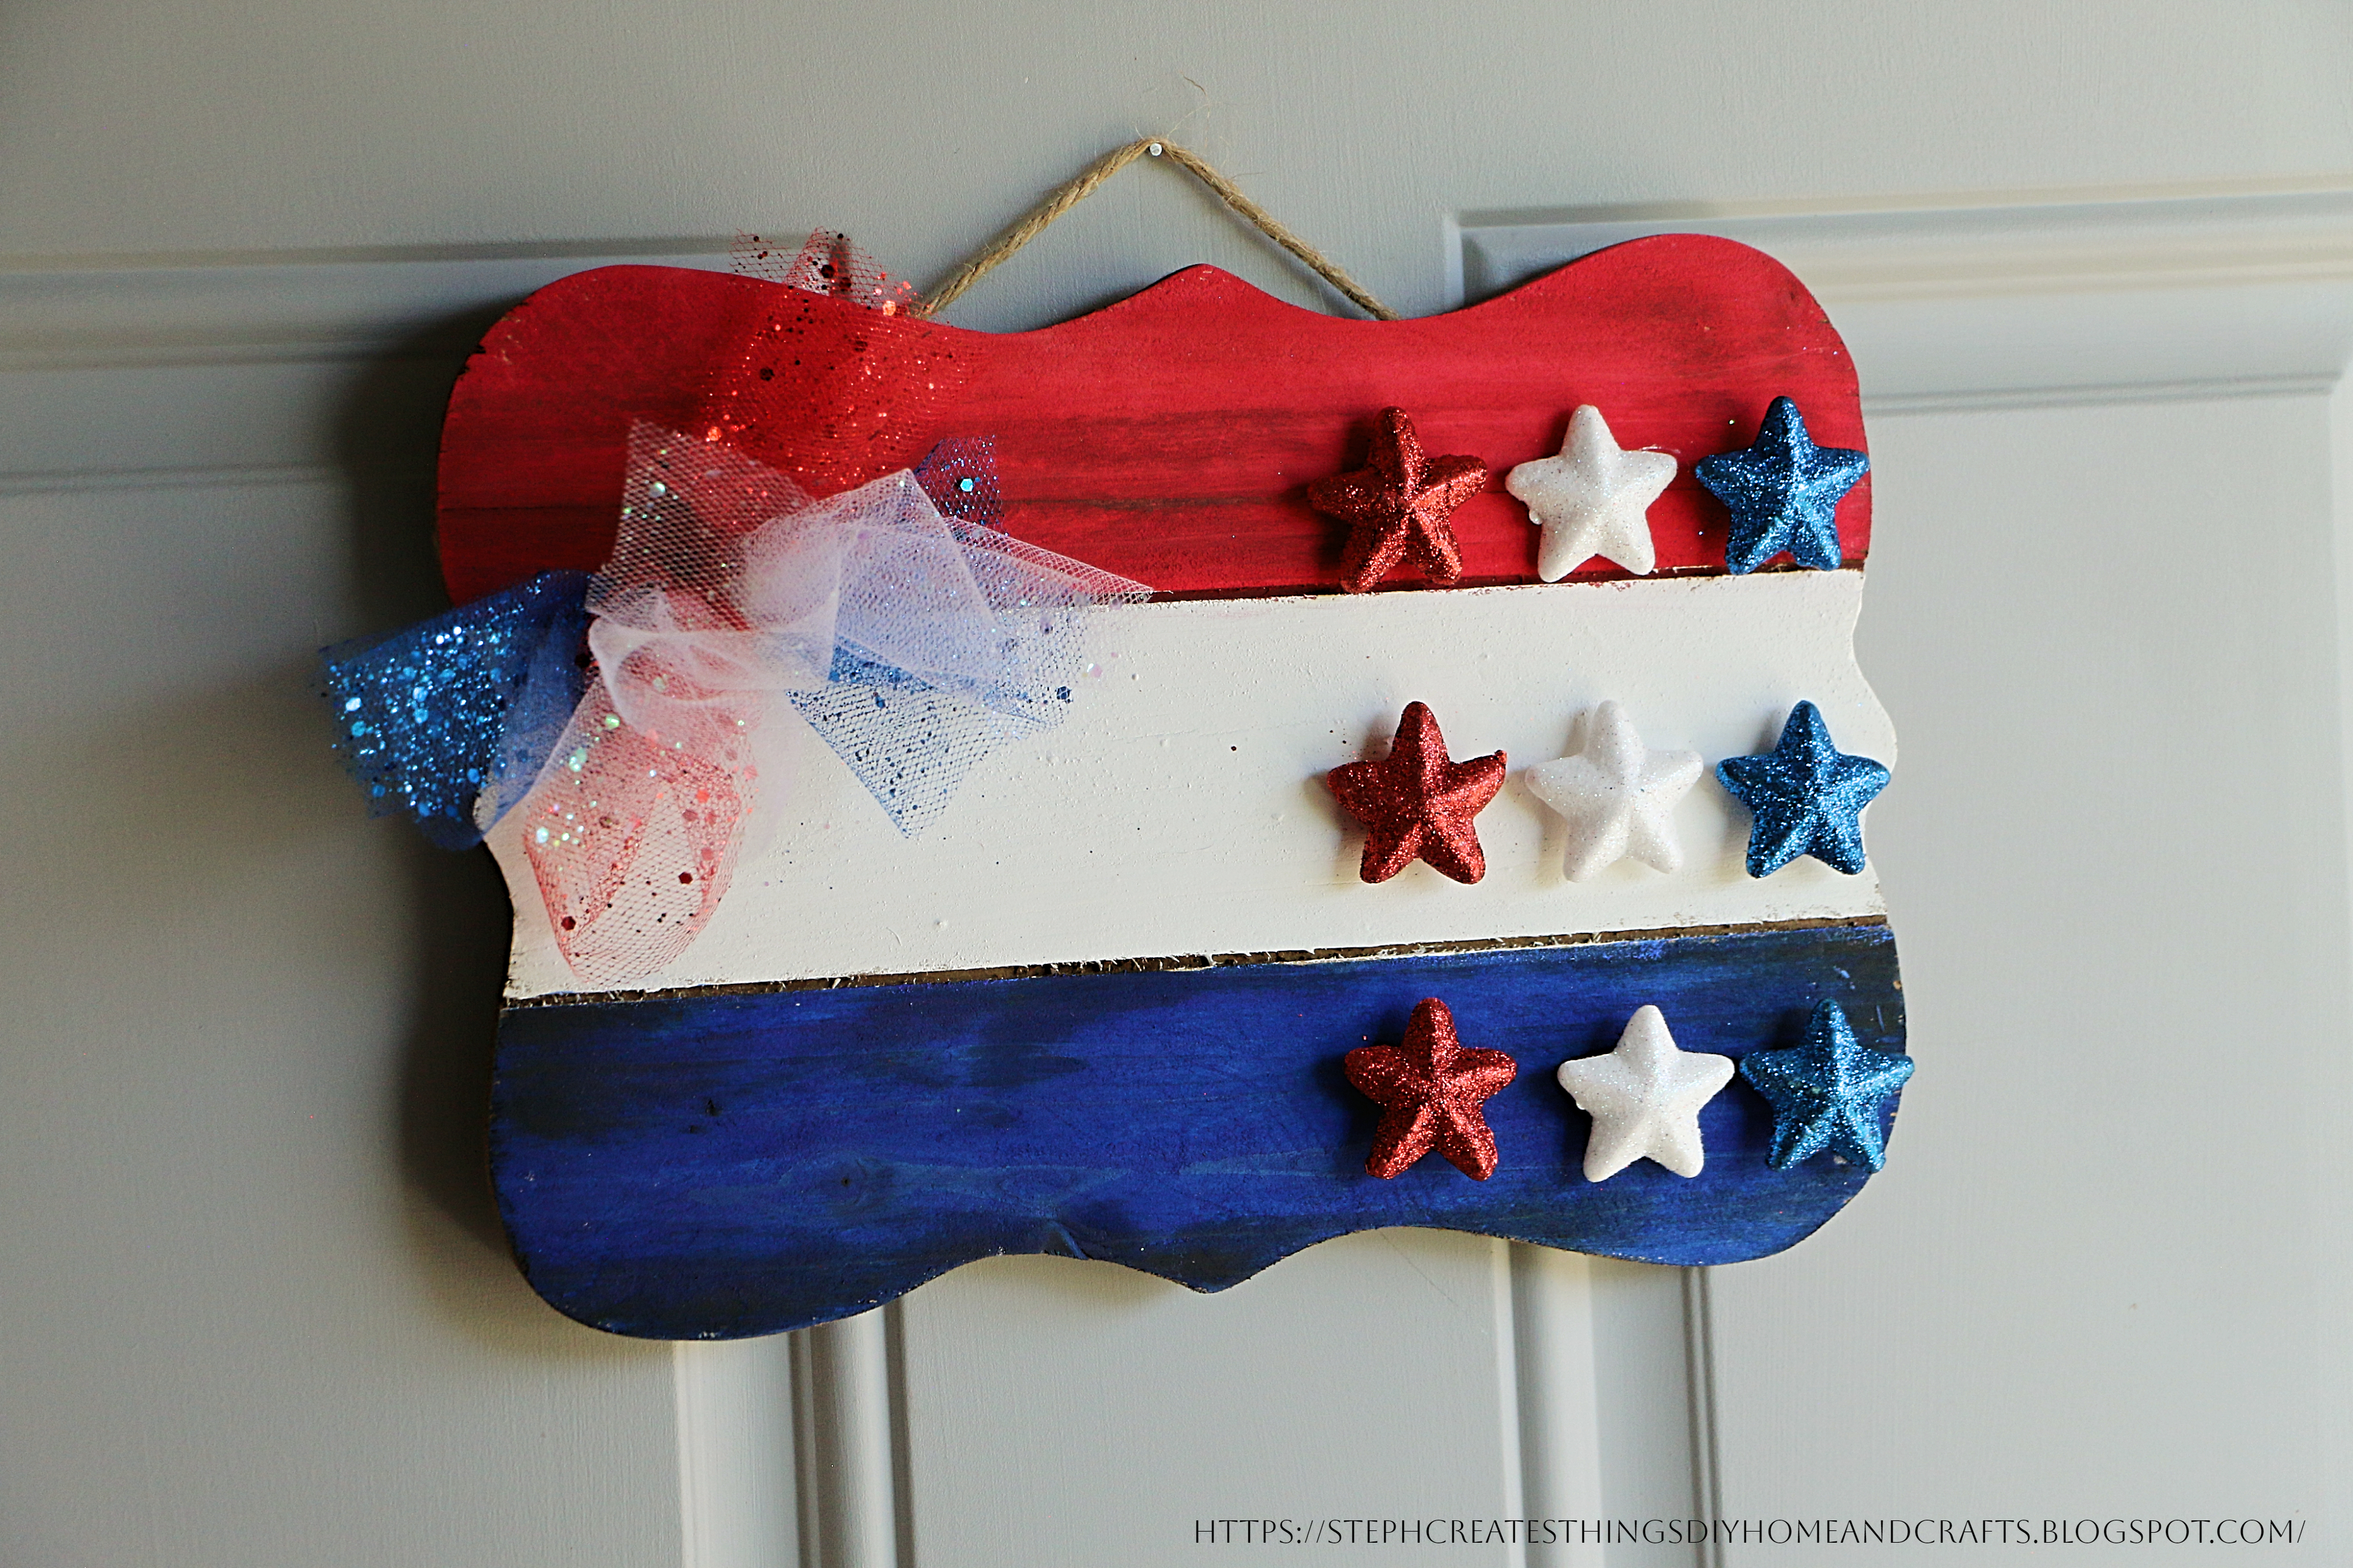
Completed Fourth of July wooden sign hanging on a door

Close-up of Fourth of July wooden sign

Your Fourth of July wooden sign is complete. I love how easy it was to create this simple decoration. You could also add a mini grapevine wreath just below your bow. Also, a quick way to customize your sign is to add wooden letters or vinyl letters, or you could leave it as is. As always, thank you so much for stopping by and creating with me. I appreciate every single one of you.

Pin Save Share

Pinterest pin with title and picture of completed wooden sign

Comments

  1. This is so cute! I have to check my craft stash right now and see what I have on hand. Thanks so much for the inspiration! Visiting from BFF Open House Party

    ReplyDelete
    Replies
    1. Maria, I'm so happy to hear that this inspired you. ✨️ Thank you so much for visiting. 😊

      Delete
  2. You are always so full of so many wonderful ideas Stephanie! Great inspiration! Thank you for sharing with Whimsy Home Wednesday!

    ReplyDelete
    Replies
    1. Thank you. I always appreciate your feedback. :)

      Delete
  3. Your 4th of July sign is so cute and festive! I had a patriotic sign on my list this year, but it's now rescheduled to next year. I'm running way behind. I love yours! Thanks for sharing at the #HomeMattersParty.

    ReplyDelete
    Replies
    1. Allyson, thank you! I wish I would have been able to create more for 4th of July, but I guess I will next year. Thanks so much for stopping by.

      Delete
  4. Love it, looks great! Thanks so much for linking up at the #UnlimitedLinkParty 117. Pinned.

    ReplyDelete
  5. Visiting again to say thanks so much for linking up at #AThemedLinkup 154 for All Things American and Patriotic. Pinned.

    ReplyDelete
  6. Stephanie, CONGRATS! Your post is FEATURED at the #UnlimitedLinkParty 118!

    ReplyDelete
  7. CONGRATS, Stephanie! Your post is FEATURED at #AThemedLinkup 155 for Coastal Crafts and Décor from the previous linkup for All Things American and Patriotic!

    ReplyDelete
  8. Pinned to our "Red, White and Blue" board!

    ReplyDelete
  9. Very cute patriotic sign Steph. Love how festive it is. I am happy to feature Your fourth of July sign at Love Your Creativity.

    ReplyDelete
  10. Linda, thank you very much for the feature. I appreciate it.

    ReplyDelete

Post a Comment

I love hearing from you! Your comments and creative ideas truly brighten my day. I do my best to respond to everyone, so if you have a question or just want to say hello, please leave a note below. To keep our community a positive and inspiring space, spam or off-topic comments will be removed. Happy crafting!

Popular posts from this blog

How I Styled Six Fall Trays Using Simple Reused Decor

  This fall, I wanted to challenge myself to decorate with just a few simple items—things most of us already have tucked away in our craft bins. With one round tray, a Dollar Tree lantern, a battery‑operated LED candle, a handful of faux florals, and a mix of Dollar Tree pumpkins, I created six different autumn looks. Each one feels cozy, seasonal, and unique, all without buying a bunch of new décor. My goal was to show how versatile your everyday pieces can be. By swapping out colors, textures, and small accents, you can build fresh designs that fit your style and your space. Watch the video tutorial Decorating Each Tray My First Tray: Classic Lantern & Autumn Florals For my first tray, I began by placing a round tray on a woven placemat to create a cozy base. Next, I placed the black lantern in the center and added a small LED candle inside. I figured this would provide a soft autumn glow that I love. I took yellow faux florals and arranged them around the lantern to brighten...

Three Easy Candle Jar Ideas for Cozy Porch Décor

I've always thought there was something so comforting about soft candlelight, especially when it’s paired with a few simple faux florals and greenery. Today, I’m sharing a sweet little project in which I decorated a glass jar in three different ways. Each jar has its own personality, glow, and gentle charm. These pieces are perfect for porch décor, but they work beautifully anywhere you want to add a touch of warmth. I love projects like this—simple materials, quiet moments, and a finished piece that feels peaceful and handmade. Watch the Video Tutorial Materials I Used Clear glass jar Battery‑operated candle Faux string of pearls Faux succulents Faux vine Bright pink faux flowers (tops removed from stems) Yellow faux flowers Faux foliage Optional: woven mat or tray for display Jar 1: Succulents & String of Pearls For the first jar, I wanted something earthy and calming. I placed a faux string of pearls inside the jar and let it settle naturally. Around it, I tucked in a few fa...

How I Refreshed an Old Garden Statue with Paint (Easy Patio DIY)

This charming toad perched on his toadstool has been a beloved part of our patio for years, enduring the passage of time while gradually succumbing to the effects of sun and weather. With each season, he has faded a little more, losing some of his vibrant colors and details. Rather than allowing him to blend into the background and become just another forgotten decoration, I decided it was time to breathe new life into him.  Watch the Video Tutorial I shared the whole process in a quick YouTube Shorts video called “Watch Me Refresh This Old Garden Statue.” It’s a simple before‑and‑after, but such a satisfying one.  Materials I Used Garden statue (mine is a toad on a toadstool) Sandpaper Acrylic paints Small detail brushes Mod Podge (for sealing and protection) Sanding and Painting I began by gently sanding the statue to smooth out the chipped and faded paint. It only takes a few minutes, but it makes such a difference. Once the surface felt ready, I brought out my a...

DIY Ghost Frame (Easy Dollar Tree Halloween Craft)

  Hi everyone! Halloween crafts don’t have to be spooky or complicated, and this little ghost frame is the perfect example. I put it together with a Dollar Tree frame, a few wooden ghosts, some gem buttons, and craft paper I already had in my stash. It’s quick, budget‑friendly, and adds the cutest touch of Halloween charm to any shelf or vignette. I love projects like this because they’re simple and relaxing, and you can customize them however you want. Different colors, different ghosts, different backgrounds — it all works. If you’re looking for a fast Halloween craft that still feels handmade and sweet, this one is definitely worth trying. Watch this video tutorial Materials I used for this project Dollar Tree frame Wooden ghost cutouts Craft paper (any color or pattern you like) Gem buttons or small embellishments Glue (hot glue or craft glue) Scissors Optional: stickers, paint, or extra accents Take the frame apart I started by removing the back of the frame, taking out both ...

Christmas Camper Shadow Box

  Get in the holiday spirit with a delightful Christmas Camper Shadow Box! This DIY craft project combines the warmth of Christmas and the appeal of a camper distinctly and imaginatively. Discover how to create your own unique Christmas Camper Shadow Box with this comprehensive guide. Ideal for adorning your home during the holiday season or as a thoughtful gift idea. Video tutorial Hi everyone! I am so excited to share this simple Christmas DIY shadow box craft. This craft can be completed within 10 minutes and only takes a few materials.  Materials Needed - One Wood Shadow Box Purchased at Michael's -One set of Camper Ornaments  I picked this up at my local Dollar Tree craft store -Red bells -Paint Red, white, and green -Greenery/pinecones -Twine, or String -Hot glue -Scissors -Red glitter This is optional for the inside of your box -Craft clothespins  I used gold for my box Creating your Shadow Box design Start by painting the inside of your box red. The sides, to...

Search This Blog

All content Copyright

Copyright 2021-2026 I ask that you do not take or use my photos or words without permission. If you have any questions, please feel free and contact me. Also, for more information on this blog, check out the disclosure policy tab above. Thank you