
Are you looking for an affordable way to add some love to your home? Why not try making a Dollar Tree Hanging Heart Decoration? In this project, we will be creating a beautiful hanging heart decoration using a wooden heart plaque that I found at Dollar Tree last year. I will provide you with a material list below, and you can also find it in the video tutorial that I have included.

Dollar Tree Hanging Heart Decoration Video tutorial

Materials needed
One wood heart decoration
Decorative tissue paper
Acrylic paint
Paintbrush
Mod Podge
Hot glue
Wooden beads
Twine or craft rope
Scissors
Optional craft gems
Faux floral
Pencil for tracing
Cutting and applying the decorative tissue paper
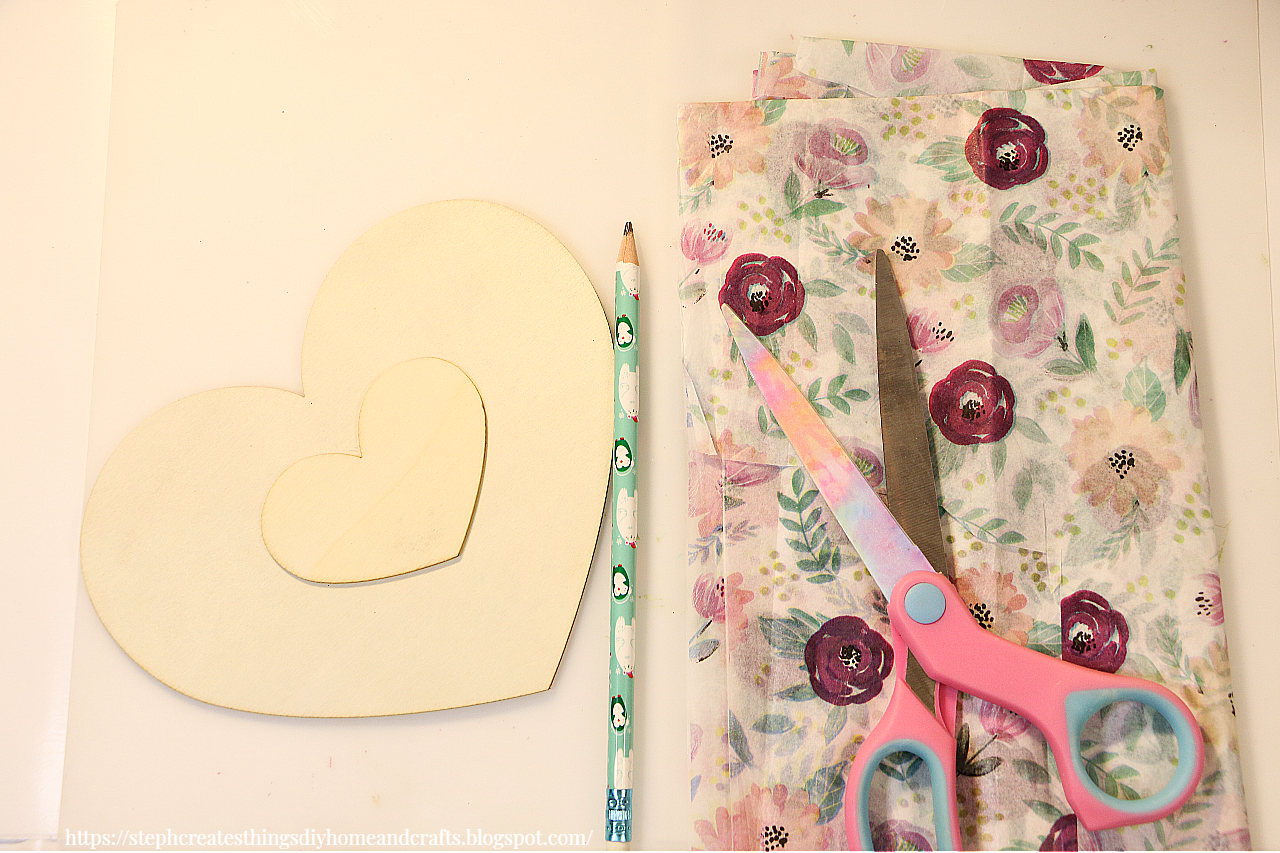
Begin by taking your decorative tissue paper, and cutting a small section of it. I cut a small square section of my tissue paper. You will need just enough to trace out the smaller heart in the middle of your plaque. Next, take your pencil and start to trace out your tissue paper on the smaller heart. Take your scissors and cut out the traced heart of tissue paper.

Next, take your Mod Podge and apply Mod Podge to your smaller heart. After applying your Mod Podge, take your traced-out heart and add it over the Mod Podge surface. Smooth out your tissue paper. Use my blow dryer to help with drying and creating a smooth surface. After, take a second coat of Mod Podge and add it over the decorative paper. Repeat the above steps.
Applying acrylic paint to the wooden heart

Next, take your acrylic paint and begin to add your paint onto the larger heart surface. I gave it around two coats of paint.
Adding faux flowers and leaves

You are now ready to add on your leaves and flowers. I chose some paper craft pressed leaves and my smaller succulent flowers. I added them using hot glue. I attached them to one section on the bottom of my heart plaque.
Adding embellishments

This is optional, but I added a few of my faux pearls around the smaller heart. Even though the pearls have a sticky backing, I used my E6000 adhesive. I wanted to make sure that they would not fall off.
Adding beads and twine


Lastly, take your twine and begin to string on your wooden beads. You will want to determine how long you want your twine to be since this will be used for hanging the heart decoration. Depending on the size, you may not need to use many beads. My twine was medium-length. After adding my beads, I tied a knot on one end, took my scissors cut the twine on the other end, and then tied it off. I left a small amount of the twine on both ends of my knot. Flip your heart over, and using hot glue, attach your twine to the back, creating a loop.
.png)
Your hanging heart decoration is complete! I love how this turned out and this can be displayed for Valentine's, or even in the springtime. Thank you so much for stopping by and creating this craft with me. I'll see you soon.
You might also enjoy
Pin Share Save

Isn't that cute? I'm also liking the wooden pots decorative hanger I'm seeing down below on your popular posts! Thanks so much for linking up at the Unlimited Link Party 97. Shared.
ReplyDeleteDee, thank you! Aw, I'm so happy to hear that you enjoyed the wooden pots decorative hanger as well. :)
Deletesuch a sweet project. Thanks for sharing with Creatively Crafty link party
ReplyDeleteJanet, thank you so much. Happy to hear you enjoyed it.
DeleteThis is such a fun and budget friendly project! Thank you for sharing your post on the Home Imagined link party!
ReplyDeleteAnna, thank you. Yes, it is very budget friendly! Thank you so much for stopping by.
DeleteVisiting again to say thanks so much for linking up at A Themed Linkup 139 for All Things Love and Valentine’s Day. Shared.
ReplyDeleteThank you! :)
DeleteThis is so pretty. Thanks bunches for sharing this tutorial with Sweet Tea & Friends this month sweet friend.
ReplyDeletePaula, thank you! :)
DeleteVisiting again to say thanks so much for linking up at #IMadeItMondayLinkParty 17. Pinned.
ReplyDeleteYou have such a knack for making simple things look so special. Thanks for stopping by at Handmade Monday to share with us.
ReplyDeleteJulie, aw thank you. You really made my day! :)
DeleteStephanie,
ReplyDeleteI love this project especially using the beads for the handle. Congratulations, you are being featured on Thursday Favorite Things. I hope you stop by. https://www.eclecticredbarn.com/2024/01/goodies-and-decorating-on-tft.html
Hugs,
Bev
Bev, sorry for the late response! Thank you so much. I appreciate your kind comment. Also, thank you for the feature. :)
DeleteThis is such a cute project. It would be fun to do with the grandkids.
ReplyDeleteSusan, thank you so much. 😊
Delete