Hi everyone! How's the weather over where you live? We were experiencing temperatures in the mid-'70s and then out of nowhere, it snowed. We're pretty used to the spontaneous weather change. Today was a nice sunny day, and I wanted to share with you this quick and super simple spring floral wreath. This project is around ten minutes and takes very few materials.
Spring Floral Wreath Video Tutorial
Materials
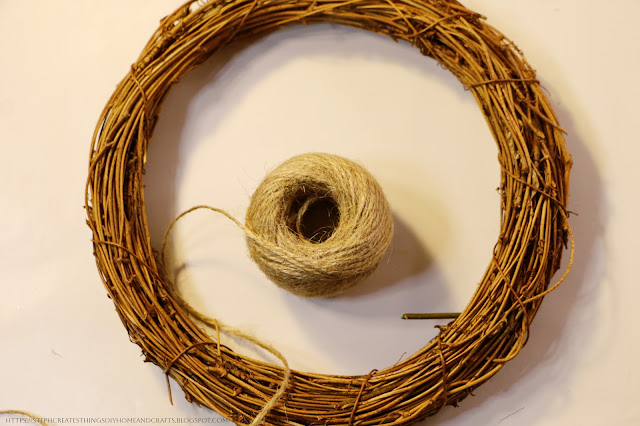
One small grapevine wreath
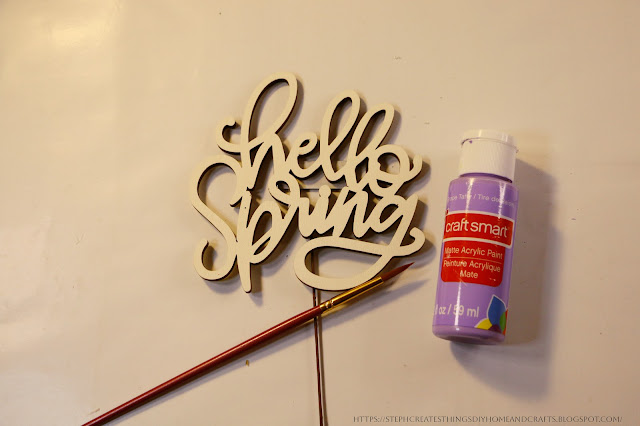
One spring word decor
Faux spring floral
Acrylic paint
Twine
Scissors
Paintbrush
Floral cutters
Optional-craft wire
Using your paintbrush, apply your acrylic paint to your wooden spring letters. I decided to leave my letters white and apply light purple dots over my letters.
Next, take your twine and pull it through one section of your wreath. Once you have pulled it through, tie off a small knot and cut a long enough strand of twine. Pull the other end through another section of your wreath, creating a small loop and tying off the back. This will be used for hanging the wreath.
Next, if your spring wooden word decor comes with wire, this is perfect for adding it to your wreath. I ended up using the wire that came with my wooden decor letters. I pulled it through the bottom section of my wreath and wrapped it around the bottom of the wreath. If you do not have a wire, you can use craft wire to attach your letters or spring words.
After, take your floral cutters and begin to cut your flowers to size. Once you have cut your flowers to size, take each one and begin to pull the stems through your wreath.
Your spring floral wreath is complete. Wasn't that simple? I love how simple this was to put together. And right now, Michaels is having a spring sale. I hope that you enjoyed creating this craft with me. Be sure to let me know if you decide to create your very own. Thank you for visiting. I'll see you soon.
❤Stephanie
Pin Share Save


How pretty. Thanks so much for linking up at the #UnlimitedLinkParty 109. Shared.
ReplyDeleteDee, thank you so much.
Delete