
Easy Dollar Tree Easter Tabletop Decoration

Transform your Easter table into a whimsical wonderland with a delightful metal bunny plaque from Dollar Tree - it's an easy and affordable DIY project!

Today we are creating an Easter tabletop decoration using one of the galvanized bunnies from Dollar Tree. I actually purchased it last year, but I hadn't gotten around to creating a craft with it until now. This craft is beginner-friendly and only uses a few materials. 

Easter bunny metal decoration with faux tulips and leaf design displayed near candle pillars.

Easter bunny tabletop decoration with faux tulips and leaf design

Video tutorial


Materials such as Mod Podge, twine, paint, and metal bunny decoration

Materials

One galvanized bunny sign
One rectangular wooden piece can easily use scrap wood. I am using a wooden piece from a block set.
I purchased one round wood piece at Dollar Tree; they come in different shapes. I decided to go with the oval shape.
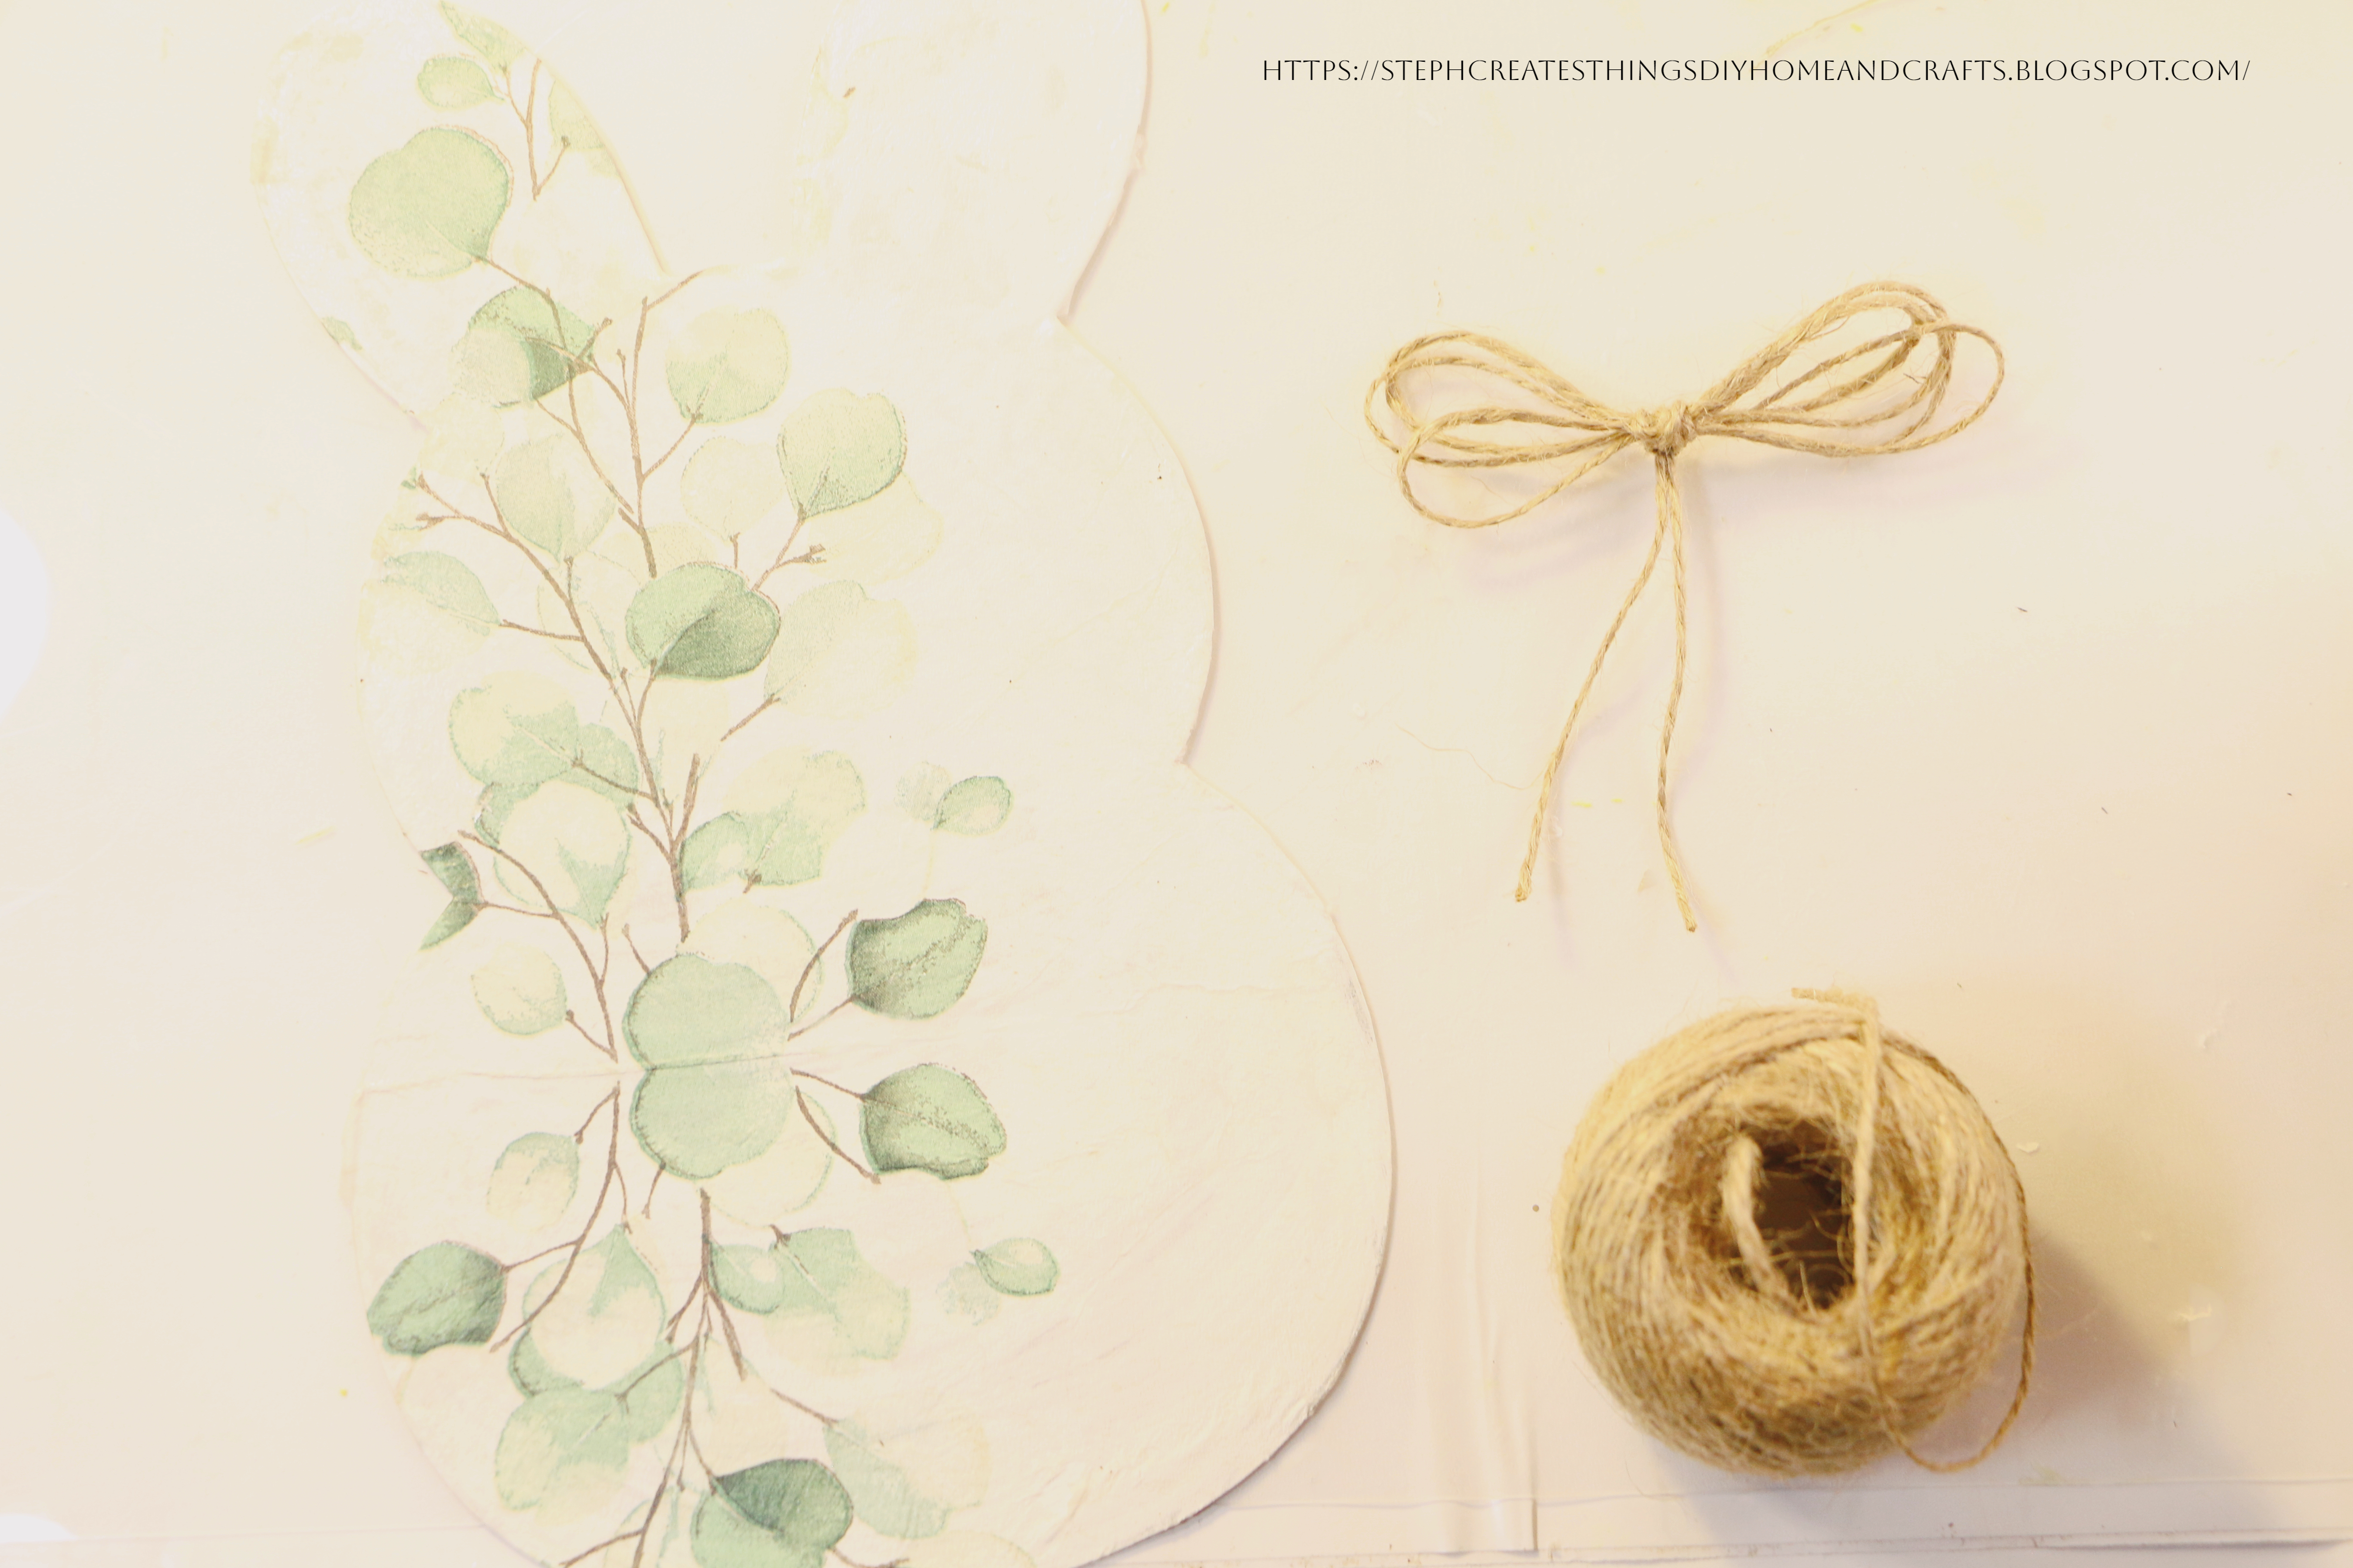
Acrylic paint- I am using a color called celery for the wood pieces and applying white to the bunny sign.
Twine
Faux greenery and tulips
Mod Podge
Paintbrush
Hot glue
Decorative napkin
Floral cutters

galvanized bunny decoration near paintbrush and paint.

Begin by taking your paintbrush and applying paint over your galvanized bunny. This is not required, but I wanted to apply a thin layer of white paint before I used my Mod Podge and napkin.
Allow your paint to completely dry.

Mod Podge, decorative napkin, and painted Easter bunny metal decoration

Next, using a paintbrush apply a thin layer of Mod Podge over the painted surface on your bunny. After doing this, take your napkin and remove the second layer of your napkin before applying it over the first coat of Mod Podge. Lay your napkin over your Mod Podge and gently press it down. 

I normally use a blow dryer when working with Mod Podge. I've noticed that it helps with removing any lines and creases. Apply a second coat of Mod Podge over your napkin and repeat the previous steps. Use your scissors or craft knife to remove any of the leftover napkins around the edges. Set your bunny aside.

Paintbrush, wooden block, and paint

Next, take your acrylic paint and begin to apply it to your wood pieces. Allow your wood pieces to dry before gluing them together.

wooden pieces glued together

Take your rectangle wood piece and using hot glue, glue it to the center of your oval wooden piece.

Decorated metal bunny with leaf design next to twine bow

After, take your twine and with a small section create a bow. Take your twine and begin to wrap it around your bunny where the indentions are before you get to the body of your bunny. I started with a single strand and tied it off before wrapping it around. Cut and glue down any of the remaining twine.

Faux flowers near floral cutters

Attach your bunny to your wood stand by applying hot glue to the bottom of the bunny. Take your floral cutters and begin to cut your floral and greenery to size.  After cutting your flowers, start to glue them onto your wooden stand. 

Metal Easter Bunny displayed on table

Easter tabletop decoration displayed on windowsill.

Your decoration is now complete. I love how this craft turned out. Such a simple creation and most materials were purchased at my local Dollar Tree. I hope that you have enjoyed this craft. Let me know if you decide to create your very own. Thank you so much for stopping by and creating with me. I'll see you soon. 

Pin Share Save


Comments

  1. Stephanie this is adorable! I'd love to invite you to come share your DIY and link up at my weekly link party for a chance to be featured! https://www.ourtinynest.com/2023/03/01/weekly-link-party-337/

    ReplyDelete
    Replies
    1. Thank you! I shared it at your weekly party. Thank you for letting me know about it last time. 😊

      Delete
  2. This is too cute! I would like to invite you to link up your crafty DIY project to my link party for a chance to be featured. https://www.vintagestylegal.com/2023/03/whimsy-home-wednesday-no-19.html

    ReplyDelete
    Replies
    1. Thank you so much! I appreciate the invite as well. :)

      Delete
  3. How pretty. Reminds me of the one you did where the metal was shaped like a jar. Thanks so much for linking up at the #UnlimitedLinkParty 102. Shared.

    ReplyDelete
    Replies
    1. Dee, thank you! Yes, I used the same eucalyptus napkin in this craft that I used in that one. 😊

      Delete
  4. Stephanie,
    Such a cute idea. Congratulations, you are being featured on WWBH. https://www.eclecticredbarn.com/2023/03/spring-is-coming-on-wonderful-wednesday.html
    I hope you stop by.
    Hugs,
    Bev

    ReplyDelete
  5. Stephanie, CONGRATS! Your post is FEATURED at the #UnlimitedLinkParty 103!

    ReplyDelete
  6. This is adorable!! What a fun project for Spring! Thanks so much for sharing at Home Imagined this week!

    ReplyDelete
  7. So cute! I'm featuring your post on today's Crafty Creators. Thanks for sharing!
    Niki | Life as a LEO Wife

    ReplyDelete
    Replies
    1. Niki, aw thank you! I'll be sure to come by. I appreciate it. :)

      Delete
  8. This is a beautiful Easter craft. I love the green leaves decoupaged on the bunny.

    ReplyDelete
  9. LOVE this Easter Bunny Steph! We will be featuring you starting Wednesday at the Creative Crafts Linky Party! Pinned and shared
    Creatively, Beth

    ReplyDelete
    Replies
    1. Beth, thank you so much! Always appreciated. :)

      Delete
  10. This is absolutely darling! What a fun decorative accent made from simple materials!

    Thanks so much for joining the Grace at Home party at Imparting Grace. I'm featuring you this week!

    ReplyDelete
  11. Your bunny turned out so pretty and I like that it's a budget-friendly craft! Thanks for sharing at the #HomeMattersParty. See you at the new party this week!

    ReplyDelete
  12. Steph, this is adorable! Love this. Thank you so much for sharing this tutorial with Sweet Tea & Friends this month dear friend.

    ReplyDelete
  13. This looks soooo cute! Thank you so much for sharing it with us at #alittlebitofeverything link up party.

    ReplyDelete
    Replies
    1. Thank you for visiting. I'm happy to hear you enjoyed this craft. :)

      Delete

Post a Comment

Thank you so much for taking the time to leave a comment. Your comments brighten my day. I hope that you know that it is appreciated. I do my best to respond to every comment. If you have a question, please feel free and ask away!

Popular posts from this blog

Transforming Ice Cream Cups: DIY Spring Tea Cup Floral Arrangements

  Today, we'll explore a fun and easy DIY project involving repurposing plastic mini ice cream cups into beautiful spring tea cup floral arrangements. This project is a great way to add a touch of spring to your home decor.  Before throwing away those plastic cups, consider the many possibilities in creating something new.  For this project, you will only need a few materials. Our main materials for creating the faux tea cup will be the ice cream cup and air-dry clay. So, if you're ready to create this adorable and creative springtime tea cup floral decoration, let's begin! VIDEO TUTORIAL Materials Plastic ice cream cups (I am reusing two plastic ice cream cups) Spanish moss Floral Mod Podge Decorative floral napkin Artificial spring flowers Acrylic paint (I'm using white) Paintbrush  Optional- Bumblebee button and small dowel rod- Dimensions : 0.1 inches x 6 inches. Air dry clay Scissors Foam block Preparing your cups After washing your ice cream cups and drying them c

Easy Double-sided Glass Panel Pressed Flower Design

Learn how to make a beautiful double-sided glass panel with a pressed flower design with this easy and creative craft tutorial . It's perfect for adding a unique touch to your home decor or as a personalized gift.  In this quick DIY project, I'll show you how to create a pressed flower design using a frame decor with panels which I purchased from my local Target for $3. Initially, I wasn't sure what to do with them, but I had a few ideas, and this is what I came up with. The project takes around 10 minutes to put together. Check out the video tutorial Materials Papercraft faux flower embellishments or you can use real dried flowers One frame decor with two plastic or glass panels Paintbrush Acrylic paint Mod podge-I'm using the Super gloss finish Applying paint to the frame Begin by removing the panels from your frame. Once you have removed the glass/plastic panels, set them aside. Take your paintbrush and apply paint to your frame. I painted two coats of paint on my fr

Budget-Friendly Spring Bird Decor: Dollar Tree DIY

  Looking for some creative ideas to decorate your home for the Spring season? Why not give a Dollar Tree wooden birdie a colorful makeover?  The latest Spring decor items available at Dollar Tree will impress you. I recently found a wooden birdie and while I loved its original design, I wanted to add a splash of color to make it more suitable for Spring. If interested, I can take you through a quick and easy tutorial. Video tutorial Materials One bird decor Artificial flowers Acrylic paint Paintbrush Floral cutters Hot glue Step one: Painting the wooden bird  Start with, applying paint to the wooden bird. I recommend mixing white and blue acrylic paint together for a nice color.  Step two: Paint the beak, flowers, and base Next, use a smaller brush to add white acrylic paint to the bird's beak.  After that, you can repaint the flowers with light pink, purple, and yellow. Don't forget to paint the decoration's base stand with white paint too.  Step three: Cutting and adding

Easy DIY Wood Pumpkin Display: Floral Fall Decor with a Decoupage Twist

  Create a stunning fall-inspired display with this budget-friendly DIY craft. Learn how to decoupage wood pumpkins and incorporate floral accents for a charming and seasonal decoration. Video tutorial Hello everyone! I hope you're having a wonderful autumn season so far. How's the weather in your area? Today, it's breezy outside, with a high of 72 degrees, and the sun is shining. I feel grateful to be able to enjoy such a beautiful day, and I hope you do too.   I'd like to share a fun crafting project with you. We'll be decorating wooden pumpkin ornaments from Dollar Tree using decoupage and wooden tumbling blocks to create a pumpkin floral design.  Here are the materials you'll need: - Two wooden pumpkin ornaments (I bought mine from Dollar Tree) - Six wooden tumbling blocks (also from Dollar Tree, but other craft stores may carry them) - Adhesive - Faux floral and greenery - Acrylic paint (I'm using brown) - Foam block - Craft knife - Decorative fall napk

Mini Picket Fence Hanging Decoration

Add a charming touch to your spring décor with this DIY mini picket fence hanging decoration. Learn how to create this cute and easy project to brighten up any space. Today I am sharing a simple craft that anyone can do. This craft is simple, and it doesn't take many materials. I'd love it if you joined me in creating this craft!  Mini Picket Fence Hanging Decoration  Video tutorial Materials Needed One wooden fence decoration- purchased at Dollar Tree Mod Podge One decorative napkin-purchased one pack at Dollar Tree Paint- I'm using chalk paint.-White and Misty pink One mini watering can decoration-I found this in the gardening section at Dollar Tree One paint brush Floral Hot glue  Scissors One pencil for tracing Floral snips Optional- butterfly sticker Step 1: Adding paint to the mini fence Start off by, applying a layer of white chalk paint onto your picket fence. You can also apply the white chalk paint to the spaces between the pickets using a smaller paintbrush. Set

Budget-Friendly Spring Sign Decor: Dollar Tree DIY Inspiration

Are you looking for budget-friendly ways to spruce up your home this spring? I have a great DIY sign decor idea that is perfect for the season and won't break the bank. In this craft, I will guide you through creating your very own Spring sign. I will provide a complete list of required materials and a quick video tutorial for those who prefer visual instructions. Video tutorial Materials Needed One hanging decoration sign  (I found this at my local Dollar Tree near the frames) One Pack of wooden bunnies  (Purchased at Dollar Tree) Decorative Spring napkins Acrylic paint Paintbrush Adhesive/ Hot glue Mod Podge Mini iron and parchment paper  (Needed if applying Mod Podge using this technique) Scissors Step one: Applying paint to the hanging decoration Let's begin by painting the hanging decoration. I painted the three sections of my sign white and it took me three coats to complete the new design. When covering up a sign, keep in mind that you may need more paint based on its p

How to Make a Charming Tea Bag Holder Using a Garden Pot and Wood Circle

  Are you a tea lover looking for a creative DIY project? Learn to create a unique tea bag holder using a garden pot, wood circle, wooden bead, and paper floral decorations. Get inspired and add a personal touch to your tea time. Today, we will make a tea bag holder using a garden ceramic pot and a wooden circle. This holder is both functional and cute. Below, I will provide a list of materials and step-by-step instructions. Video tutorial How to Make a Charming Tea Bag Holder Using a Garden Pot and Wood Circle Materials  Garden pot- I'm using a white 4inch planter pot (The one I am using is a ceramic pot)  One wood circle- I picked up a pack of 6  3'' wood circles at my local Walmart store for $1.80 Mod Podge Decorative napkin Paintbrush One medium or large wooden bead Paper flowers and leaves Adhesive Scissors White acrylic paint Letter stamps Stamp ink Preparing your decorative napkin and Mod Podge Let's begin by taking a decorative napkin and removing the second lay