Hi everyone! This weekend we had a cold front move through and honestly, I just wanted to stay in, take naps and drink coffee. Of course, that didn't happen, instead, I ended up at Hobby Lobby. While there, I found a few decorations to add to my newest wood riser that I created. I'm going to take you through some easy steps and help you create your very own simple fall-theme wood riser.
Video tutorial
Materials
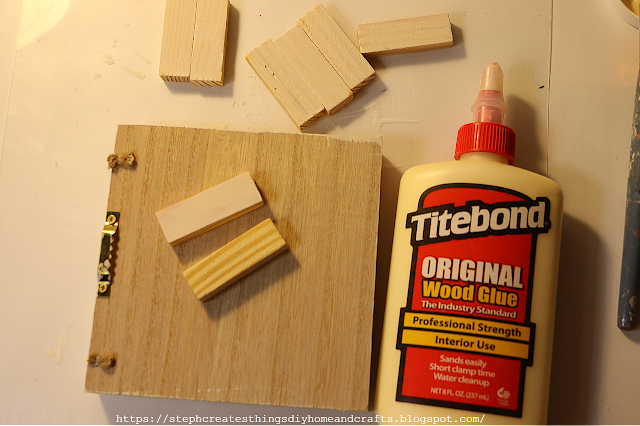
Wooden Square 5" x 5" Shadow Box (I purchased my wooden square at Michaels) Paint Eight wood tumbling blocks (You can find a pack at Dollar Tree) Wood glue Floral cutters Decorations I'm using One mini pumpkin cup Fall fillers One wood crow Faux fall leaves One battery-operated candle Faux fall floral
Next, take your wood glue and begin to glue your blocks together. You will glue two blocks together. When you are done you will end up with four wood legs total. I decided to glue them together to give my wood riser more support.
Pin/Share/Save


.png)


How adorable! Thanks for sharing on Happiness is Homemade. I hope you'll stop by & share on Crafty Creators Link Party as well! It's open each week from Thursday through Monday nights.
ReplyDeleteNiki | Life as a LEO Wife
Niki, thank you so much. I will definitely stop by your other link party. Thanks so much for stopping by. 😊
DeleteLooks nice, I like it! Thanks so much for linking up at the Unlimited Link Party 82. Shared.
ReplyDeleteThank you!
DeleteThanks for sharing on Crafty Creators!
ReplyDeleteVisiting again to say thanks so much for linking up at #IMadeItMondayLinkParty 20. Pinned.
ReplyDeleteThanks Dee! :)
DeleteSuch a cute little vignette, and I love the pedestal! I'm happy to be featuring your post at Tuesday Turn About this week!
ReplyDeleteJulie, oh, thank you! I'm glad you enjoyed my craft idea. I'm happy to be featured at your party. ♡
Delete