Learn how to create a beautiful and unique DIY wood-stacked book decor that adds a charming touch to any room. This step-by-step guide will show you how to create this craft using simple materials and techniques.
Hi everyone! I hope you're all doing well. This week, I worked on creating a simple stacked wood book decoration. I've been inspired to make these for a while now. I saw a few projects where people were using the Dollar Tree wood box. I decided I wanted my stacked books to be slightly bigger than the Dollar Tree ones, so I checked out some wooden shadow boxes at Michaels. I'll share the step-by-step process I used to make this project.
Video tutorial
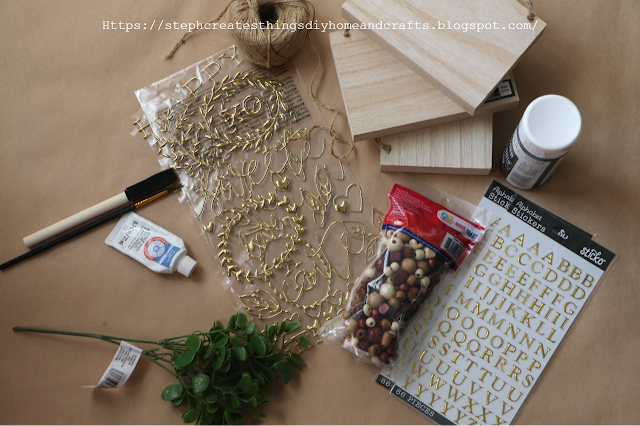
Materials
3 wood shadow boxes (These boxes were $1 each)
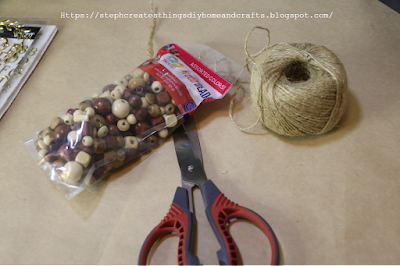
Wood beads
Twine
Black paint
White paint
Greenery
Wood filler
Hot glue
Gold lettering
Sponge brush/Paintbrush
Creating your stacked wooden books
Start by taking any twine and screws out of your box. This only applies if you have purchased the wooden shadow boxes from Michaels. The back of each box had two screws in it, and also stapled twine. I went ahead and pressed the two staples completely down after removing the twine, and I filled the screw holes in with just a little wood filler.
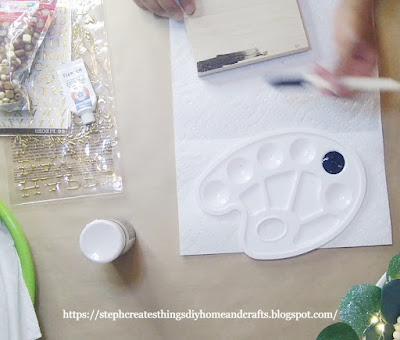
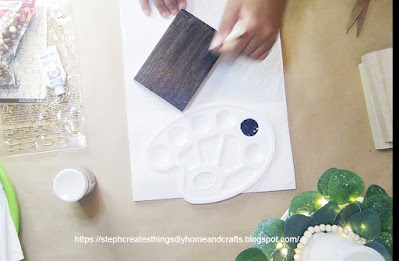
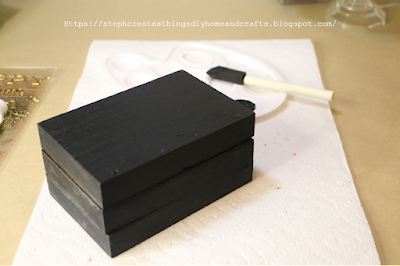
Begin by applying black paint to the top of your first wooden shadow box. I recommend using about three coats of paint for a solid finish.
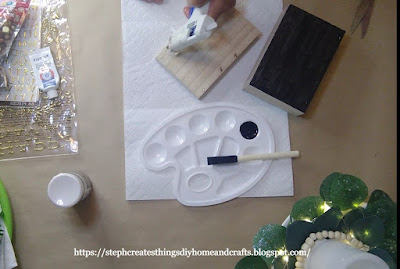
Once you have finished painting the first box, take your hot glue and apply it to the next box.
You won’t need to paint the tops of the other two boxes since they will be stacked. Make sure to flip the boxes over so that the open sides of each shadow box are facing down.
Apply glue to the closed side of each box. Then, glue the boxes together and stack them on top of one another. Once your boxes are stacked, apply black paint around all four sides.
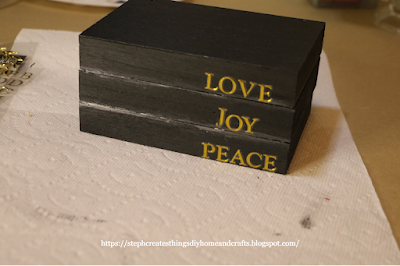
Allow the black paint to dry completely. Next, take some white paint and add a line of paint between the spaces on the front side of each block. This will create a shadow effect.
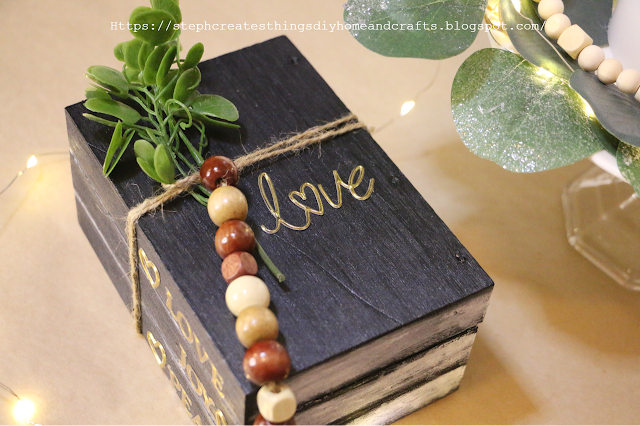
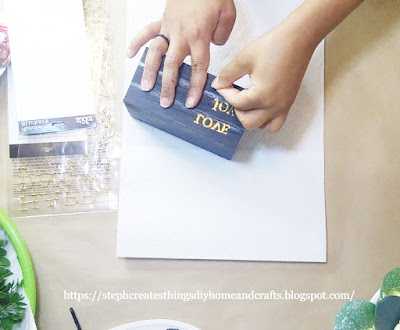
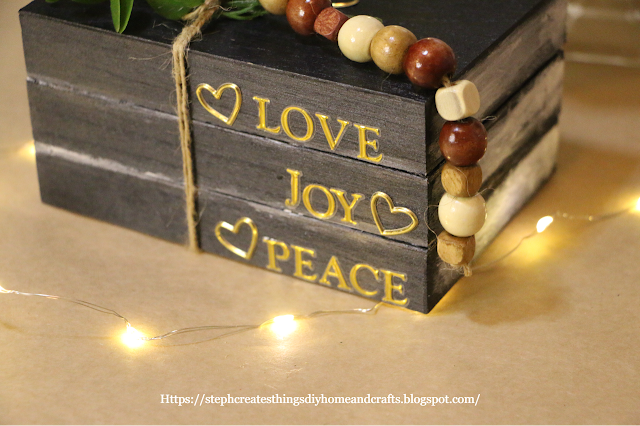
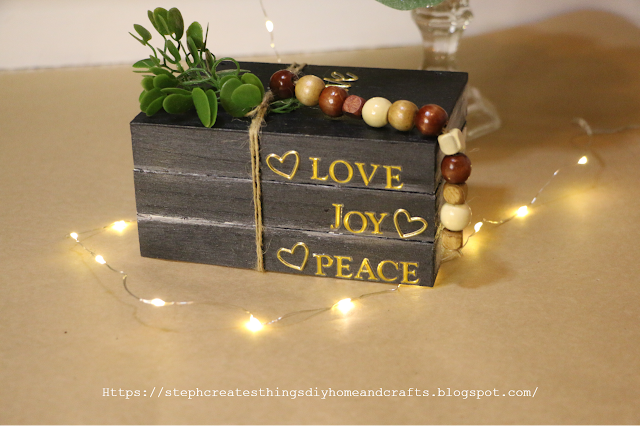
Take your gold letters and apply them to the front of your boxes. I went with the words love, joy, and peace. If you have any gold heart stickers, you can apply those as well. It is completely optional, but I also applied a gold love sticker on the top of my book stack.
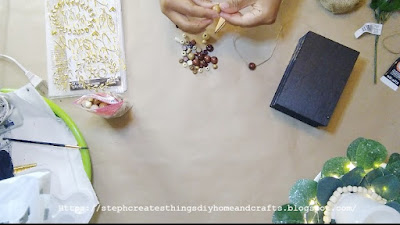
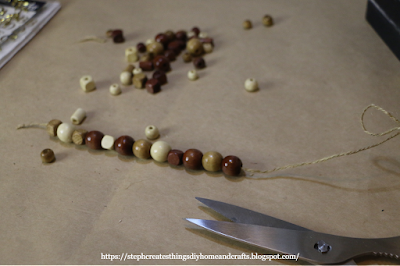
Now you are ready to create your bead design. Take some twine and string a few beads onto your twine. You can go with any pattern that you choose.
I found that if you apply just a small amount of clear adhesive on the very end of your twine, it makes it easy to string the beads down the twine.
Once you have around ten beads, you can tie off the end. I tied a knot at the very end and cut off any extra twine.
Next, take your greenery and cut a small section off. Set it aside with your bead design.
You can now apply white paint to all three sides of your books. I did this because I wanted my wood-stacked books to appear to have pages. Applying the black paint first and the white after helps give the books a shadow effect.
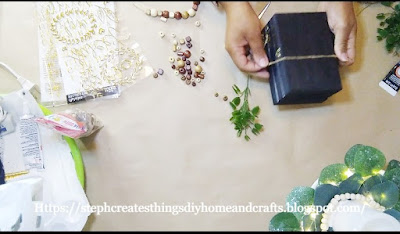
Take some extra twine and wrap it around your stacked books. I used two sections of twine that I cut and tied around my books.
All that is left is to insert your greenery through the twine on top and add your beads. I tied my beads through the top of the twine next to my greenery.
That is it; your stacked wood books are complete! I hope that you have enjoyed this simple DIY project. If you have any questions, please feel free to ask! I love hearing from all of you. Thank you so much for stopping by!!
What a lovely DIY, Steph! And I love the twist of using press on decals for the lettering! Thank you for sharing at Tuesday Turn About... I'll be featuring you at this week's party!
These look great Stephanie, I love stacked books and use them in decor often. I have never made some from wood though. Too cute! Thank you for sharing.
Great idea. It turned out beautifully! Visiting from Unlimited Link Party 134. (I'd love to have you post this at my linkup as well, if you'd like: https://lifetalesbooks.blogspot.com/p/calling-fellow-bloggers.html)
I love hearing from you! Your comments and creative ideas truly brighten my day. I do my best to respond to everyone, so if you have a question or just want to say hello, please leave a note below. To keep our community a positive and inspiring space, spam or off-topic comments will be removed. Happy crafting!
Hello everyone! I’m excited that you decided to visit the blog today. I wanted to share how to create a cozy autumn tablescape at home. My goal was to design something warm and inviting, as our table is a space where we share conversations, drink coffee, tackle homework, and simply enjoy each other’s company. I typically don’t go all out when decorating my dining table, but I wanted to show you how I styled it using decor pieces I already had. I would love for you to join me in this decorating adventure! Watch the video tutorial Create a Cozy Autumn Tablescape at Home Items I'm adding to my table: -White tablecloth runner - Battery-operated leaf lights - Reusing glass jars - Mini pumpkins and other fall decorations - Small "Hello Fall" sign - Faux flowers I began by spreading my white tablecloth down the center of the table. Around Halloween, I purchased this tablecloth a few years ago at my local Walmart. After laying it out, I realized that I could ...
This fall, I wanted to challenge myself to decorate with just a few simple items—things most of us already have tucked away in our craft bins. With one round tray, a Dollar Tree lantern, a battery‑operated LED candle, a handful of faux florals, and a mix of Dollar Tree pumpkins, I created six different autumn looks. Each one feels cozy, seasonal, and unique, all without buying a bunch of new décor. My goal was to show how versatile your everyday pieces can be. By swapping out colors, textures, and small accents, you can build fresh designs that fit your style and your space. Watch the video tutorial Decorating Each Tray My First Tray: Classic Lantern & Autumn Florals For my first tray, I began by placing a round tray on a woven placemat to create a cozy base. Next, I placed the black lantern in the center and added a small LED candle inside. I figured this would provide a soft autumn glow that I love. I took yellow faux florals and arranged them around the lantern to brighten...
These DIY craft ideas transform simple terra cotta pots into charming fall decorations. Elevate your home decor with these creative and easy-to-make projects for the autumn season. Hey everyone! I'm glad you stopped by. Today, I want to share an easy fall decoration idea with you. I'm reusing three Terra Cotta pots from a previous craft to create these decorations. You'll need just a few materials, most of which you may already have at home, to make your fall pot decorations. Video tutorial Charming Fall Decorations Using Simple Terra Cotta Pots Materials needed: - Three pots (Terra Cotta or any type) - Fall wooden decorations (such as a fox, acorn, and a leaf) - Artificial flowers - Assorted fall decorations (e.g., mini pumpkins) - Acrylic paint - Paintbrush - Burlap ribbon or any ribbon of your choice - Scissors - Hot glue - Mod Podge - Decorative napkins - Foam blocks Use a paintbrush to apply acrylic paint to each pot. I painted each pot a different fall color like...
Hello, blogging friends! Today, I’m excited to share an easy makeover I did using a “HOME” sign from Dollar Tree. This project is simple, but the transformation feels soft, warm, and inviting—just the kind of piece that quietly brightens a space. The sign began as plain and flat, but after a few gentle coats of paint, it became something charming and full of personality. Watch the Video Tutorial Video tutorial Materials Dollar Tree metal HOME sign (Crafter’s Square) Black FolkArt Matte Acrylic Paint Light green Craft Smart Matte Acrylic Paint Coral Craft Smart Matte Acrylic Paint Light pink paint Dark green Paintbrushes (flat and detail brushes) I started by applying a black base coat to the entire sign. Using a small, pointed-tip brush, I carefully reached all the tiny areas around the leaves and buds. I applied three coats of black paint, drying each layer with my heat tool. This step creates a clean, even surface and helps the top colors stand out beautifully. Next, I u...
If you love crafting, upcycling, and adding a patriotic touch to your home, this stained glass decor project is perfect for you! By reusing three glass jars and transforming them with vibrant stained glass paints, twine, and embellishments, you can create a beautiful, unique centerpiece for your summer celebrations. Video tutorial Materials You'll Need: - Three upcycled glass jars - Blue and white stained glass paint - Red acrylic paint (mixed with white stained glass paint to create red) - Star cupcake toppers (leftover from previous projects) - Paintbrush - Gem strips - Twine - Scissors - Hot glue gun - White flower embellishments - Heating tool (optional for faster drying) 1. Painting the Jars Start by applying blue stained glass paint to the first jar. Remember that stained glass paint needs multiple coats for optimal opacity. The Gallery brand takes a few hours to fully cure; however, if you're short on time, you can use a heating tool to speed up the drying process. ...
Copyright 2021-2026
I ask that you do not take or use my photos or words without permission. If you have any questions, please feel free and contact me. Also, for more information on this blog, check out the disclosure policy tab above. Thank you




I love this idea, how clever!
ReplyDeleteYou're most welcome to join me in a cuppa at Tea With Jennifer,
Jennifer
Hi Jennifer, aw thank you so much! I'll be sure to stop by! :)
DeleteWhat a lovely DIY, Steph! And I love the twist of using press on decals for the lettering! Thank you for sharing at Tuesday Turn About... I'll be featuring you at this week's party!
ReplyDeleteJulie, thank you so much.I'm so happy to hear that you enjoyed this project. Thank you so much for the feature.
DeleteThese look great Stephanie, I love stacked books and use them in decor often. I have never made some from wood though. Too cute! Thank you for sharing.
ReplyDeleteThank you. There was a time I was having such a fun time creating these wooden stacked books using the wooden crates from Dollar Tree.
DeleteVery pretty, another one you need to put in a shop :) Thanks so much for linking up at the #UnlimitedLinkParty 122. Pinned.
ReplyDeleteVisiting again to say thanks so much for linking up at the #UnlimitedLinkParty 134. Pinned again too.
ReplyDeleteThese are adorable!
ReplyDeleteThank you! :)
DeleteGreat idea. It turned out beautifully! Visiting from Unlimited Link Party 134. (I'd love to have you post this at my linkup as well, if you'd like: https://lifetalesbooks.blogspot.com/p/calling-fellow-bloggers.html)
ReplyDeleteJennifer, thank you so much. Yes, I will join your linkup as well. Thank you for visiting. :)
DeleteStephanie, CONGRATS! Your post is FEATURED at the #UnlimitedLinkParty 135!
ReplyDeleteThank you, Dee. 😊
DeleteThese are super cute! They came out great. Thanks so much for sharing at the Home Imagined link party. XO- MaryJo
ReplyDeleteThanks for sharing with us, I'm featuring you this week when the next To Grandma's house we go link party starts!
ReplyDeleteTarahlynn, thank you very much. Excited to be featured at your party. 😊
DeleteHappy New Year Creative Friend! This is just brilliant and I'm featuring when my first party of the year opens. LOVE these!
ReplyDeleteCarol, Happy New Year, friend. Aw, I'm so glad you enjoyed it. It was such a fun project. Can't wait to join your party later.
Delete