
Hello everyone! I hope you are doing well. Personally, I am tired of the heat we've been experiencing and I'm eagerly anticipating the arrival of fall weather here in Colorado. How is the weather where you are? Thank you all for joining me again to create some crafts today. Our project is a fall flower arrangement made from a metal can. I cleaned out a snack can and transformed it into a beautiful display of fall florals using materials I had at home. However, if you don't have these materials, you can find them at most craft stores. I will provide a list of materials below as always, so let's get started!

Video Tutorial


Materials
- One metal can
- Mod podge
- Decorative napkin
- Faux Fall Floral
- Acrylic paint
- Wooden beads
- Paintbrush
- Scissors
- Floral cutters
Applying paint to the can
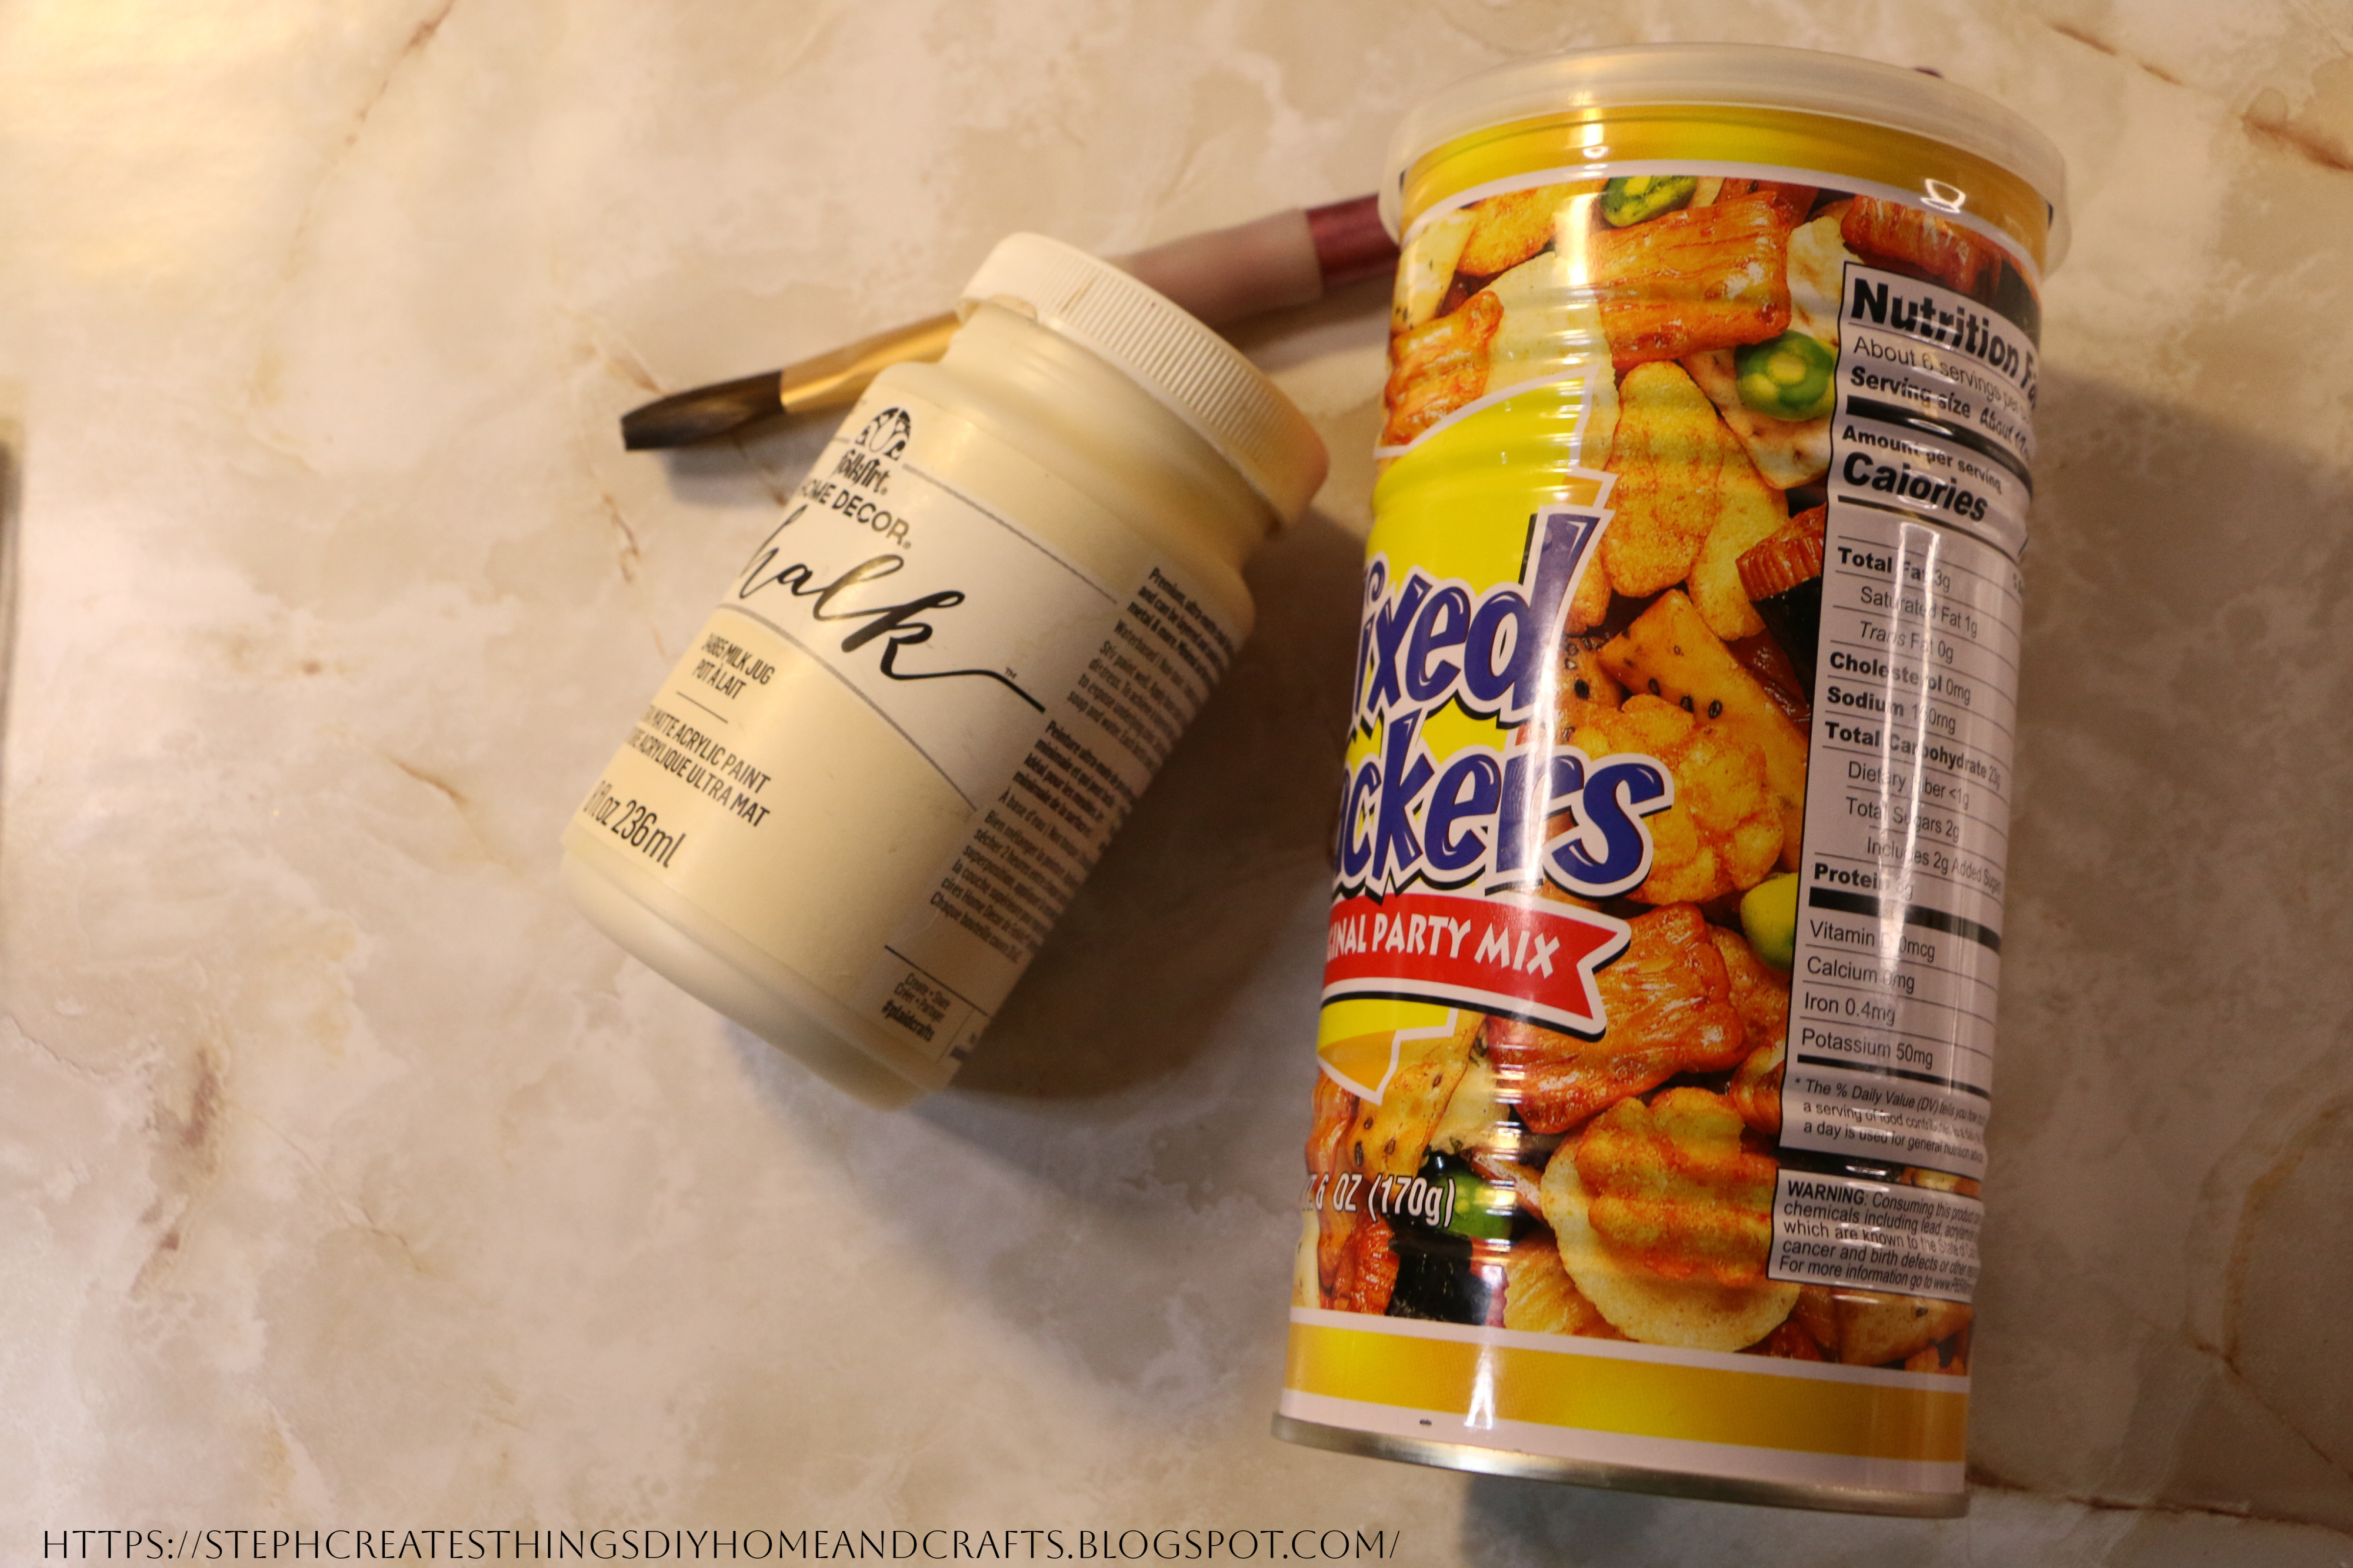
The first step is to apply paint to your metal can. Make sure to let each coat of acrylic paint dry completely before applying the next coat. Apply a total of three coats of paint and use a blow dryer to dry your metal can.
Preparing the decorative napkin and applying Mod Podge


Next, remove the second layer of your napkin if it's a 2-ply. Then, apply Mod Podge using your paintbrush. After that, place your napkin over the Mod Podge areas. Gently rub out any lines or creases on your napkin by placing it over the Mod Podge surface. Use a blow dryer on low heat to dry and smooth out your napkin. Apply some more Mod Podge over the napkin, and use a blow dryer one last time to dry it.
Adding twine

Take your twine and wrap it around the top section of your metal can. Cut the end of the twine and tie the remaining twine into a bow. You can either cut it off or glue it down if you prefer. Optionally, you can use brown acrylic paint and your finger to add a few brown smeared marks to your metal can.

Adding wooden beads

Next, add each bead to your twine. After adding the beads, wrap twine around and tie it off. Your beads should hang down on the side of your metal can.
Cutting and arranging faux floral

All that's left is to add your faux fall floral. Use floral cutters to determine the size of your floral. If your can is deep, like the one I'm using here, use any scrap paper, extra napkin, or whatever you find and add it to your can to fill any empty space. This will help lift the flowers up a little more.


Finally, place your floral inside your can, and you're all done. Thank you for creating this upcycled fall craft with me. Until next time, see you soon!
Pin Share Save
.png)
You May also like
I love this! So simple yet it has so many great details. I love using the twine and beads. You would never guess what it was in its previous life! Thanks for sharing at the Home Imagined party. XO- MaryJo
ReplyDeleteMaryJo, thank you so much. I love how this turned out, and it was super easy to create. Thank you for stopping by.
DeleteWow, that is SO clever! I can't believe how beautiful it turned out! Visiting from Sweet Tea & Friends Linkup.
ReplyDeleteThank you, Jennifer. I appreciate it. :) Thank you for visiting.
DeleteLooks nice, so pretty. It amazes me how you never run out of ideas :) Thanks so much for linking up at #IMadeItMondayLinkParty 23. Pinned.
ReplyDeleteThank you, Dee. I really appreciate it. I often wonder how I haven't ran out of ideas yet.
Delete:)
DeleteLove your upcycle. So pretty. Congratulations, you are being featured on Thursday Favorite things. https://www.eclecticredbarn.com/2023/09/fall-food-and-crafts-on-thursday.html I hope you stop by.
ReplyDeleteHugs,
Bev
Bev, thank you so much! 😊
DeleteVisiting again to say thanks so much for linking up at #AThemedLinkup 163 for Fall Crafts and Décor. Pinned.
ReplyDeleteThank you, Dee. 😊
DeleteThat is so pretty!
ReplyDeleteJoanne, thank you
DeleteStephanie, CONGRATS! Your post is FEATURED at #IMadeItMondayLinkParty 24.
ReplyDeleteDee, thank you. I'll be sure to stop by. 😊
DeleteSteph, this is lovely! Thanks for the video. I appreciate you sharing this tutorial with Sweet Tea & Friends this month dear friend.
ReplyDeletePaula, aw thank you. I appreciate your kindness. 😊
DeleteJust gorgeous. My favorite thing is transforming something ordinary into something beautiful like this. Featuring when my party opens!
ReplyDeleteCarol, thank you so much. I enjoyed this upcycle. 😊
DeleteSimply gorgeous in every way!
ReplyDeleteAw, thank you. 😊 I appreciate it so much.
DeleteThat turned out so pretty! It must be the old soul in me, but I often save cans and glass jars too, it's fun to recycle them into something pretty or useful.
ReplyDeleteChristie, thank you. Aw, I love saving them as well. I always find a way to reuse them. Thank you so much for stopping by.
DeleteAwww, this is so cute! All your DIY creations have such a charming look; it’s always a joy to see them. Maybe one day I’ll even find the time to make one myself :)
ReplyDeleteMariama, aw, thank you so much. You are always so kind, and I appreciate when you visit. I hope that you are able to make time and create one one day. 🙂
Delete