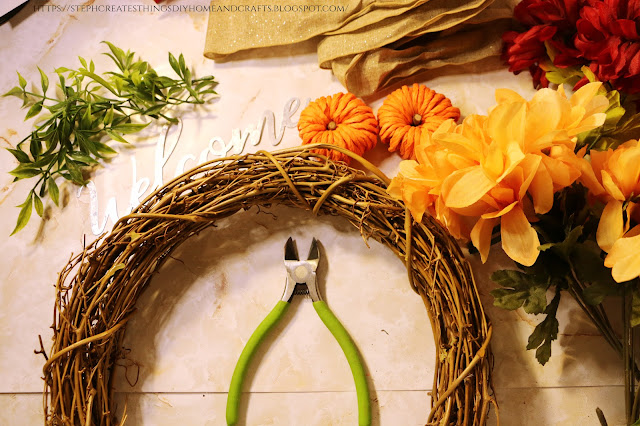
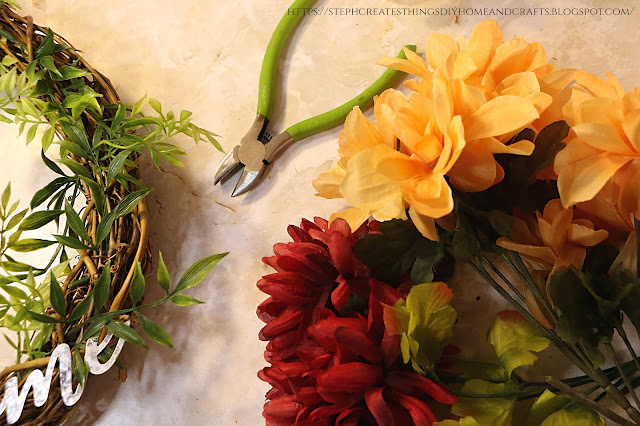
Let's create a beautiful autumn grapevine wreath together with this easy-to-follow DIY craft tutorial. It's an excellent way to add a touch of seasonal charm to your home decor. Today, we'll use mini pumpkins, faux fall floral, a metal sign, faux greenery, and other materials to make the wreath. Follow the step-by-step instructions provided to make your own autumn grapevine wreath.
Video tutorial
Materials
- One Grapevine wreath- The size of my wreath is 14''
- Two mini pumpkins
- Twine
- One sign- I am using a metal welcome sign from Dollar Tree
- Floral cutters
- Faux fall flowers and greenery
- Ribbon-For creating a bow
- Scissors
Step 1: Adding greenery to the wreath
First, determine the placement of your mini pumpkins on the wreath. Attach using twine by threading through the openings and tying them off. For foam pumpkins, insert the wire through the bottom and pull through the wreath, or use hot glue.
Step 4: Attaching metal welcome sign to the wreath
You can add a metal sign to your wreath by inserting twine through two openings on the sign and securing it to your wreath. Alternatively, you can use wire to attach the sign.
Step 5: Cutting and Adding faux floral to the wreath
Finally, use your floral cutters to trim the stems of your flowers. Then, insert the stems into the wreath and secure them with floral wire if needed. You can also create a bow using your ribbon and add it to the top of your wreath.
Your autumn wreath is now ready to be displayed. I bought the faux floral and metal sign from Dollar Tree, but I can't remember where I got the mini pumpkins and greenery. You should be able to find those items at any craft store.
Thank you for making this wreath with me. See you soon!
Check out these latest crafts on my other blog
Pin Share Save


.png)

I love grapevine wreaths, always so pretty. Perfect flower colors for fall. Thanks so much for linking up at the #UnlimitedLinkParty 127. Pinned.
ReplyDeleteDee, aw thank you. 😊 I appreciate you stopping by.
DeleteSteph, your grapevine wreath is gorgeous!
ReplyDeleteThanks for sharing this tutorial with Sweet Tea & Friends this month.
Paula, thank you so much. 😊
DeleteThis is so pretty!
ReplyDeleteJoanne, thank you so much. 😊
DeleteAdorable!! Festive and welcoming for Fall! Thanks so much for sharing at Home Imagined today!
ReplyDeleteThank you so much. It's always a pleasure sharing with all of you. :)
DeleteI love this. Grapevine wreaths are the best. This is the perfect way to welcome fall. Thanks for sharing att the Home Imagined party. XO- MaryJo
ReplyDeleteWhat a beautiful autumnal wreath, thank you for sharing at Handmade Monday.
ReplyDeleteThank you, Julie. 😊
DeleteHi Steph - Thank you for the great step-by-step instructions for making this wreath. Your photos are great! Thank you also for linking up with the Home Imagined Link Party.
ReplyDeleteThank you so much. I really appreciate your feedback. :)
DeleteLovely !
ReplyDeleteAnna
Thank you! 🥰
DeleteThis is gorgeous, need to show it to our daughter, she will love it.
ReplyDeleteVisiting via Love Your Creativity.
My entries are #86+87
Hope to see you also share with SSPS & HIH https://esmesalon.com/tag/seniorsalonpitstop/
Esme, thank you!
DeleteThat is really a gorgeous wreath!
ReplyDeleteSally, thank you so much! 🙂
DeleteI just love the colors. Those pumpkins are so darling, too! I don't know what it is, but I'm always a fan of a grapevine wreath. Thanks for sharing this post with all of us at the Will Blog for Comments #69 linkup. Hope to see you next week at #70, too, with more posts (old or new)!
ReplyDelete