Please note that this craft is intended for decorative purposes only and is not safe for food use. The materials used are not food-grade.
Materials needed
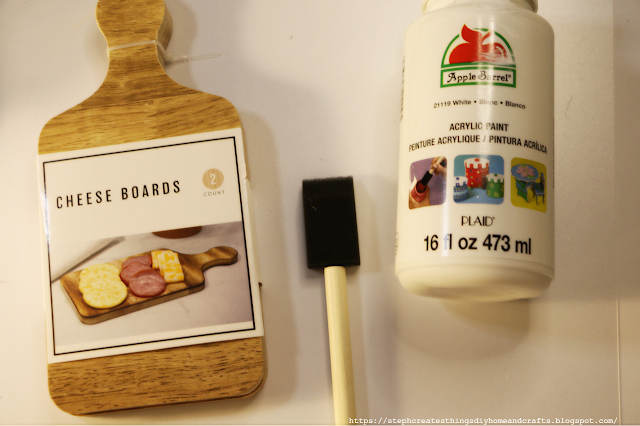
One cheese board-Purchased at Target for $5, a pack of two
Paint-I'm using white acrylic paint
One sponge brush
One paint brush
Scissors
One Napkin-Purchased one pack at Dollar Tree for $1.25
Papercraft flowers- You can find a variety of paper flowers at any craft store. I purchased this pack at Hobby Lobby and it was discounted
Hot glue
Start by applying your paint on the front, sides, top, and back sides of your cheeseboard. In between coats of paint, you can use a heat gun to help with drying. I applied two coats of paint, on all surfaces of my wood board using my sponge brush.
Take your napkin, and begin to cut the section you would like to display on your board. To be sure that it will fit, place your napkin over your wooden board. This way you can see exactly where to cut, and how it will look on the board.
Begin to cut your napkin. With the napkin being 2-ply, be sure to remove the second layer.
Take your paintbrush, and begin to apply a thin layer of Mod Podge onto your wooden board.
Take your napkin, lay it over your wooden board, and over the Mod Podge. Use your fingers and gently press the napkin down. Begin to smooth out any lines, and wrinkles that may appear. It's okay if you don't get every single wrinkle out. I used a heat gun to help assist in removing wrinkles and smoothing the top surface.
Take your paint brush, and begin to apply a thin layer of Mod Podge over your napkin. After, you can take your heat gun on a low setting, and repeat the previous step.
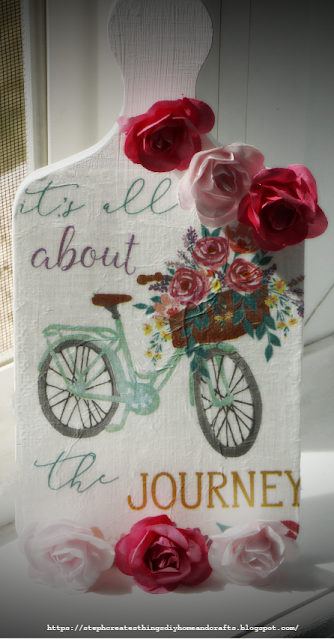
Next, use your hot glue, and begin to add your paper flowers. I lined three flowers on the bottom of my board, and three on the top right corner.
Note-If you want to hang your design, just take some twine, and add that to the back of your board using hot glue.
This repurposed craft was so simple to create, and I think it turned out pretty! If you have enjoyed this craft, I would love it if you checked out my DIY Spring Mini Wood Riser.
Be sure to let me know in the comment section below if you decide to create your own.
I'll see you soon.
Pin/Share/Save


The cutting board is so pretty!
ReplyDeleteThanks for linking up at the Making a Home - Homemaking Link Up!
Linda, thank you so much!
DeleteHow pretty. Love your easy to follow along video too! Thanks so much for linking up at the Unlimited Link Party 75. Pinned.
ReplyDeleteDee, thank you so much! I really appreciate your kind words. Thanks so much for stopping by.
DeleteThis is so adorable Steph! Great tutorial and such a pretty end result! Pinned!
ReplyDeleteDenise, thank you so much! I really appreciate you stopping by.
DeleteCONGRATS Stephanie! Your post is FEATURED at the Unlimited Link Party 76!
ReplyDeleteDee, I'm so happy to hear that! Thank you so much for featuring my craft.
DeleteAdorable and so well done.
ReplyDeleteThanks so much for participating and sharing at SSPS 296. See you again next week!
Thank you so much! :)
DeleteThis is really pretty, what a fun decoration. Thanks for sharing at Handmade Monday. This will be a feature this coming week :-)
ReplyDeleteJulie, thank you so much. 😊
Delete