
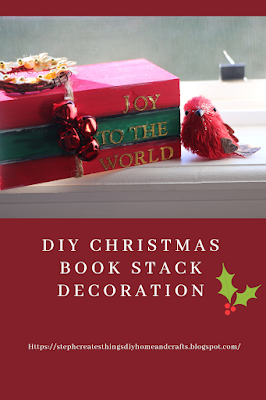
Create a festive Christmas book stack decoration using wood. This DIY project will add a touch of holiday charm to your home. Find step-by-step instructions and inspiration here.
Hello, and welcome! I've decided to start working on some of my Christmas crafts, and since I've had some wonderful feedback on my other wooden stacked book craft, (If you would like to check that craft out, the link is below).
I thought I would work on a Christmas wood book stack craft. If you're ready, let's dive right in, and create your very own Christmas wood-stacked books creation.
Video tutorial
Materials needed
-Dollar Tree Wood Crate
-Red bells
-Twine
-Scissors
-Paint
-Paint Brush
-Hot glue
-Gold letters (stickers)
-Mini wreath
-Gold flowers
Creating your books
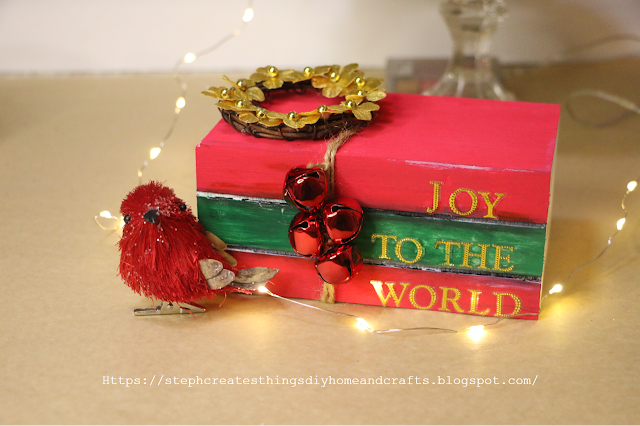
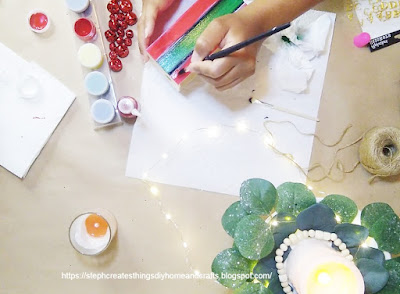
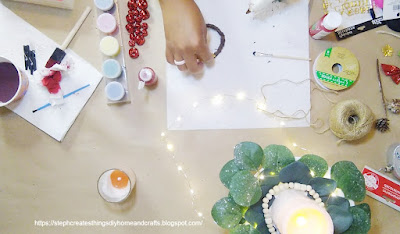
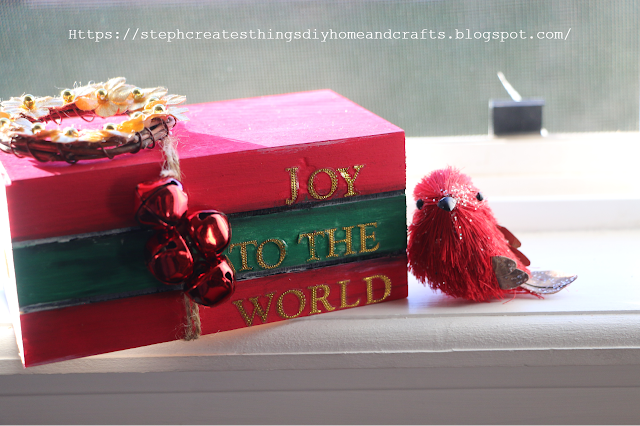
Start by applying paint to your wooden box. The colors I went with were red and green. I wanted green in the middle, and red on the top and bottom. Since this box has two openings on the sides, don't worry about painting them.
You will apply paint on the front of your box and the top section. So for my box, the red section is on the front and top of the box. Once you have applied your paint, set your box aside and allow it to dry.
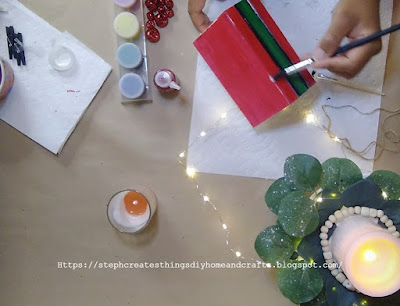
I added some black paint where the creases on the front of the box are. I allowed it to fully dry, and then I went over it with a little bit of white paint. I wanted my books to have a bit of a shadow effect.
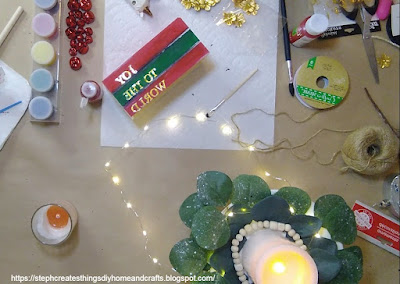
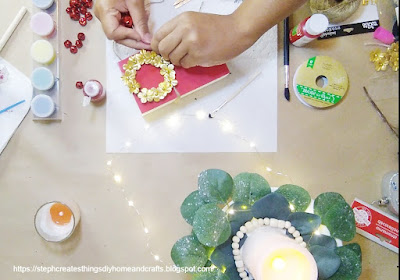
Once your box is completely dry, you can add on your gold letters.
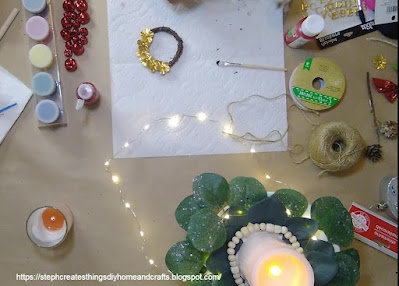
Next, take your gold flowers, mini wreath, and hot glue.
Apply some hot glue on the back side of each gold flower, and add it to your mini wreath. You will do this until your mini wreath is covered with your gold flowers.
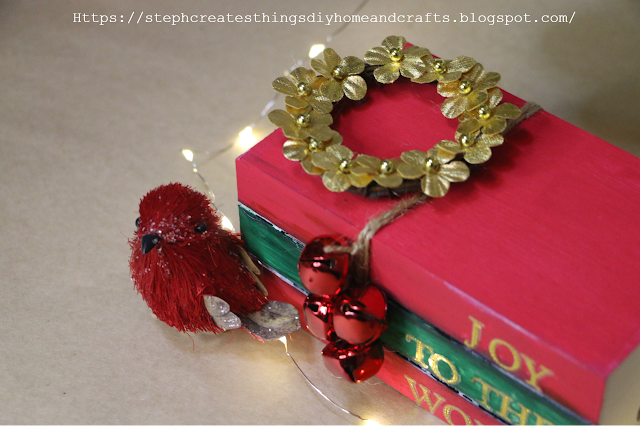
Take some twine, and cut just the amount needed to wrap around your book. I went ahead and cut two strands of twine, and tied a knot at the end of the two. Then I wrapped the two pieces of twine around the books and tied them off. Be sure to cut any excess twine off.

Next, take your mini wreath and add it to the top section of your wooden books. For this, you will need some hot glue. Just apply a small amount on the top and bottom of your wreath.
Take a small amount of twine, and add on some red bells. Loop the twine through the twine you had previously wrapped around your books. Then tie it off, and cut any remaining twine off.
Once you have added the finishing touches, you're all done! I hope that you have enjoyed this simple DIY project. If you have any questions, please feel free to let me know. I love hearing from all of you. Be sure to check out my DIY tutorials on YouTube and other social media platforms. Until next time, I hope you all have a beautiful day!
Pin/save/share

These turned out so cute!!! Thank you for sharing!
ReplyDeleteThank you! And thank you for stopping by. :)
DeleteI love to use book stacks in decorating and these are adorable.
ReplyDeleteJanet, thank you so much. I think they make a great Christmas decoration as well. :)
DeleteThat's so cute, and beautifully embellished. Thanks for sharing with us at Handmade Monday.
ReplyDeleteThank you. :)
DeleteLooks really nice and so festive! Thanks so much for linking up at A Themed Linkup 127 for Winter Crafts and Décor. Shared.
ReplyDeleteThank you!!
DeleteCONGRATS Stephanie! Your post is FEATURED at A Themed Linkup 128 for All Things Printable from the previous linkup for Winter Crafts and Décor.
ReplyDeleteDee, thank you so much.
DeleteSo cute! The gold is such a lovely touch. Visiting from Wonderful Wednesday Blog Hop.
ReplyDeleteJennifer, thank you. I appreciate it. 😊
DeleteCute, inexpensive, doable. Win-win-win! Instead of the wreathe, I would put one of my small Nativity ornaments on top!
ReplyDeleteKathy, thank you. Yes, a small Nativity ornament would look super cute!
DeleteI love this would be fun to make for my book club friends for Christmas. Thanks for sharing
ReplyDeleteLisa, that sounds like a great idea! I think that would be so fun.
Delete