
DIY Dollar Tree Birdhouse decoration

Hi everyone! Today I am sharing a quick craft with all of you. I found these cute little birdhouses at my local Dollar Tree and I wanted to share with all of you how to decorate them using decoupage, faux floral, paint and for this, I am using a section of scrap wood that I had on hand. A link to my video tutorial will be added below. Be sure to visit my YouTube channel for more DIY crafts! 


 Materials

You will need the following:

One square wood section

One birdhouse

One decorative napkin 

Mod podge

Acrylic paint

Scissors

One watering can decoration
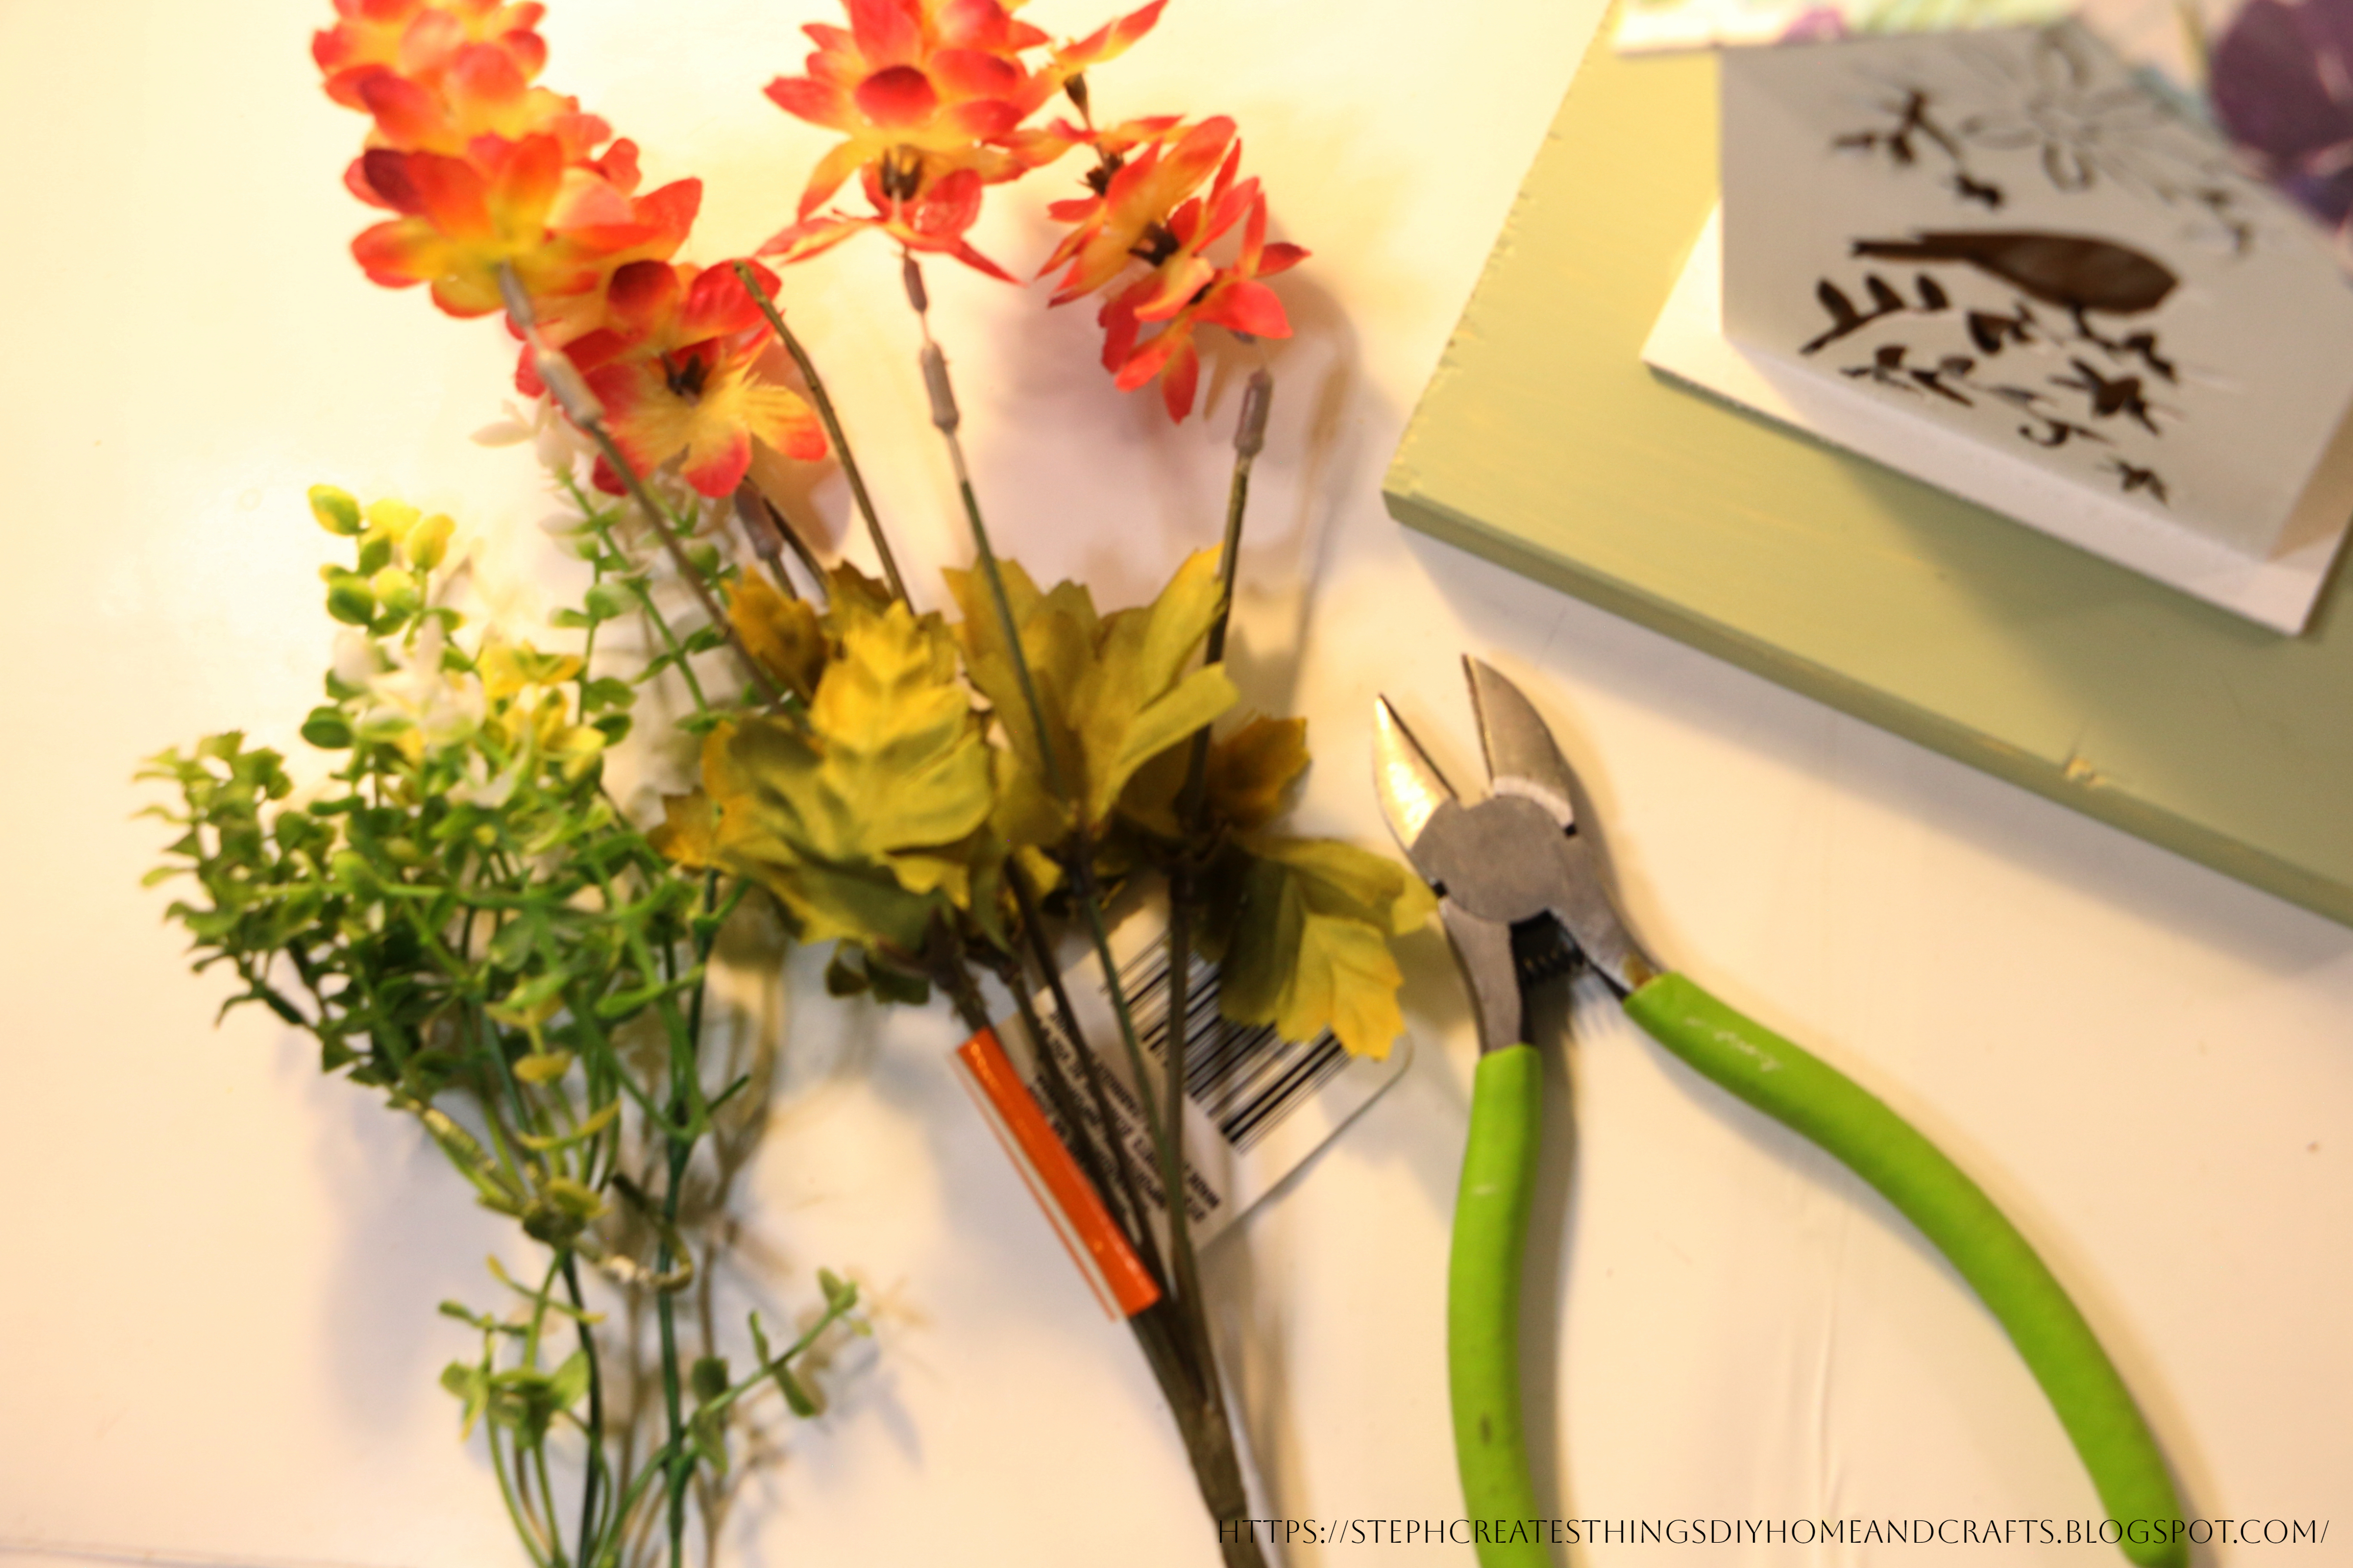
Faux flowers

Floral cutters

Floral sticker

Hot glue

Wood glue

Start by adding your paint to your square wood section. I applied two coats of paint called celery between drying.

Next, apply your white acrylic paint to your birdhouse.


Next, we will work with the mod podge and the decorative napkin. Use your scissors and cut the amount needed to cover the top of your birdhouse.

Next, use your paintbrush to apply a layer of mod podge to the top of your birdhouse.

Use your scissors and cut the amount needed to cover the top of your birdhouse.

Next, use your paintbrush to apply a layer of mod podge to the top of your birdhouse.

If you decide to add the watering can, you can apply paint to it.

This is also optional, but you can also add a decorative sticker to your watering can.

You can also add your twine bow.

Add your wood glue to the bottom of your birdhouse and attach it to the wood section.

Use your floral cutters and begin to cut your flowers.

After, take your flowers, and begin to add them to your wood section using hot glue.

This is optional, but you can outline the flowers, and birds using paint. This will brighten the area around them.

Lastly, take your watering can and use hot glue to attach it to your wood section.


Your birdhouse decoration is now complete.
Thank you so much for stopping by and creating this craft with me. I think this will make a great addition to my spring porch decor. 

Pin Share Save


Find me on YouTube ---Steph Creates-DIY Home & Crafts

Comments

  1. How cute and perfect for spring. Thanks so much for linking up at #AThemedLinkup 144 for Spring Crafts and Décor. Shared.

    ReplyDelete
    Replies
    1. Dee, thank you. I love that my local Dollar Tree had these little birdhouses available. :)

      Delete
  2. What an adorable birdhouse Stephanie! I really like the added touch of the printed napkins to the roof. Thank you for sharing with Whimsy Home Wednesday.

    ReplyDelete
    Replies
    1. Thank you! 😊 You're so kind. I like the added touch that the decorative napkin gave as well. I also love how simple this was to create.

      Delete
  3. Stephanie, your birdhouse is adorable!!! I am happy to have shared it for you at this week's Share Your Style #382. <3 I love little birdhouses and created some for friends by decorating their roofs with broken bits of plates and bowls years ago. I kept one which has broken bits of a Villeroy & Boch butterdish and a pretty saucer from a teacup set on its roof! (For your next one!!)

    Happy Easter to you,
    Hugs,
    Barb :)

    ReplyDelete
  4. Thank you so much. I love the idea of decorating the birdhouses with broken bits of bowls and plates. I also love that you used a saucer from a teacup set. I am sure it turned out beautiful and your friends loved it very much.

    ReplyDelete
  5. How lovely, you've made a fairly pretty bird house decoration into something really special. Thank you for sharing with us at Handmade Monday.

    ReplyDelete
  6. This is such a beautiful craft. I love the use of the floral napkin on the roof of the bird house. Thank you for sharing!

    ReplyDelete
    Replies
    1. Kristen, thank you so much. I appreciate you visiting. I'm happy to hear you enjoyed it.

      Delete

Post a Comment

Thank you so much for taking the time to leave a comment! Your feedback truly brightens my day, and I appreciate it. I always strive to respond to every comment. If you have a question, please don’t hesitate to ask! Please note that spam or comments that do not provide value will be automatically removed. Thank you!

Popular posts from this blog

Spring Hanging Design Using Bamboo Serving Boards

 Today I am sharing an easy project. We are creating two Spring hanging designs using bamboo serving boards. I purchased these boards at my local Big Lots store. It was two for five dollars. I actually was not sure what I was going to do with them, but the other day I figured it out. I will provide a step-by-step tutorial, a material list, and a video tutorial will also be included. Happy crafting! Video tutorial Main materials Hot glue or any adhesive of your choice Floral cutters Twine Faux floral Pencil Scissors Paintbrush Acrylic paint First design One wooden serving board One decorative napkin Mod Podge Second design Ribbon One craft chalkboard watering can Floral sticker Painting the serving board Begin by applying your acrylic paint to your wooden serving board.  Adding the decorative napkin Next, take your decorative napkin and unfold it. Place your napkin on top of your painted board and begin to trace out the center of your board. If your napkin has a second layer be...

Celebrate in Style: DIY Patriotic Napkin Rings

Hey everyone! I hope you're doing well. Today, I want to share an easy DIY project. We're going to make patriotic napkin rings using just a few materials. I usually find extra craft supplies in my craft bins because I often shop craft sales at the stores. I got the wooden stars and rings from my local Hobby Lobby store. The great thing about this project is that it's easy and quick. I'll provide you with a materials list and a step-by-step tutorial. Video tutorial Celebrate in Style: DIY Patriotic Napkin Rings Materials Acrylic paint  Gem strips (I'm using the gem strips from Dollar Tree)  E6000 or hot glue  Paintbrush  Wooden stars  Wood rings size 1.89in (4.8cm) Start by painting each of your wooden rings and stars. I chose to paint my rings white. Apply the paint to each ring's outer, back, and inner surface. For the stars, I went with red, white and blue. Next, we will attach the gem strips to each ring. Before adding the gem strips, attach each star to a wo...

Crafting Chic Fabric Bowls: Stylish Storage Made Simple!

If you're anything like me, you love reusing fabric, whether it's fabric squares or scraps. You probably have a collection of fabric just waiting to be transformed into something beautiful. Today, we're going to turn those scraps into charming fabric bowls. These bowls are   perfect for holding jewelry, craft supplies, or simply adding a splash of color to your space. This project is straightforward to complete and offers significant rewards, making it an excellent way to repurpose leftover materials. Video tutorial Materials Needed: 1 large glass jar 1 small glass jar Plastic wrap or plastic cling (I used cling wrap because it stays in place). Mod Podge 1 paintbrush Fabric scraps Scissors Embellishments (like mini florals, buttons, or lace—get creative!) 1. Adding Plastic Wrap Turn your jar upside down so the bottom is facing up. Cover it with plastic wrap—cling wrap hugs the jar nicely and keeps things from slipping while you work. 2. Prepping Your Fabric Cut y...

All content Copyright

Copyright 2021-2025 I ask that you do not take or use my photos or words without permission. If you have any questions, please feel free and contact me. Also, for more information on this blog, check out the disclosure policy tab above. Thank you