Hi everyone! It's the first day of February and I hope you are doing well. I'm so excited to share my latest craft creation with all of you. Today we're working on creating a vintage wood riser. While I shopped at my local Dollar Tree I found a wooden plaque and a bag of wooden beads. I wasn't sure what I was going to create, but I can tell you that I have a love for wood risers. I decided to create this wood riser using only a few materials. As a bonus, we will also create a mini floral display that can be displayed on your wood riser when it is done.
Video tutorial
Materials
To build and decorate the tray
One wooden rectangle plaque
I purchased this at my local Dollar Tree
Wooden beads
You will need four beads
Acrylic paint
White and brown
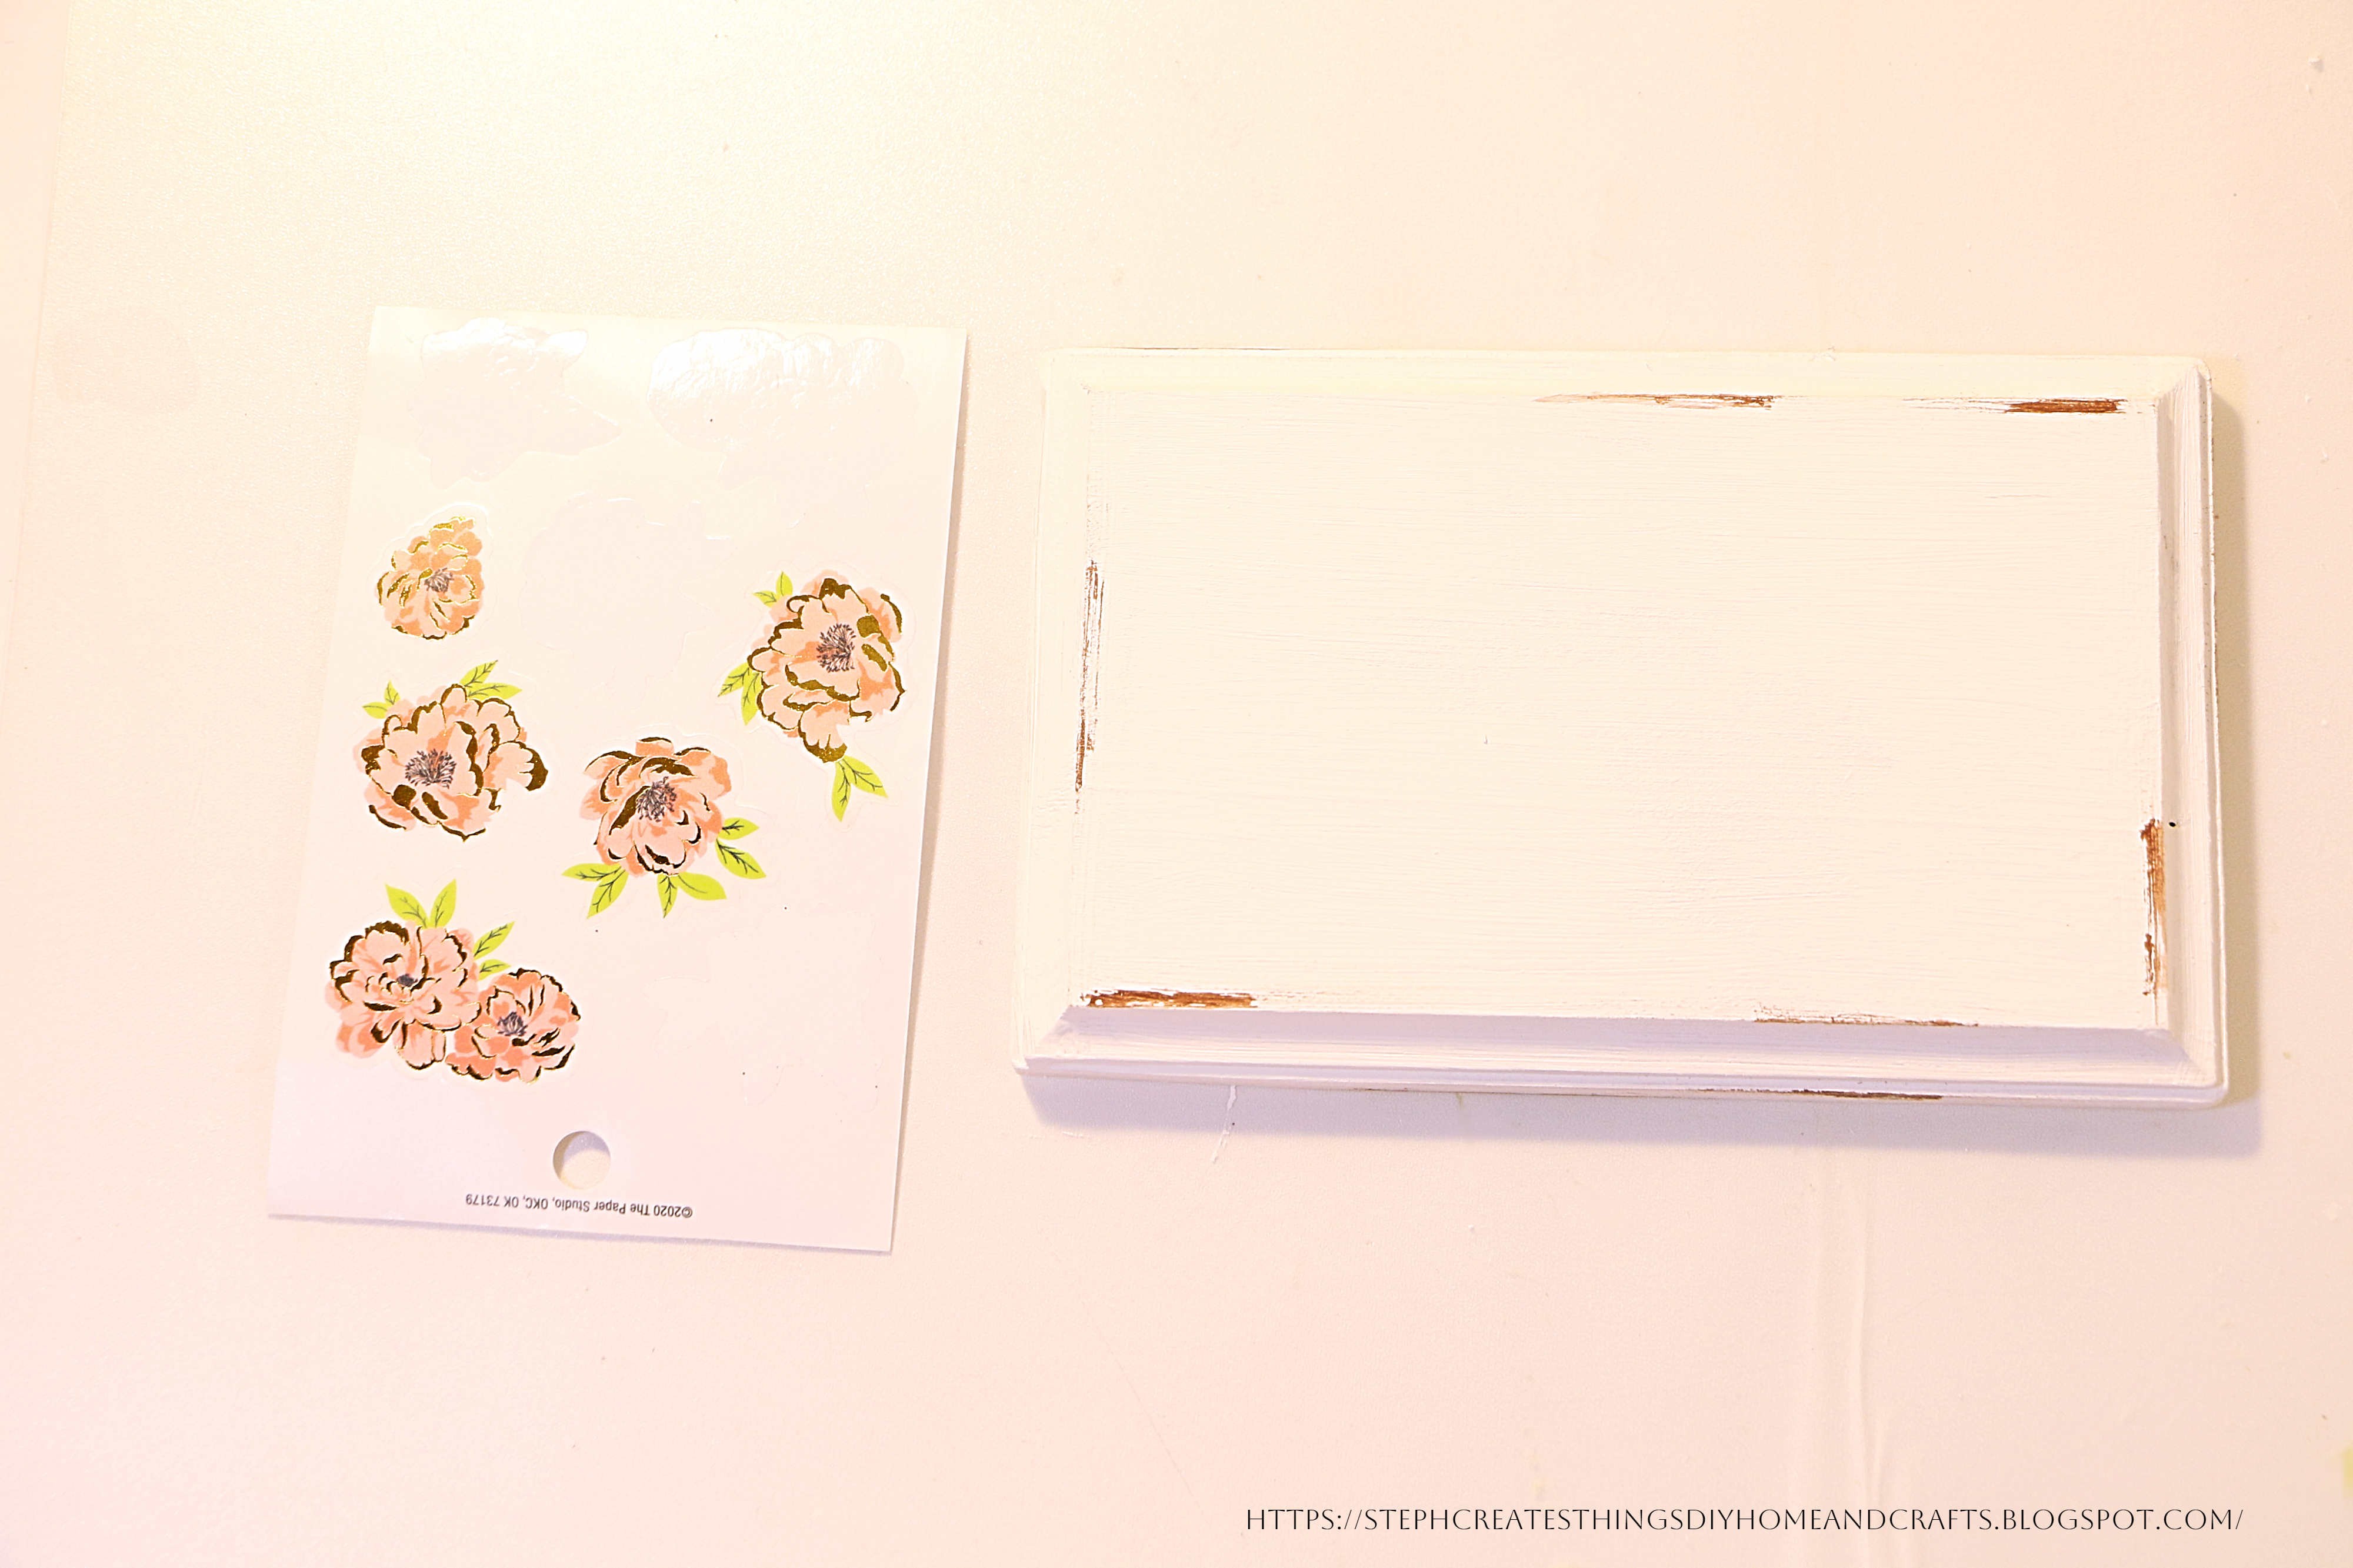
Flower stickers
Paintbrush
Faux pearl strips
Hot glue
Scissors
To decorate a glass jar
One glass jar
Twine or ribbon
One fabric heart
Faux flowers
Begin by taking your acrylic paint and applying paint to your wooden plaque using your paintbrush. I picked this wooden plaque up at my local Dollar Tree. They had various different sizes, I chose to go with this because I wanted a longer wood riser. I gave the wood plaque around two coats of paint. Allow it to fully dry.
Next, I wanted to give the look of distressed wood. I used a smaller paintbrush and gently applied a few streaks of my brown paint. I used my finger to smear the color to the wood surface as well. Set your wood plaque aside and allow the paint to dry.
Take your wooden beads and start to apply your paint to four of your beads. I painted my beads a brown color. I found that using a paper towel and wiping each bead was so much quicker. It also gave the beads more of a stained appearance. You can also use a plastic bag and place your beads inside of the bag, take your paint, and squeeze a little into the bag. This makes it easy to apply the paint to the beads.
After, take your flower stickers and add them to your wooden plaque. I added two of my floral stickers. I love the lighter color of the flower with a gold outline. Once you have added your stickers flip your wooden plaque over and use hot glue to add your four wooden beads to each corner of your wooden plaque.
You are now ready to add your faux pearls to your wood riser. I took my ribbon and cut off the pearl section. I ended with four strips of pearls. I used my hot glue and added the pearl strips around the top section of my wooden plaque. I added it to the front, back, and two sides. You can purchase some faux pearl strips or faux pearl buttons with sticky backing to them. I decided to use what I had on hand.
I decided to reuse one of my glass jars for this next design.
Take your twine or craft rope and begin to wrap it around your jar. I wrapped only part of my glass jar with my twine. I used hot glue to glue down my twine and cut any of the remaining twine off. I took my fabric heart and added a little hot glue to the back of the heart and glued it to my glass jar. Next, take your faux flowers and simply place them inside your glass jar. I wanted to create this to go along with my wood riser. Thank you so much for stopping by and creating this craft with me. I'll see you soon!
Pin Share Save


Steph, this is beautiful!
ReplyDeleteI appreciate you sharing this with Sweet Tea - Friends this month and I appreciate you.
Thank you so much! Paula, it is always a pleasure sharing on Sweet Tea & Friends. Thank you for stopping by.
DeleteThis is SO pretty, I love how you seem to make beautiful and expensive things out of products from the Dollar shop.
ReplyDeleteAw, thank you so very much. I really appreciate your kind words.
ReplyDeleteWhat a cute riser! I am loving your jar with roses, so classic and vintage looking. Makes me want to sit for a cuppa tea.
ReplyDeleteAw, thank you so much! A cup of tea sounds wonderful right now.
DeleteHow elegant! Thanks so much for linking up at the #UnlimitedLinkParty 122. Pinned.
ReplyDeleteSo very cute. Love the dainty look. Perfect for a kitchen counter.
ReplyDeleteI'm happy to hear you enjoyed my wooden riser. Thank you! 🙂
DeleteSo cute and sweet, great idea in really small for miniatures!
ReplyDeleteSandi, thank you! Happy to hear you enjoyed it. 😊
DeleteWhat an adorable riser! Dollar Tree crafts are the best:) Thanks for sharing with Vintage Charm. xo Kathleen
ReplyDeleteKathleen, thank you so much. 😊
Delete