
Create your very own fall-themed wagon with this DIY craft project. Discover step-by-step instructions and creative ideas to bring the spirit of autumn into your home.
Video tutorial

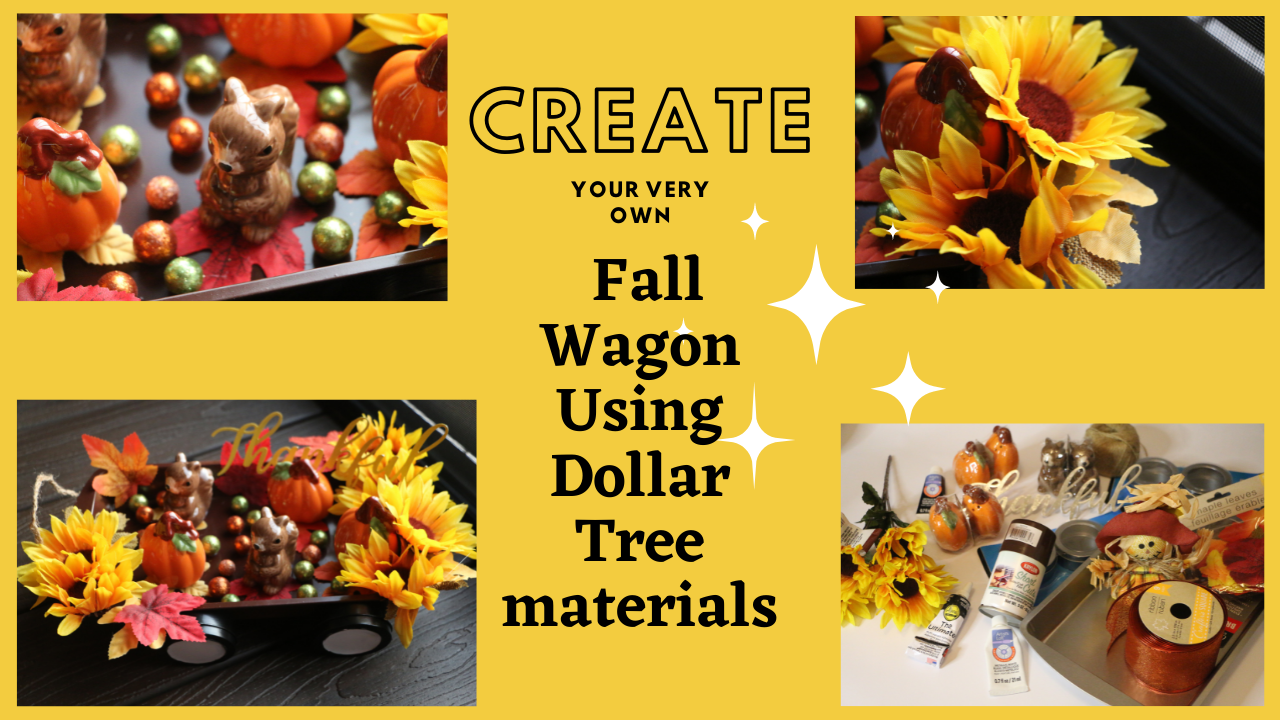
Materials Needed
- One bundle of Sunflowers
-One Baking pan
-One Thankful sign
(These signs actually come in a pack with a variety of sayings)
-Hot Glue, or any heavy-duty adhesive
-One can of spray paint
(I already had this, but I did purchase this from my local craft store)
-Paint- black, white, yellow, and gold
-One pack of salt and pepper squirrel set
-Two packs of salt and pepper pumpkin sets
-Two packs of magnetic tins
-Twine
-Fall leaves
Optional- ribbon, fall vase fillers, and one scarecrow
The total cost for my purchased Dollar Tree items is $10
If you do purchase the optional items your total will be around $13

Creating your Fall wagon
Here is a step-by-step guide to help you create a beautiful autumn wagon decor:
Applying paint to baking pan and sign
Removing sunflowers from stems
Adding in pumpkin and squirrel figurines
To enhance the autumnal theme of your wagon, consider incorporating pumpkins and squirrels. For added stability, use hot glue.
Optional-Adding in vase fillers
Adding vase fillers and a bow to the front of your wagon are worth considering, as they can enhance the overall appearance of your creation. Your wonderful Fall wagon is now complete and ready to be displayed. I hope that you enjoyed making it! If you decide to create your own wagon, please do not hesitate to let me know. Otherwise, feel free to leave a comment just to say hello. Thank you for taking the time to visit!


Comments
Post a Comment
I love hearing from you! Your comments and creative ideas truly brighten my day. I do my best to respond to everyone, so if you have a question or just want to say hello, please leave a note below. To keep our community a positive and inspiring space, spam or off-topic comments will be removed. Happy crafting!